
NOTE: If your currently installed version is 4.0.0.20 and lower but higher than 3.2, it needs to be uninstalled prior to update. Please uninstall it from ‘Programs and Features’ or use the EPM Pulse installer. No additional clean-ups are required.
Please refer to the Account requirements article for details on the accounts needed for EPM Pulse configuration.
Installation
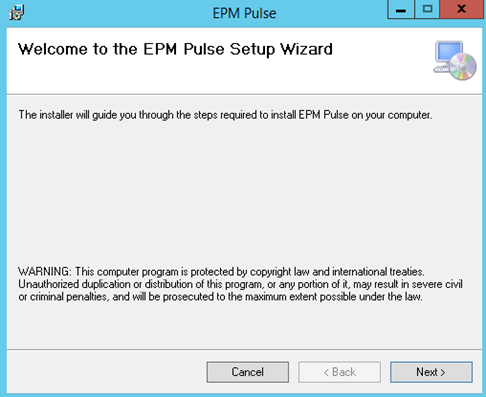
1. Launch an installation file. Installation wizard is opened and the first “Welcome” screen is shown. Click Next.
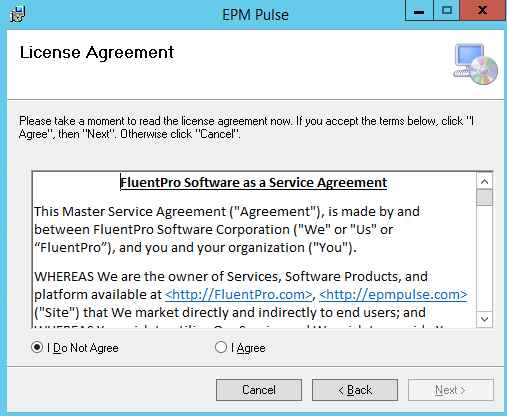
2. License agreement screen will be shown. Choose the I Agree radio button and click Next.
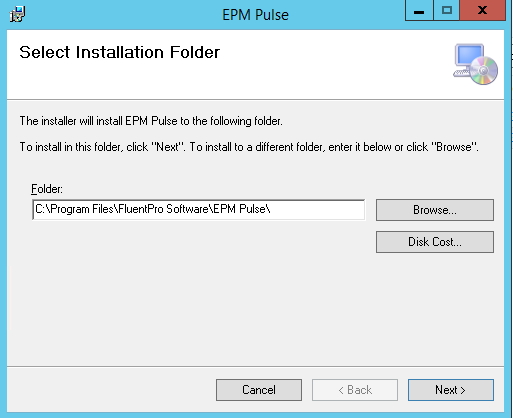
3. The next screen allows to choose the installation folder. Leave the default one or input the path to the custom one.
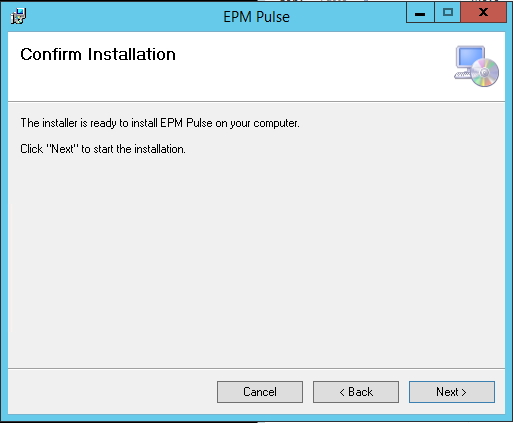
4. Confirm the installation by clicking the Next button
5. The next screen will confirm the installation completion. Click Close to exit the installation wizard.

Configuration
Run the ‘EPM Pulse Configuration’ wizard from the “Start” menu.
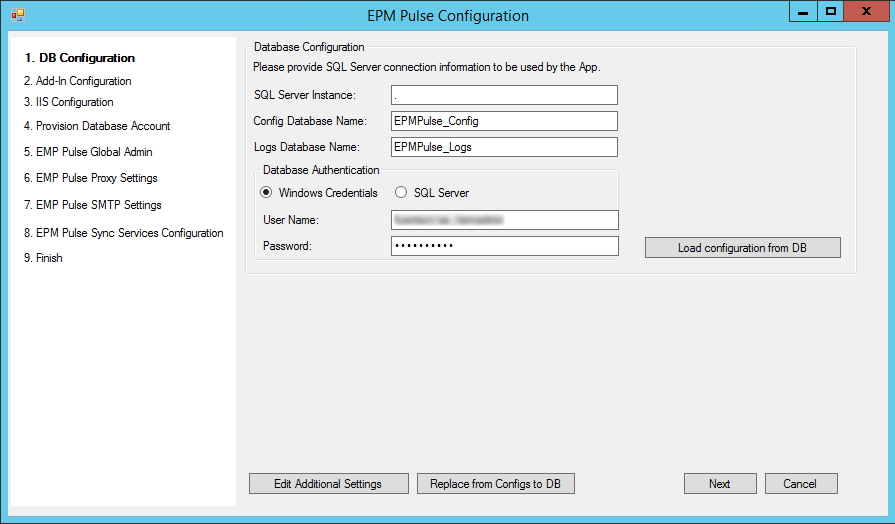
1. DB Configuration - it is needed to specify connection information, which will be used by the app:
- * SQL Server Instance, Config Database and Logs Database Names;
- * Select Database Authentication and type in the credentials for the account.
Click Next once you’re done.
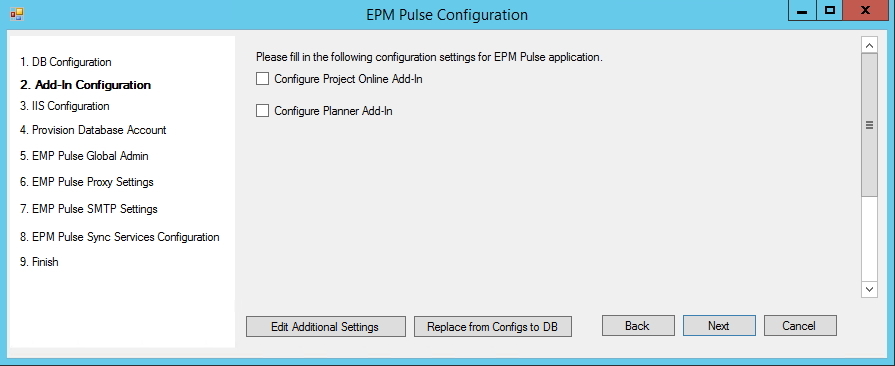
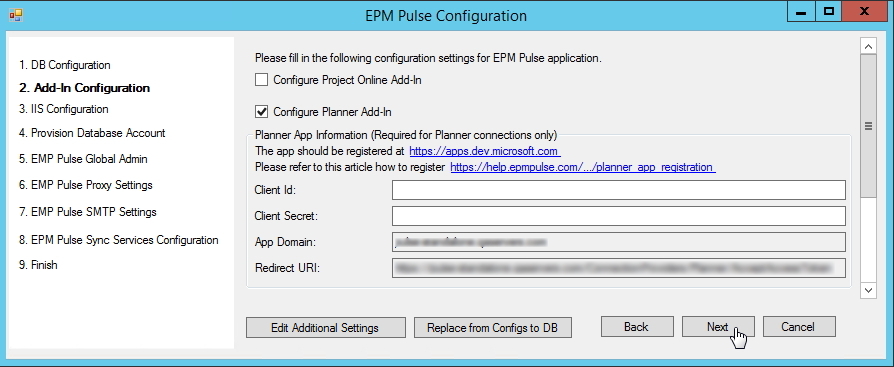
2. Add-In Configuration - select the check-boxes depending on the type of connection you are going to use in EPM Pulse – Project Online or Planner.
If you are planning to use a Project Server connection, there is no need to select any settings here. Click Next to proceed.
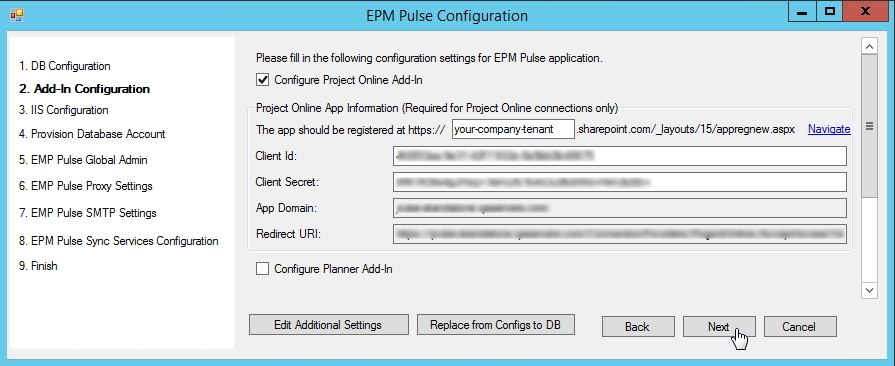
a) For Project Online connection -
* Enter “Client Id” and “Client Secret”, which are obtained during the registration of the application. Please find details in the following article - Online App registration
* App Domain;
* Redirect URL.
Click Next once you’re done.
b) For Planner connection -
*Enter “Client Id” and “Client Secret”, which are obtained during the registration of the application. Please find details in the following article - Planner app registration
* App Domain;
* Redirect URL.
Click Next once you’re done.
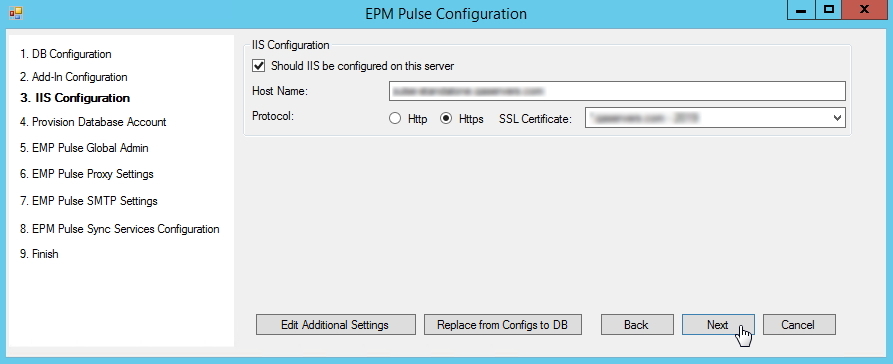
3. IIS Configuration - check the checkbox if IIS should be configured on this server. It is required for the EPM Pulse website to functioning.
* Provide the Host Name; choose the protocol and select the SSL Certificate.
Click Next once you’re done.
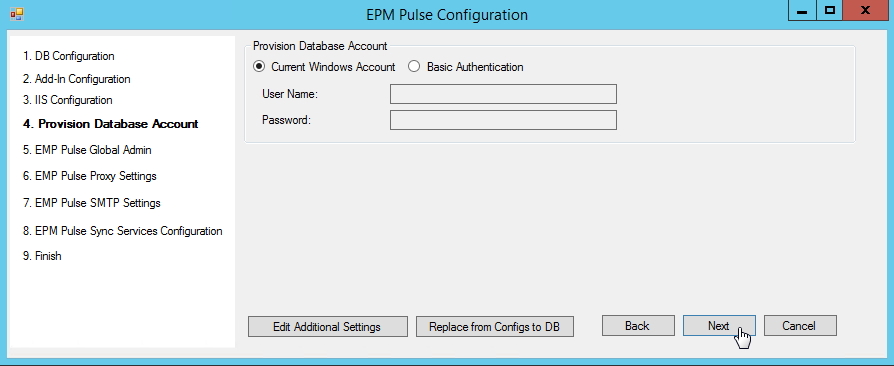
4. Provision Database Account - choose the account, which will be used for database provisioning. If the account is different from the one currently logged in, specify the credentials.
Click Next once you’re done.
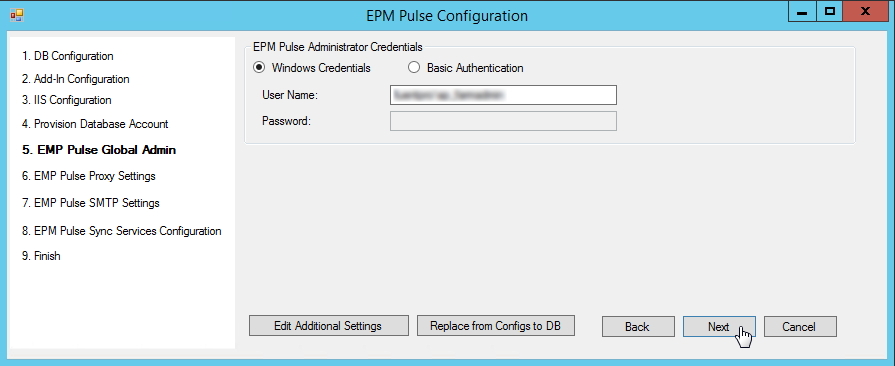
5. EPM Pulse Global Admin - specify an account that will have Global Administrator permissions to EPM Pulse:
* Choose the type of authentication;
* Enter credentials.
Click Next once you’re done.
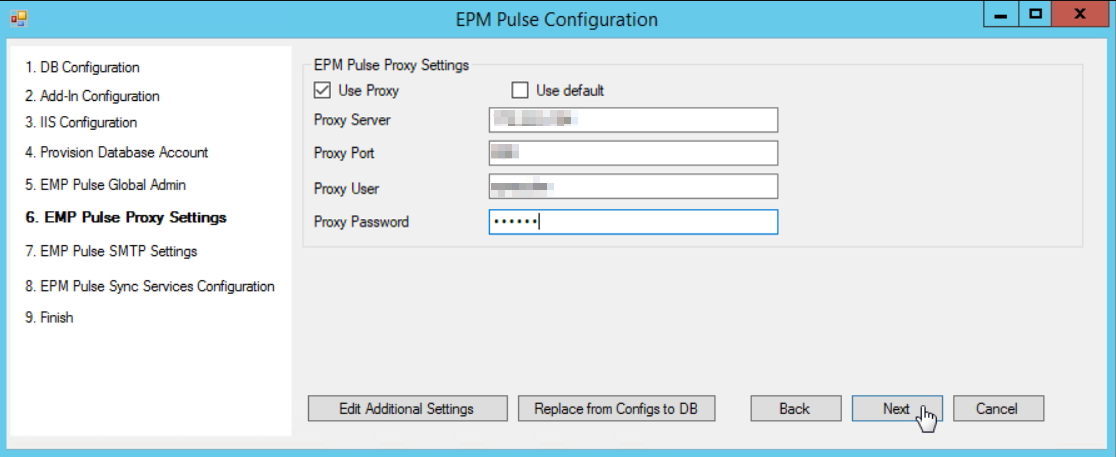
6. EPM Pulse Proxy Settings - this step is needed only if Proxy is used by your organization. If Proxy is not used, leave the 'Use Proxy' setting unchecked, leave all the fields empty, and click Next.
If Proxy is used by your organization, check the ‘User Proxy’ setting and fill in the fields adding Proxy Server, Proxy Port, Proxy User, and Proxy Password.
If you want to use the default Proxy (the one that is configured in the Internet Options of the 'Log On As' user account of EPM Pulse Web App Pool and Windows Services), you need to select the ‘Use Proxy’ and the ‘Use default’ checkboxes.
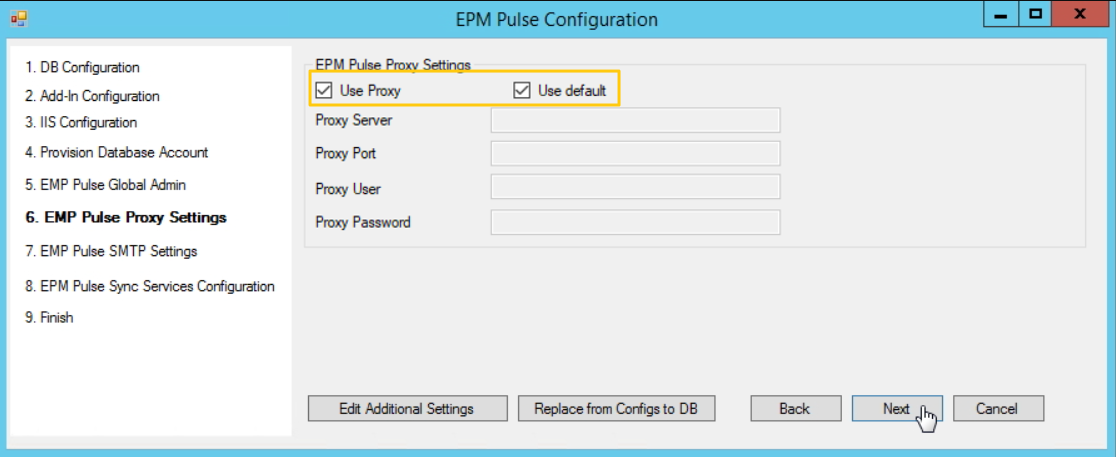
Please note: If the 'Use Default' option is enabled, make sure the Proxy settings are configured correctly in Internet Options for the 'Log On As' user account, used for EPM Pulse Web App Pool and Windows Services.
Please note: EPM Pulse only supports routing HTTP(S) requests through Proxy. Other services, such as SMTP and SQL, will not be routed and require a direct connection.
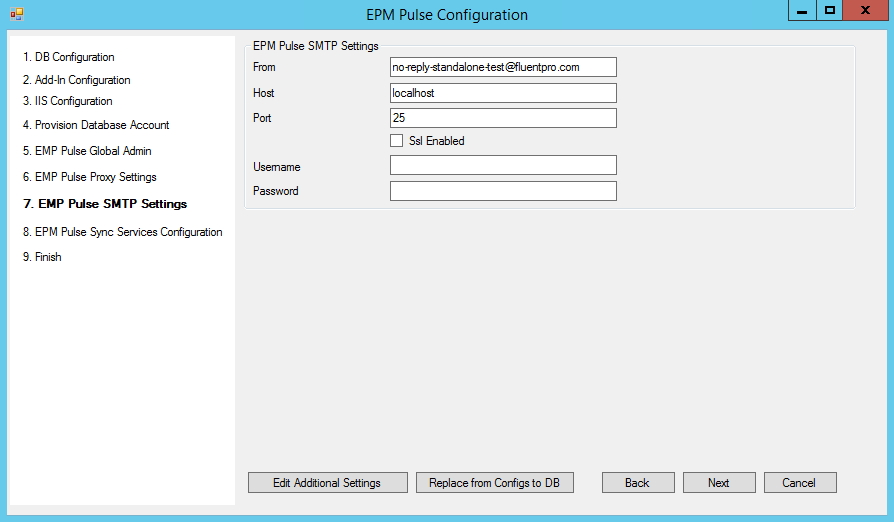
7. EPM Pulse SMTP Settings - to be able to send email notifications SMTP should be configured for EPM Pulse On-Premises Edition site.
8. EPM Pulse Sync Services Configuration - select the services which need to be configured on this server:
* Job Service - if this node is chosen the “EPM Pulse Job Processor” service will be configured and should start automatically once an installation process will be finished;
* Audit Service - choose this node if you have a license for FluentPro Audit Manager. Otherwise, it is not required for EPM Pulse successful installation;
* Schedule Service – choose this node to configure the EPM Pulse schedule service.
Click OK once you’re done.

9. Finish will display configuration summary.
Click Finish to exit the configuration wizard.
Post-installation verification
After the installation process finishes the required services, site and databases will be created and proper settings will be set up.
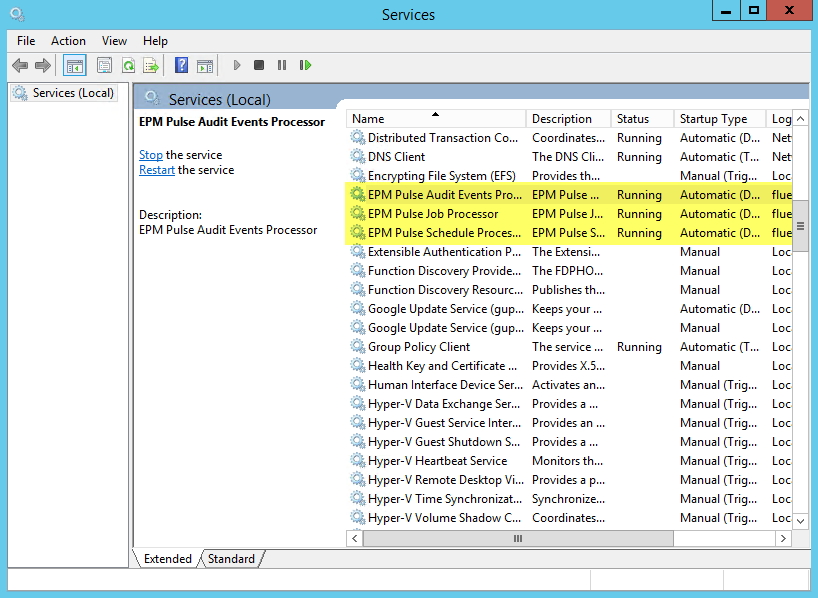
- Navigate to Services and verify, that EPMPulse.Job.Processor and EPM Pulse Schedule Processor services were started. EPM Pulse Audit Events Processor shouldalso be running is you chose to configure it. In case they are not running, please start them manually.
- Open Internet Information Services (IIS) Manager and under Sites choose EPM Pulse site. In the Browse Website section click on the link to navigate to your EPM Pulse.

In case of any issues or errors during installation, please submit a request at support@fluentpro.com