
In this article, we will review how to copy over only the last modified PWA configuration, projects, and SharePoint sites from the source to the target PWA. This functionality can be useful for cases when the migration from one PWA to another was successfully completed and there is a necessity to copy over only the recent changes since the migration completion.
Also, if you have two identical PWAs and make changes to the configuration or project schedules or SharePoint sites on one PWA, you do not need to detect these changes and copy them over manually, this can be done by FluentBooks.
Please note the following information:
1. During delta migration of PWA Configuration:
- New elements (that exist on the source PWA but are not present on the target PWA) will be added to the target PWA.
- Modified elements that exist on the source and target PWA will be overwritten on the target PWA.
- Lookup table values will be merged on the target PWA.
2. During delta migration of Project schedules, the projects will be fully re-migrated to the target PWA. It is not possible to add only the missing elements to the existing Project schedules.
3. During delta migration of SharePoint sites only the new/missing elements will be added to the existing SharePoint sites on the target PWA. The elements that are present on the source and target SharePoint sites will be overwritten during delta migration.
Migrating PWA Configuration changes
To copy the recent configuration changes from the source PWA to the target PWA perform the following:
1. The first step will be to detect the recent configuration changes using FluentBooks. It is possible to create a workspace with the configuration differences only and use it for upload.
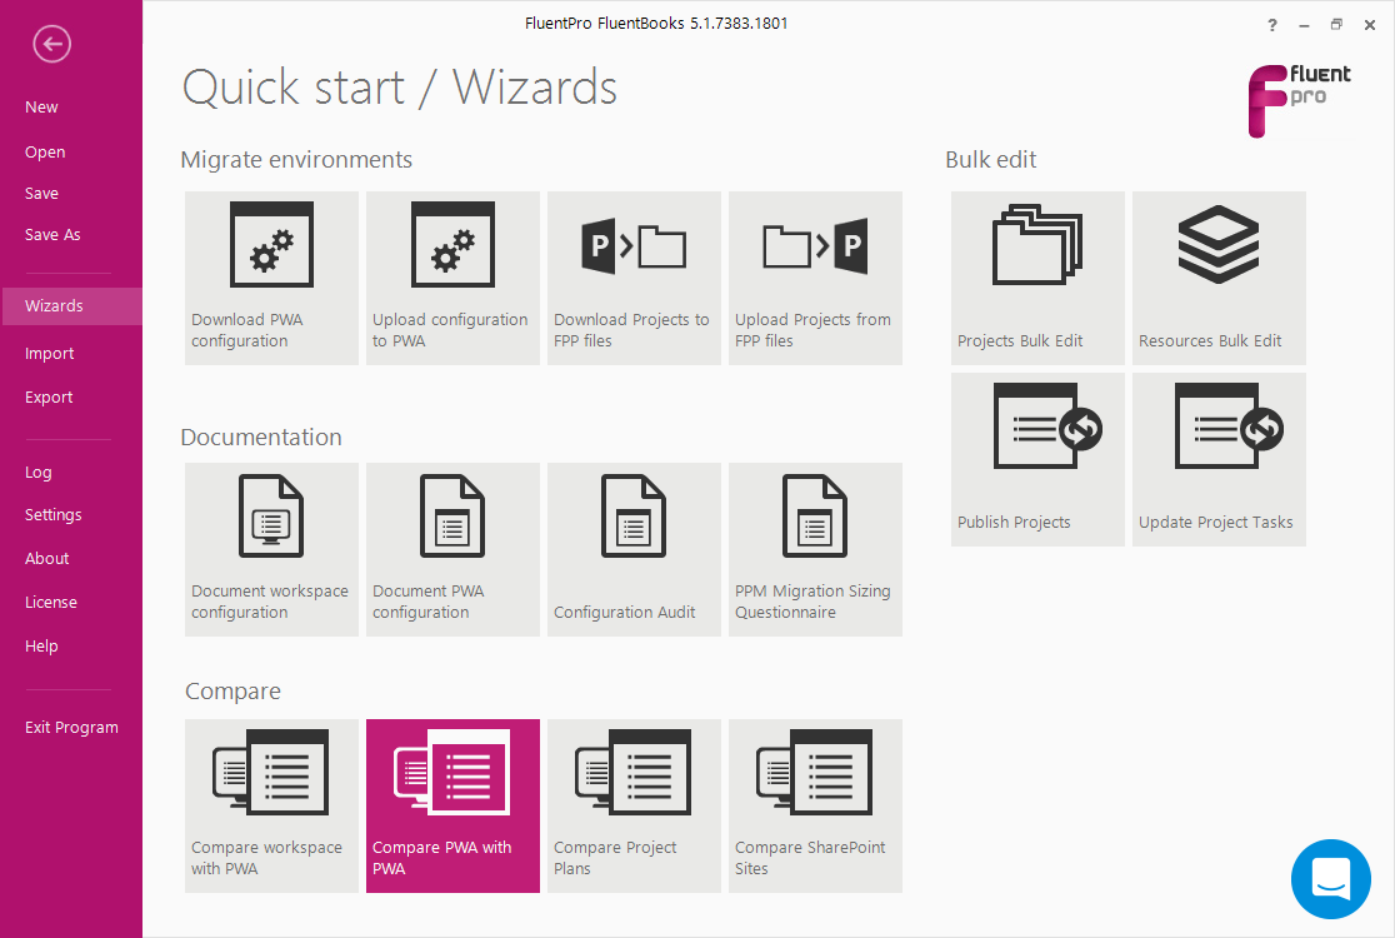
Open FluentBooks and navigate to the Compare PWA with PWA wizard.
2. Perform the comparison of the source and target PWAs following the steps described in the Compare PWA with PWA article.
As the comparison process is completed check the show difference only check box on the PWA's verification summary window, to display only the data that is different on the PWAs.
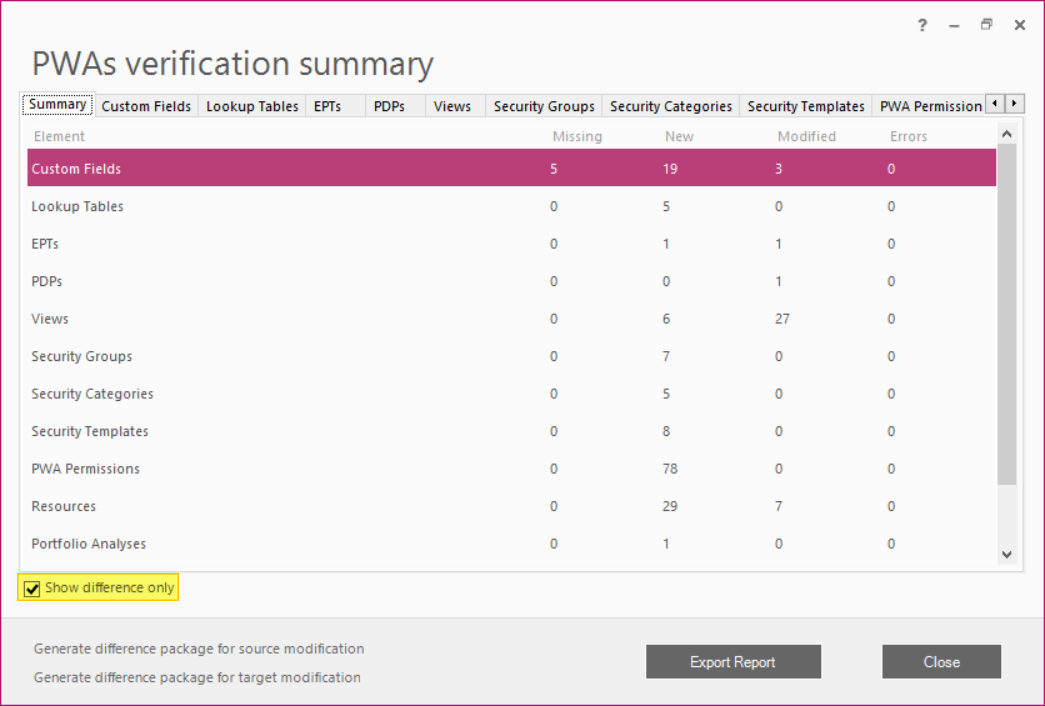
3. Click on the Generate difference package for target modification option to generate a workspace that contains all elements that are missing or different on the target PWA. Select the folder where this workspace will be saved.
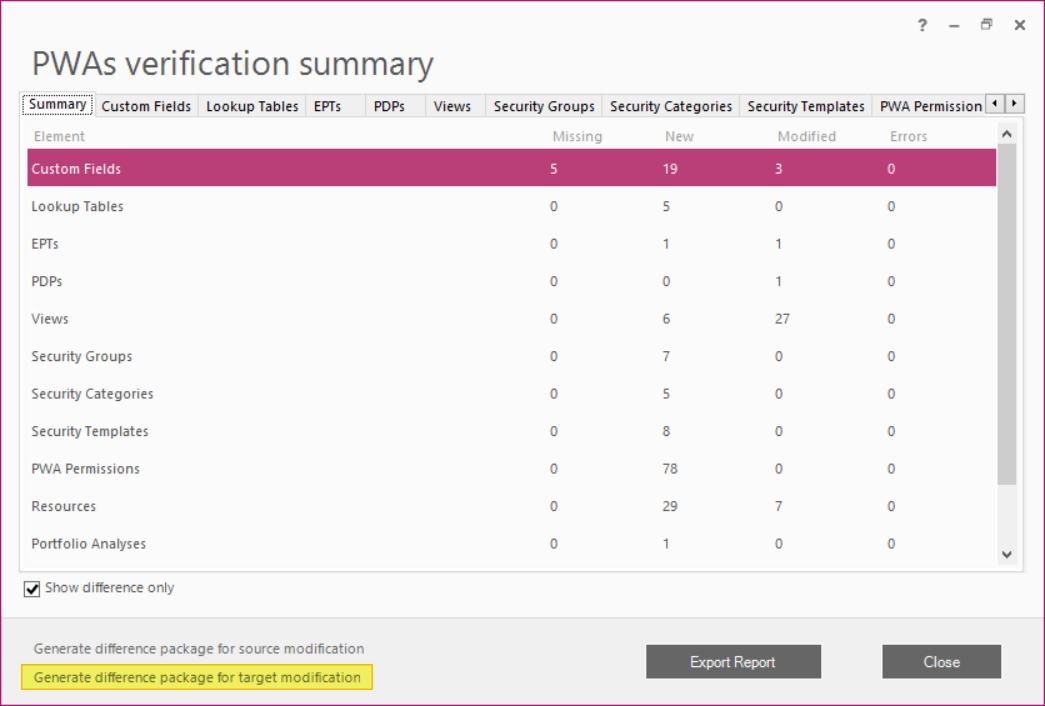
A workspace will be created automatically. The created workspace can be used to export only missing or different PWA Configuration elements to the target PWA.
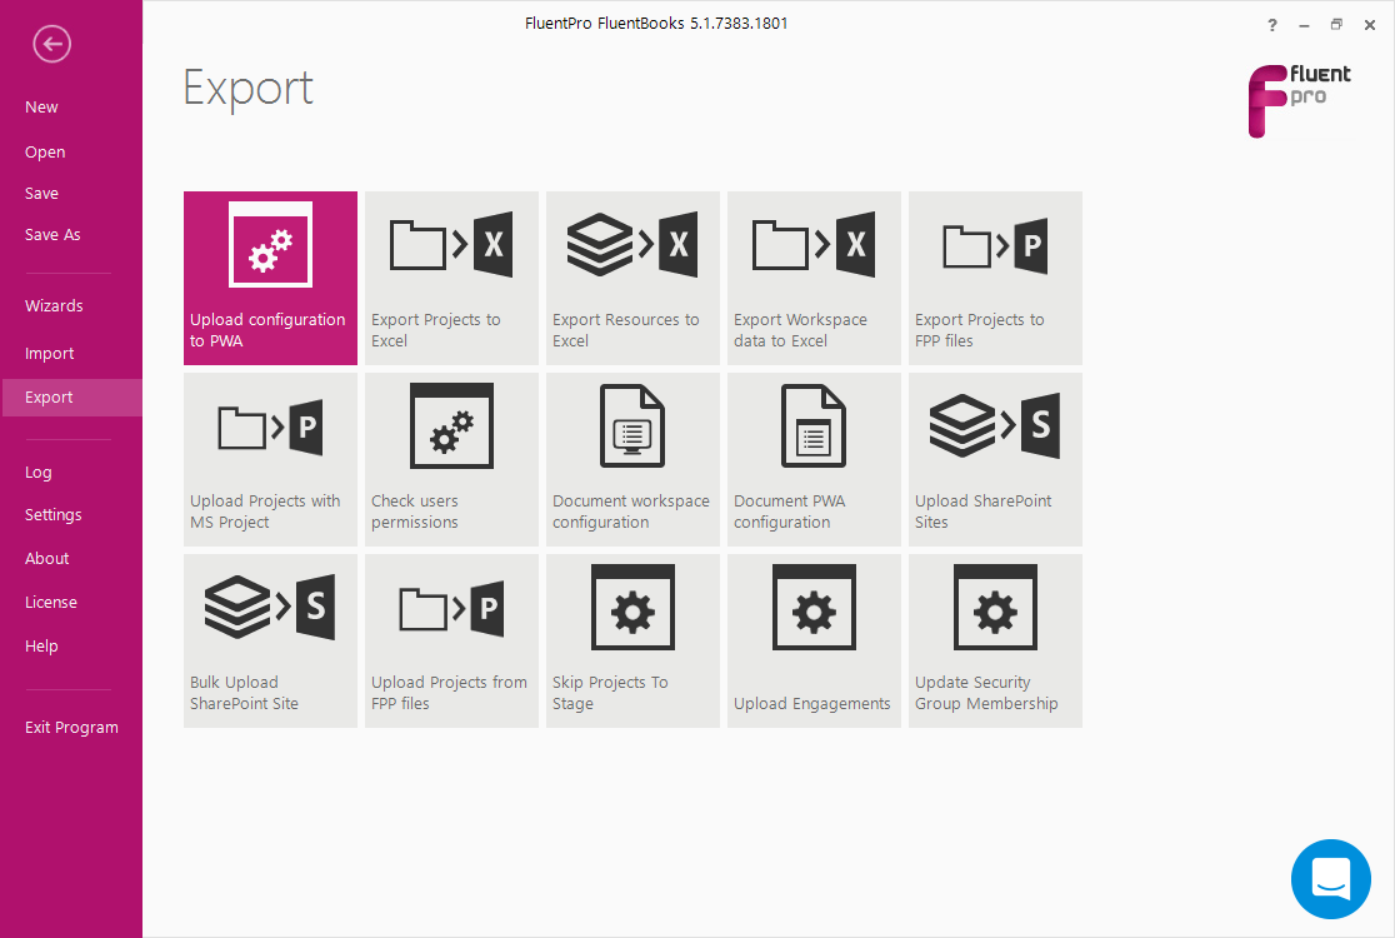
4. As the workspace is created, open the Upload Configuration to PWA wizard.
5. On the first step of the wizard provide the target PWA URL where you need to upload these changes.
Check the Upload workspace from file check box and select the workspace that was created previously by the compare PWAs wizard.
Click Next.

6. Upload the data from the created workspace to the target PWA.
Please refer to the "Upload Configuration to PWA" article for detailed information about the upload process.
When the upload process is completed, the configuration changes from the source PWA will be present on the target PWA.
Migrating Project schedules changes
When the Configuration is uploaded to the target PWA, you can proceed to the migration of the projects that have recent changes.
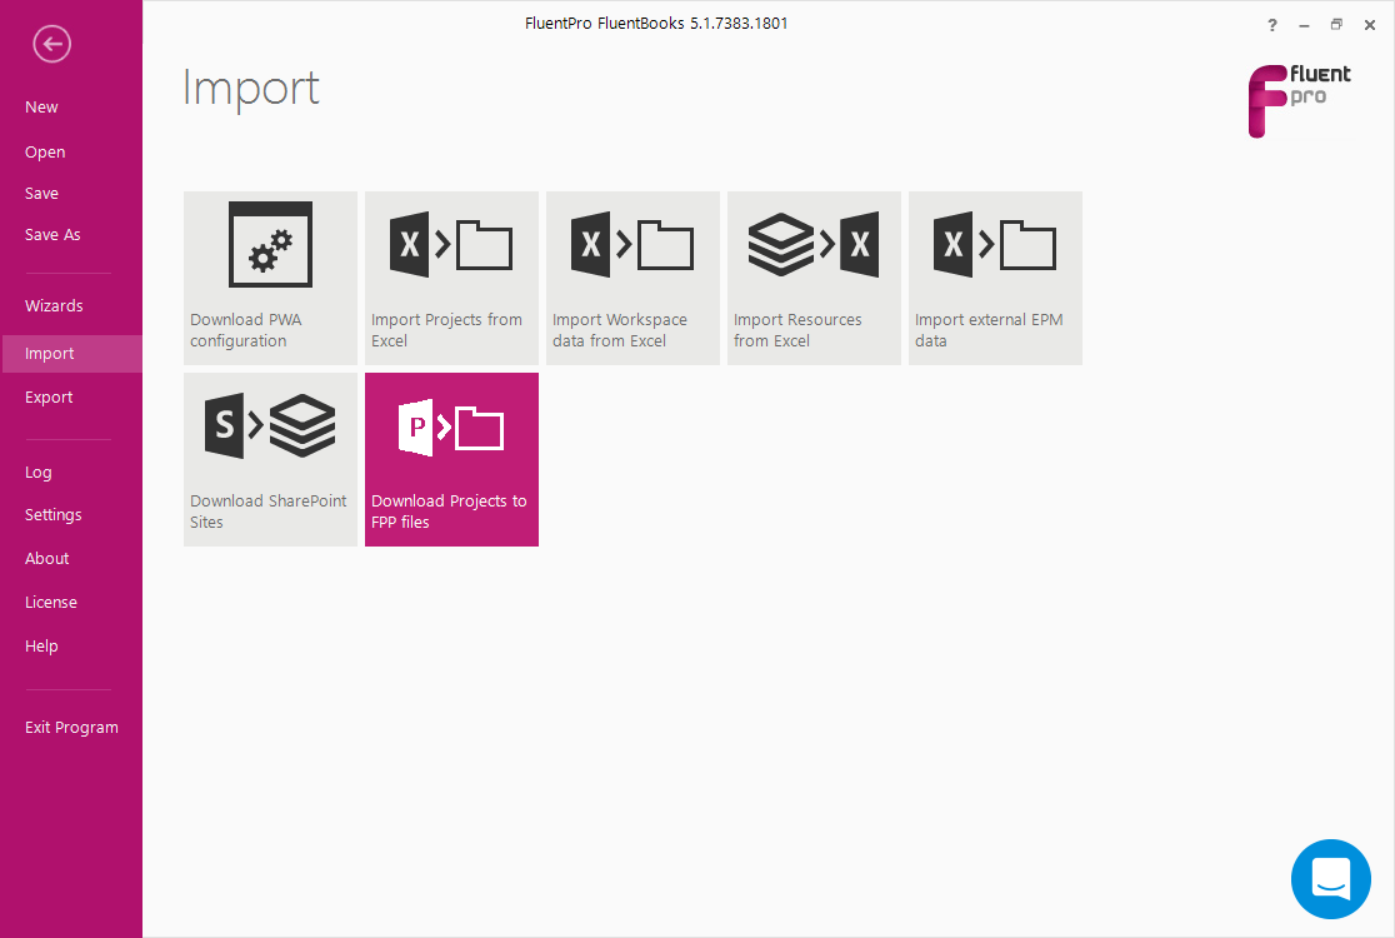
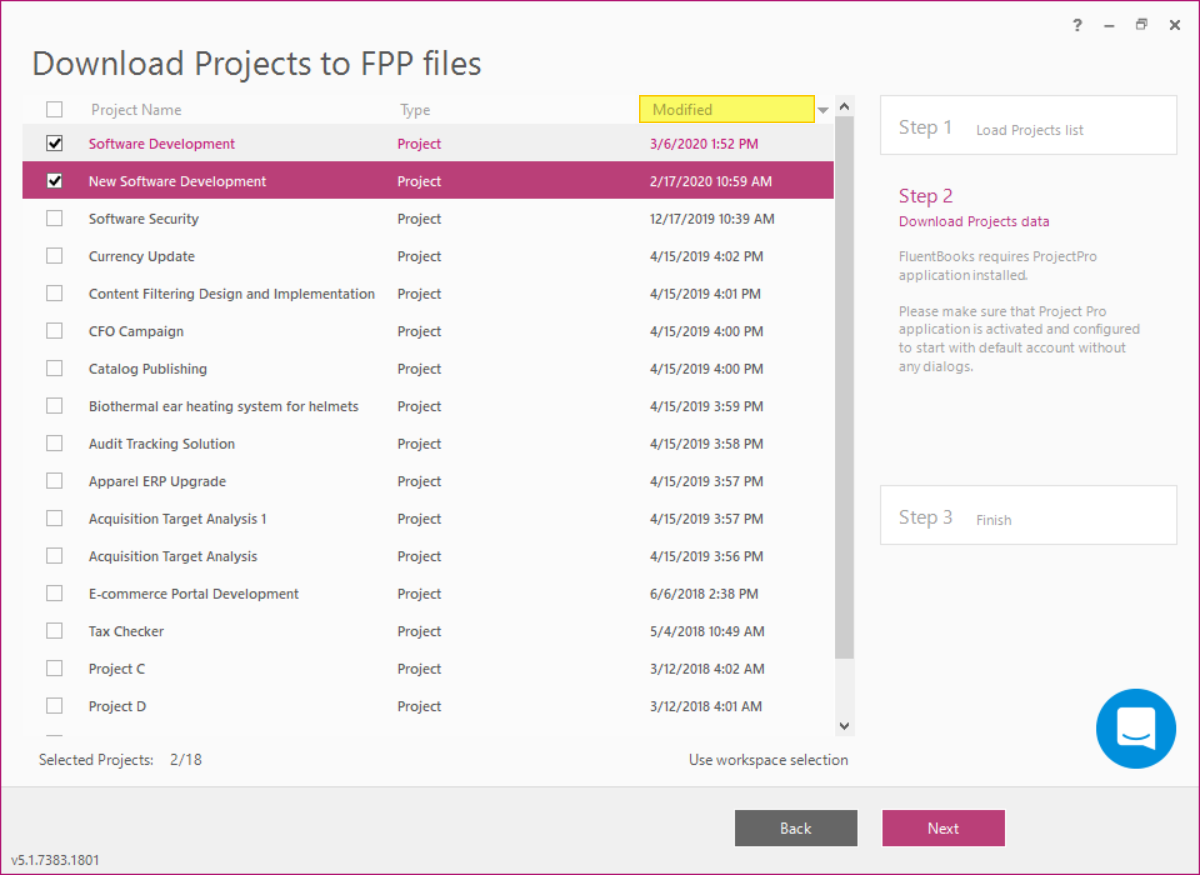
1. Open the Download Projects to FPP files wizard.
2. Provide the source PWA URL, credentials, and the output folder where the FPP files will be saved. Click Next.
3. In the second step of this wizard select to sort the projects by their modification date.
Select the projects that have been recently modified or modified after the date of the previous Projects download to FPP files.
Please note: all modifications in the projects are taken into account, including Draft versions of projects. We recommend publishing the selected projects before downloading them to avoid data discrepancy since a Draft version of the project will become a Published version in the target PWA. Please refer to the Publish Projects to be migrated article for the detailed information about publishing projects with FluentBooks.
Click Next to launch the download process. Please refer to Download Projects from FPP files article for more details about the download process.
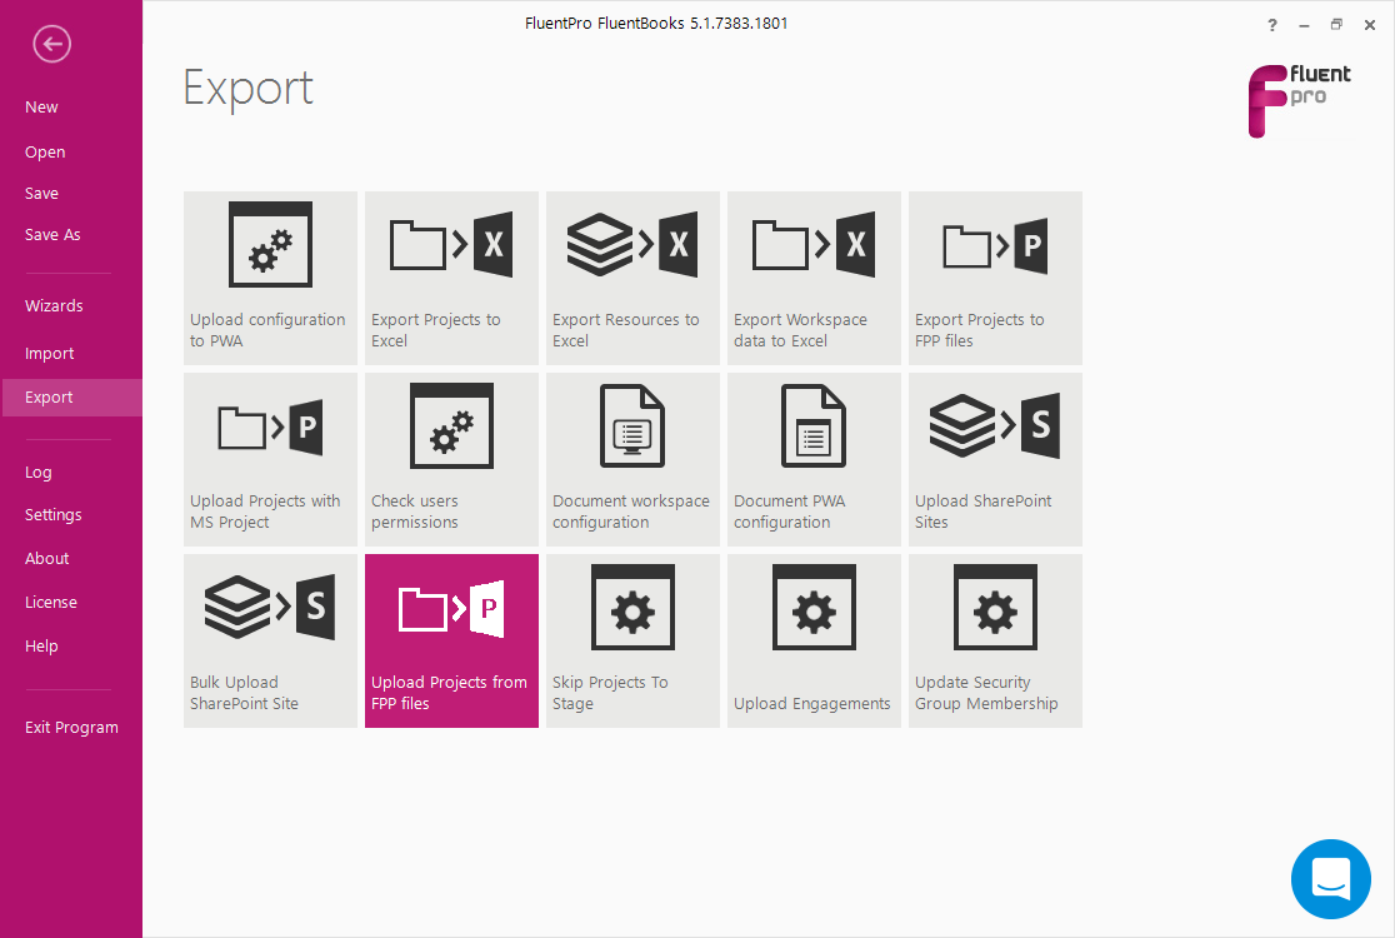
4. After the download is completed, open the Upload Projects from FPP files wizard to upload the last modified projects to the target PWA.
Follow the steps in the Upload projects from FPP files article for the instructions on how to upload projects to the target PWA.
When the upload process is completed the last modified projects will be uploaded to the target PWA.
Migrating SharePoint sites changes
It is also possible to migrate only modified SharePoint sites and their items.
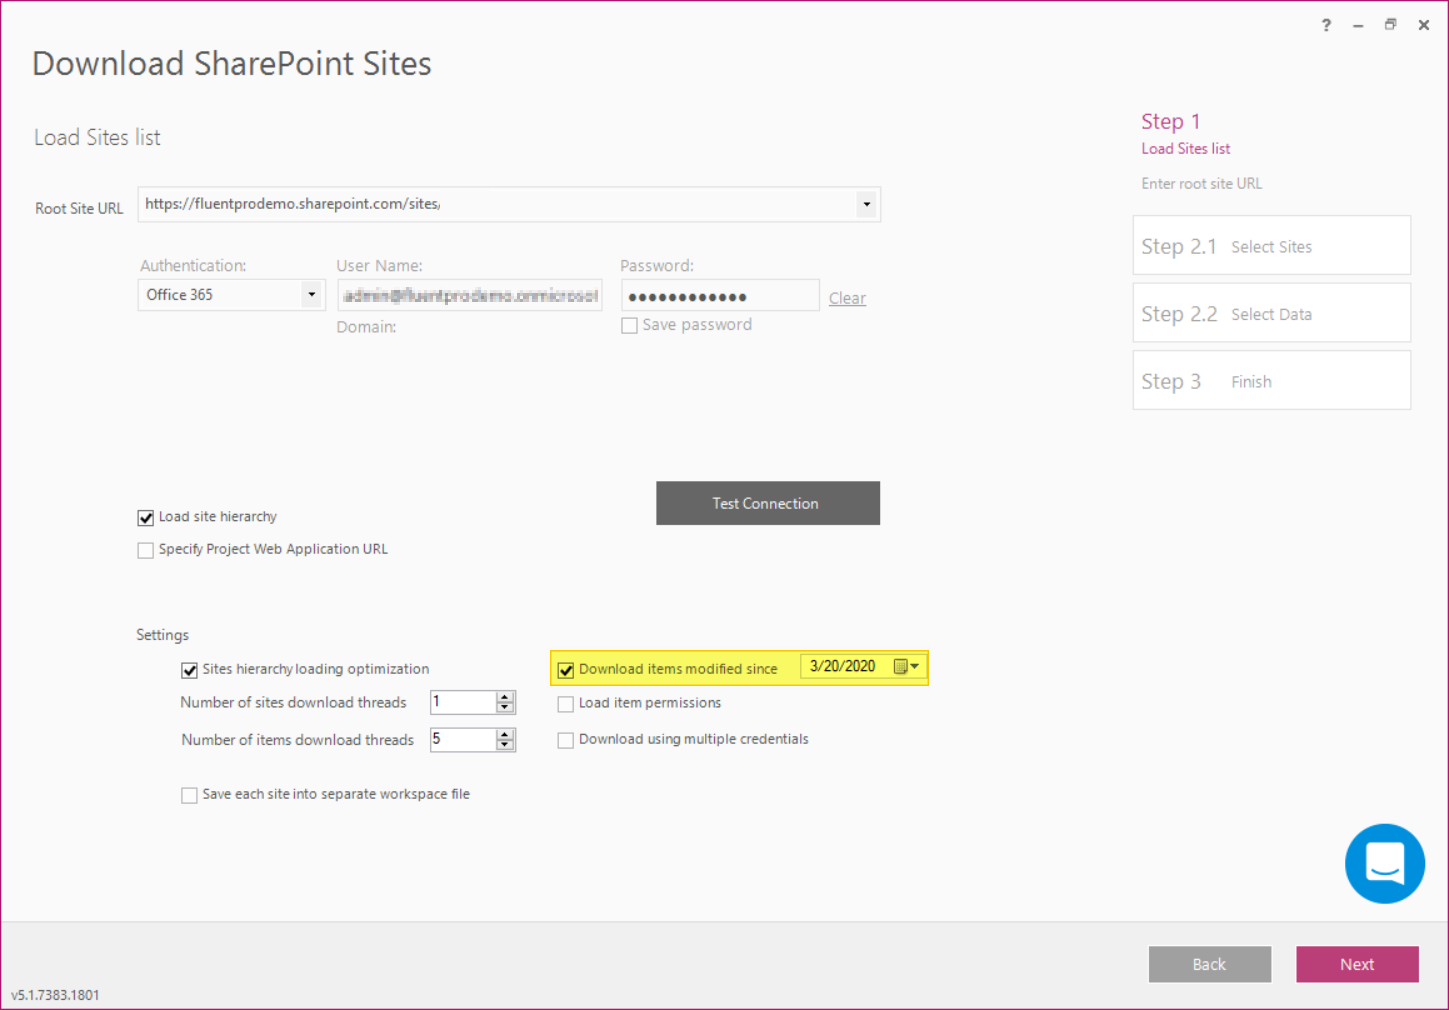
1. Open the Download SharePoint Sites wizard.

2. Provide the source PWA URL and credentials.
Enable the Download items modified since option and specify the necessary date to download only items/documents, which were modified after that date.
Click Next.
3. Also, on Step 2.2. of the wizard you can sort the sites by the Last Modified parameter and select only the latest modified sites. Use the 'Descending' check box to sort the sites out in ascending or descending order.
Select the required sites and click Next to proceed.

4. Please refer to the Download SharePoint sites article for more details about the download process.
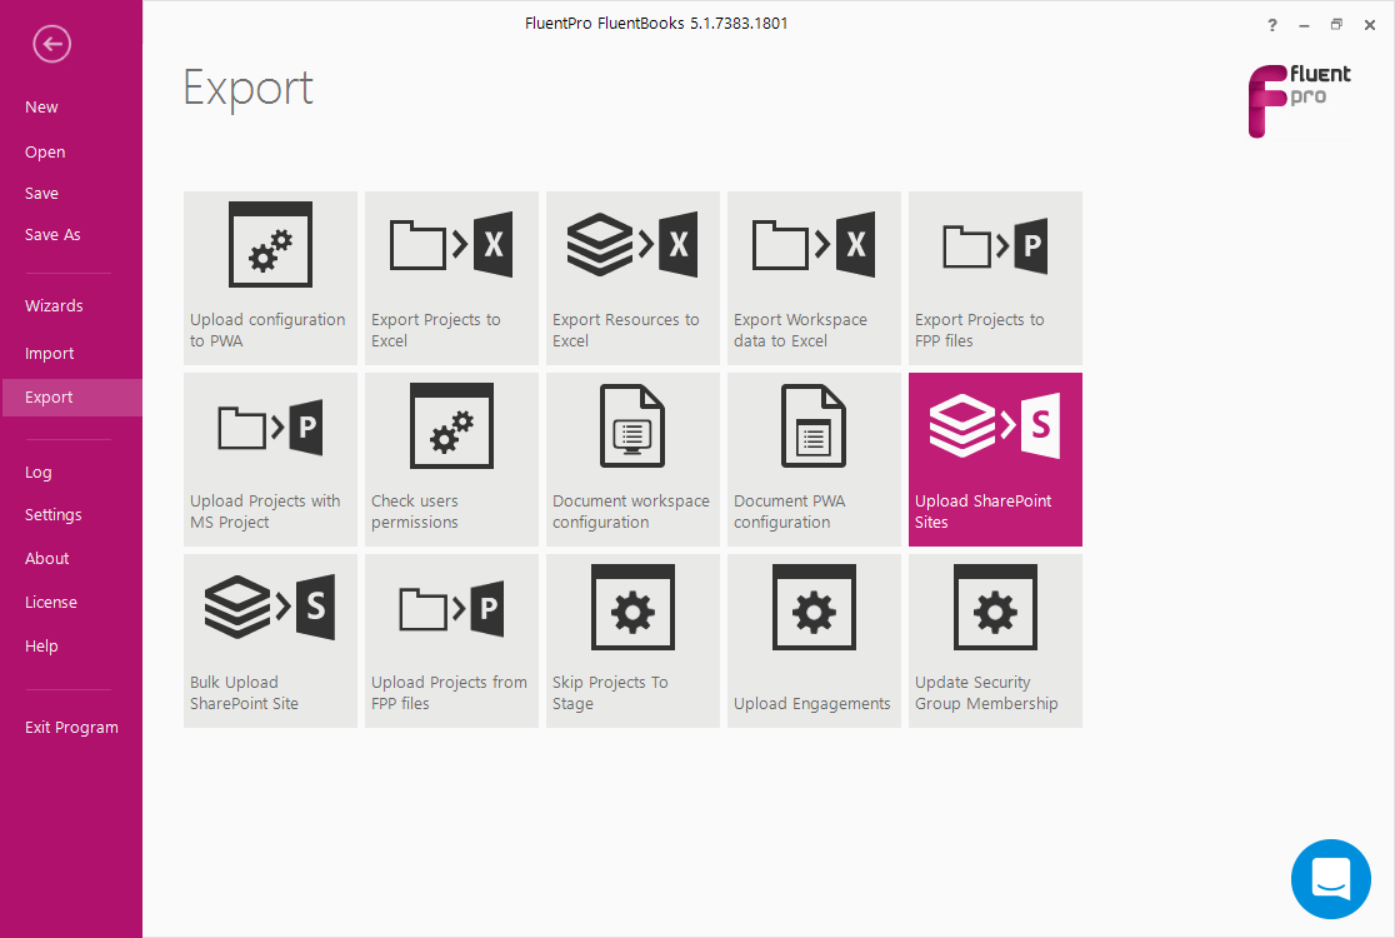
5. When the download process is completed open the Upload SharePoint Sites wizard.
6. Follow the steps described in the Upload SharePoint sites article to upload the last modified sites to the target PWA.