In this article, we will review the Backup Schedule page.
When you add an environment to FluentPro Backup, you create the first backup schedule in the onboarding wizard.
The Backup Schedule page allows reviewing and changing the information for your schedule and/or running the backup by the schedule on-demand.
In this article, we will review the Backup Schedule page in the example of the Planner Premium environment, but for all other environments, this page is the same (the details are described in the onboarding wizard articles).
To open this page and change the settings for your schedule, perform the following:
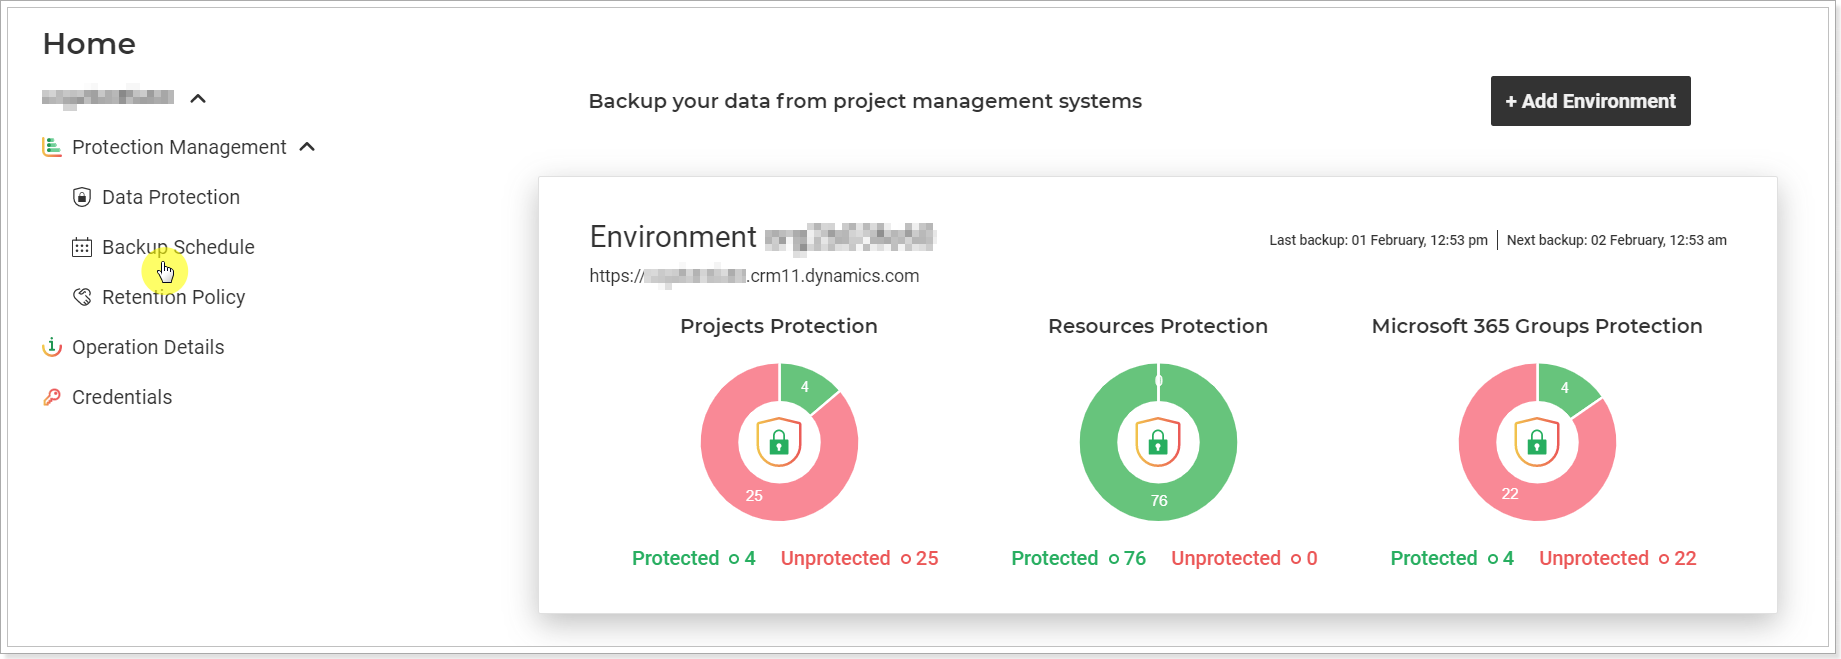
Open the FluentPro Backup home page and select Backup Schedule.

Run Now
To run the on-demand backup by the schedule you created, click the Run Now button.

Backup Schedule
When the schedule is created for the first time and the backup is launched, all selected entities within your schedule are backed up. Next, the data is backed up according to the settings selected in the Backup Schedule section. You get to select how often the modified data and the unmodified data will be backed up.
First, select the Backup schedule start time. This defines the time of day when the first backup will run and serves as the reference point for calculating all subsequent scheduled backups.
To change the settings for how often the backup starts for modified entities, click the 'Actively modified backup data' option and select the required option from the list.
In the 'Unmodified data backup' field, you get to select how often a backup starts for all selected unmodified entities.

If you select the 'Don't check data modification' option under 'Actively modified backup data', backups will run for all selected entities, regardless of any changes.

Backup Content
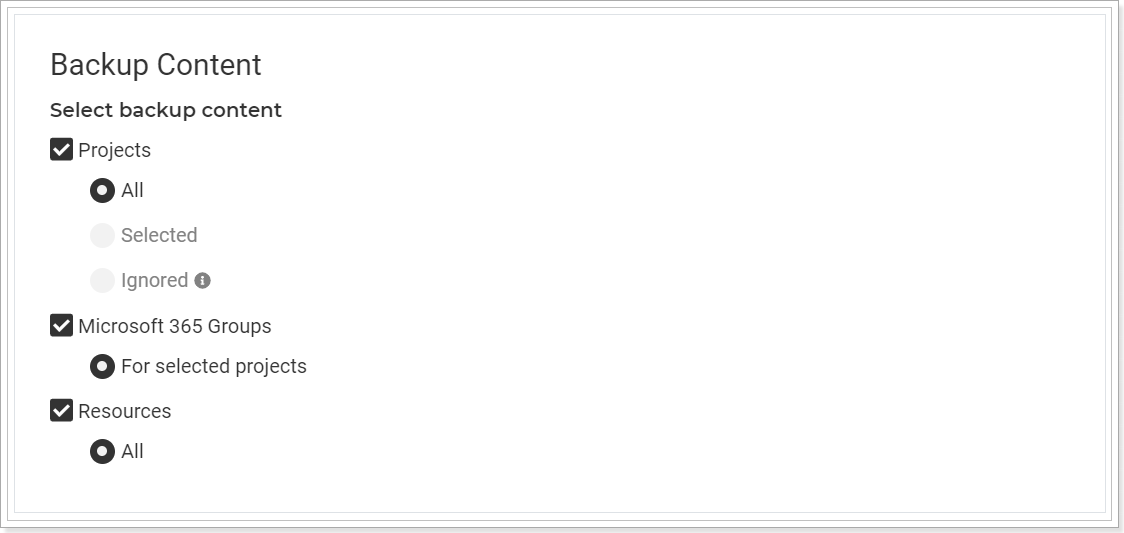
In the Backup Content section, select what data you need to back up by this schedule.
- Projects: All, Selected (select only the Projects you need to include in this backup), Ignored (is used to open the list of new projects or the ones that do not exist (were not previously selected) in the list of the selected ones).
- Microsoft 365 Groups: For Selected Projects.
- Resources: All.

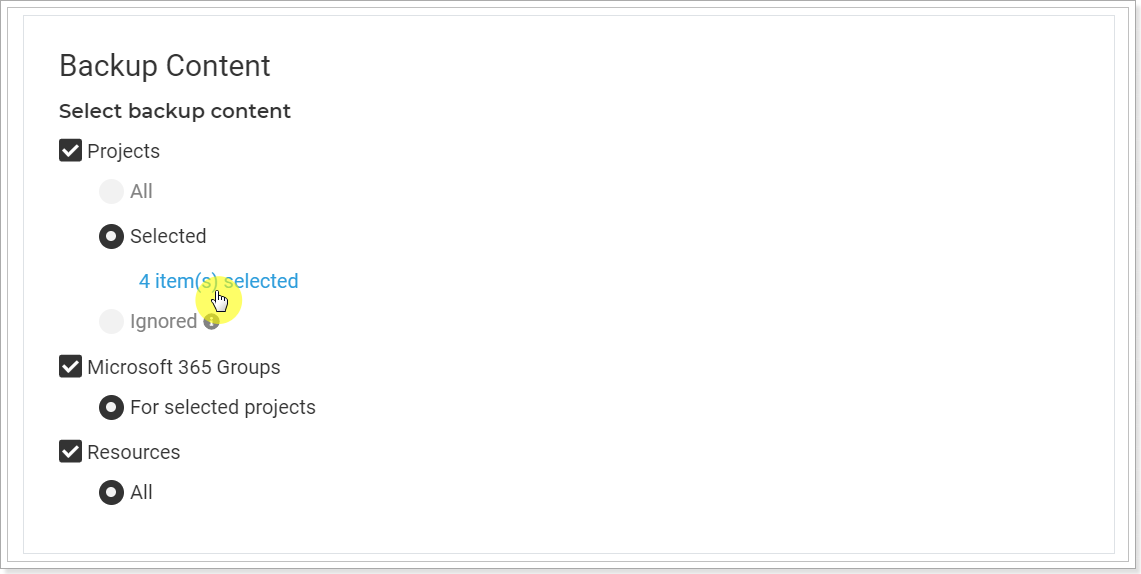
If you need to include only specific projects to the backups instead of all, click Selected and then on the number link button.

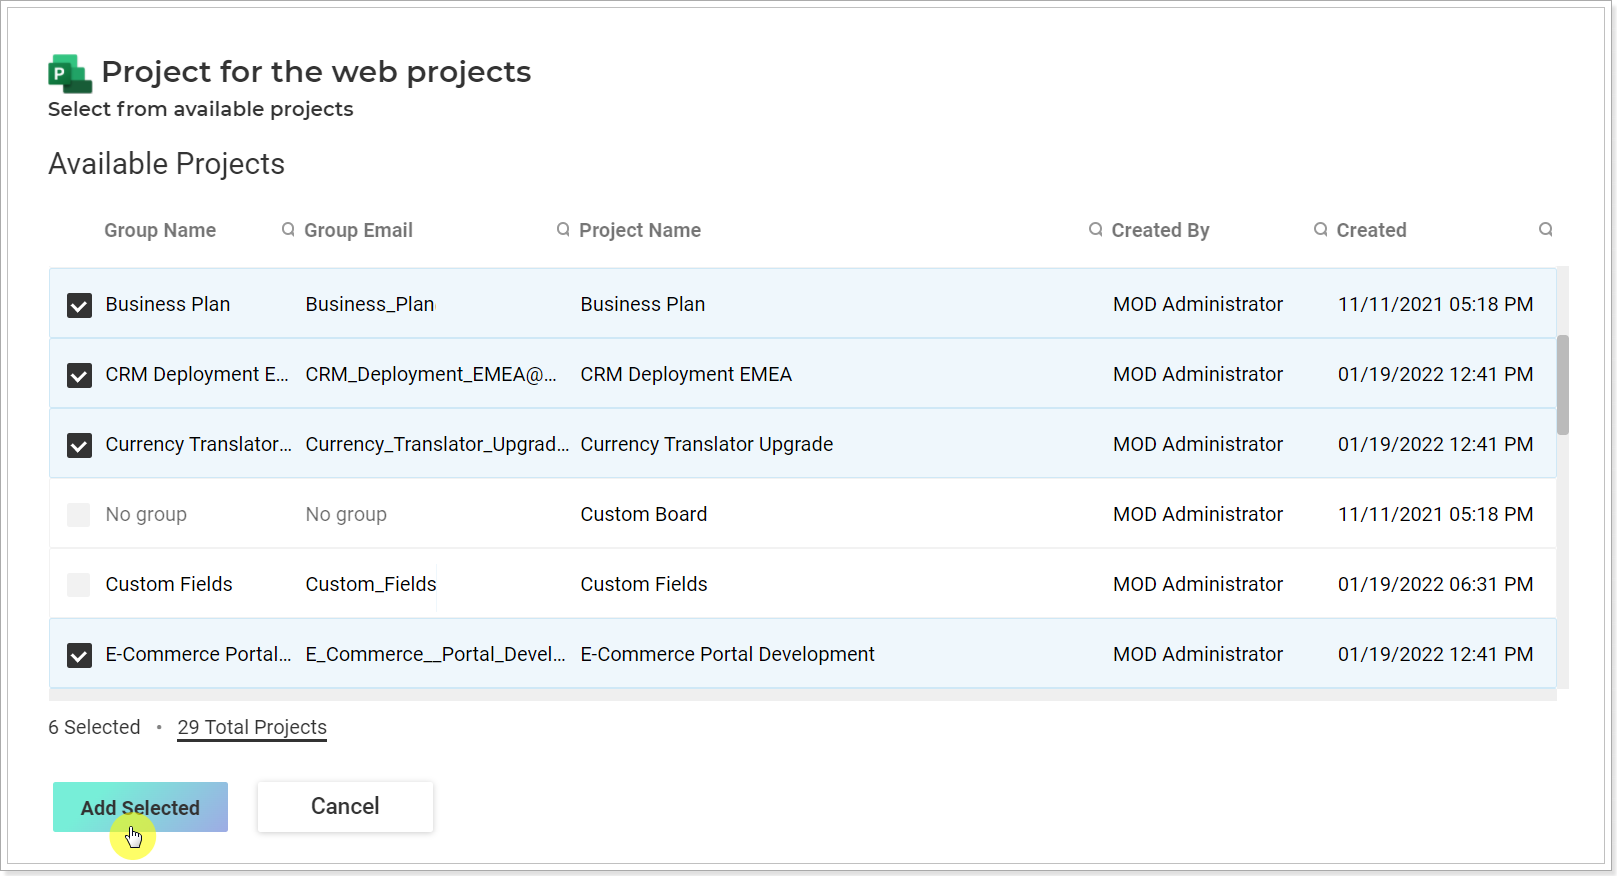
On the Available Projects page, select the required projects. You can filter the project list by clicking on the names of the columns.
When you are ready with the selection, click the 'Add Selected' button.

Email on completion
Provide the email where the notifications will be sent for the completed backups and their status.
Click Save.

All the changes to your backup schedule will be saved.
