
In this article, we will review how to add a subscription to Project Migrator.
Subscriptions can be added from the Subscriptions page or from the Start Migration page while performing project migration from one system to another.
For detailed information about the available plans please refer to the 'Project Migrator Subscriptions' article.
Adding subscription from the Subscriptions page
To add a subscription plan from the Subscriptions page, perform the following:
1. In the Project Migrator home page go to settings and select Subscriptions.

2. In the Subscriptions page click the Add Subscription button.

3. Select your migration source and target systems (Microsoft Planner - Microsoft Planner migration scenario is selected as an example).
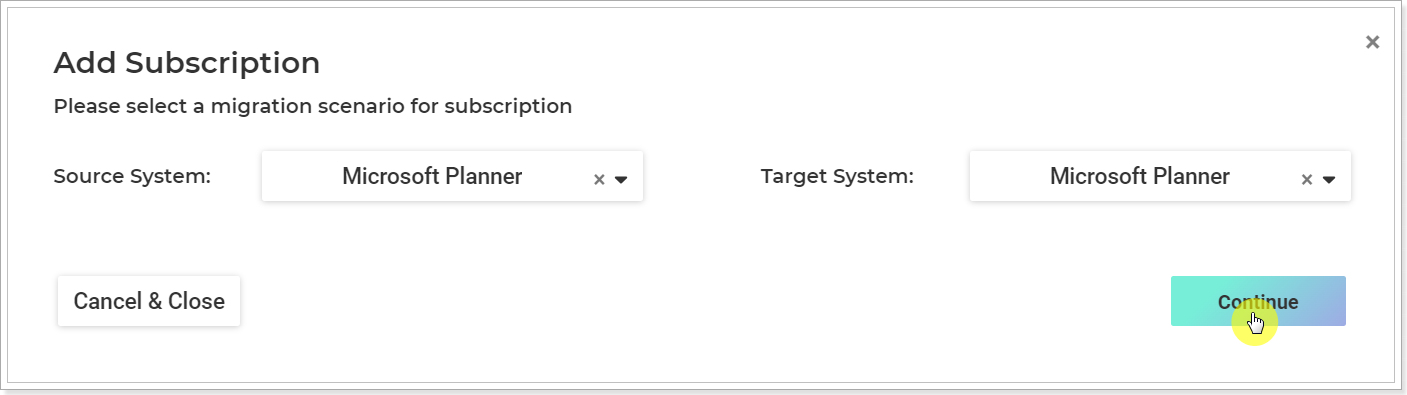
Click Continue to proceed.
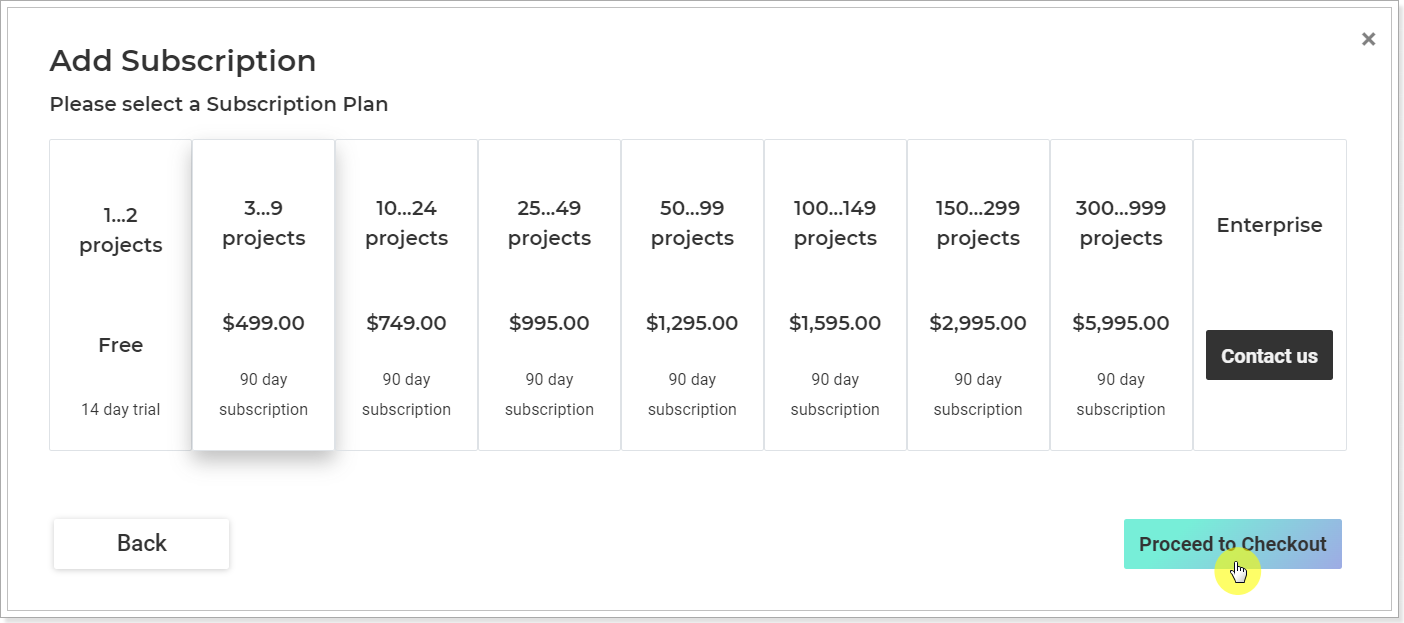
4. Select a Subscription plan from the available plans:
- For 2 projects (14-day trial period)
- From 3 to 9 projects
- From 10 to 24 projects
- From 25 to 49 projects
- From 50 to 99 projects
- From 100 to 149 projects
- From 150 to 299 projects
- From 300 to 999 projects
- Enterprise
Click Proceed to Checkout (from 3 to 9 projects plan is selected as an example).
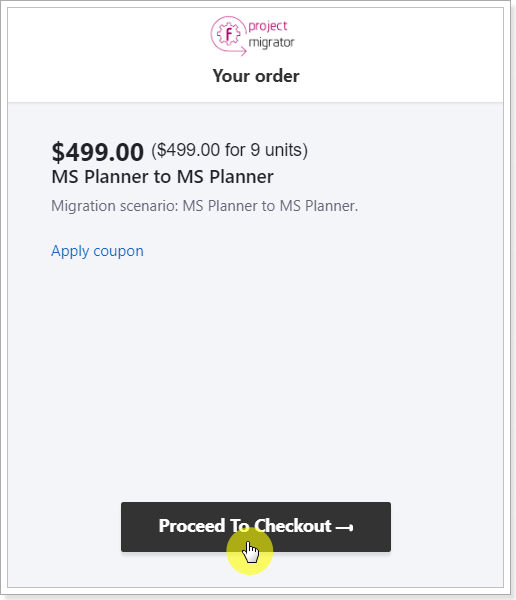
5. Check the information in the Billing window and click Proceed to Checkout button.
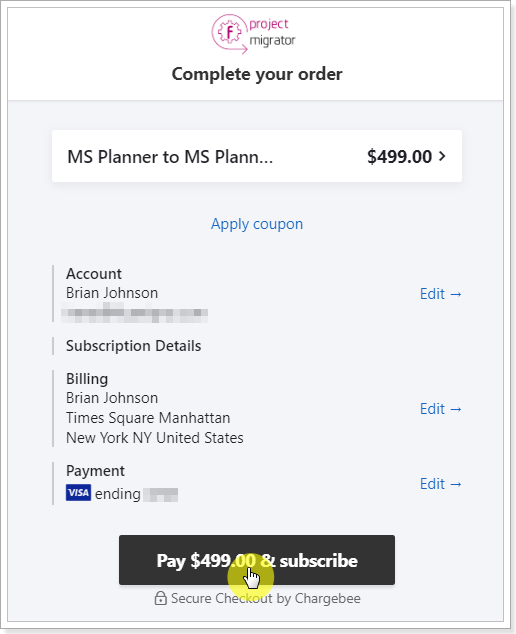
6. Provide your First and Last Name, Billing address.
7. Provide your Payment Details.
8. Check the information and click the Pay and Subscribe button.
The Subscription plan will be added to the Subscriptions page.
You can upgrade this plan, manage your billing details or add more subscriptions for other migration directions/tenants from the subscriptions page.

Adding a subscription from the Start Migration page
To add a subscription from the Start New Migration page, perform the following:
1. Select Start New Migration from the Project Migrator home page.

2. Select your source and target systems and Connect both systems (MS Planner > MS Planner scenario is selected as an example, the steps are the same for other scenarios).

3. In Step 2: Select Source Data select the projects you'd like to migrate.

4. In Step 3: Objects Mapping perform the mapping required for the migration. Detailed instructions can be found the respective section for your Migration Scenario.
5. Select the Proceed to Checkout button that will appear instead of the Start Migration button.
Select the appropriate subscription plan that fits your migration goals and complete the purchase.

Click the Start Migration button to launch the migration process.

As soon as you purchase the required plan, the subscription will be added to the Subscriptions page. From this page you can upgrade the plan, manage your billing details or add more subscriptions for other migration directions/tenants.