
Integration Hub synchronizes with Planner only those Project Online tasks, for which the previously created custom fields are populated with data. The following Enterprise Custom Fields must be present in your Project Online configuration for successful integration. Fields can either be created manually or created automatically by Integration Hub during scenario creation.
To configure your project for integration, we will need to add these custom fields to one of your project Views and to the PDP page:
- Sync Project with Planner field. The project level Flag custom field name that identifies if Project should be synchronized with Plan in Planner.
- Sync task with Planner field. The task-level Flag custom field name that identifies if task should be synchronized with plan task in Planner.
- Planner Bucket field - A task-level Text custom field name that defines the name of the Planner bucket the task should belong to.
- Planner Group Email field. The task-level Text custom field name that identifies the email of the Planner Group that the connected plan belongs to.
- Planner Plan Id field - A project-level Text custom field name that identifies the id of related Plan in Planner.
-
Planner Notes -identifies where the values from the Planner Notes field from Planner will be synchronized to in Project Online. This field is synchronized to Project Online text custom field e.g. Notes from Planner.
Please note: Planner Notes field from Planner is a multiline field. Notes from Planner field is a single-line text field in Project Online (with max 255 symbols).
To synchronize data from Notes from Planner field to Planner preserving the multi-lines, the lines should be provided in the following format in Project Online: Line 1 | Line 2 | Line 3. Please refer to the 'Important details for Project Online <> Planner (two-way multiple plans)' article for more details.
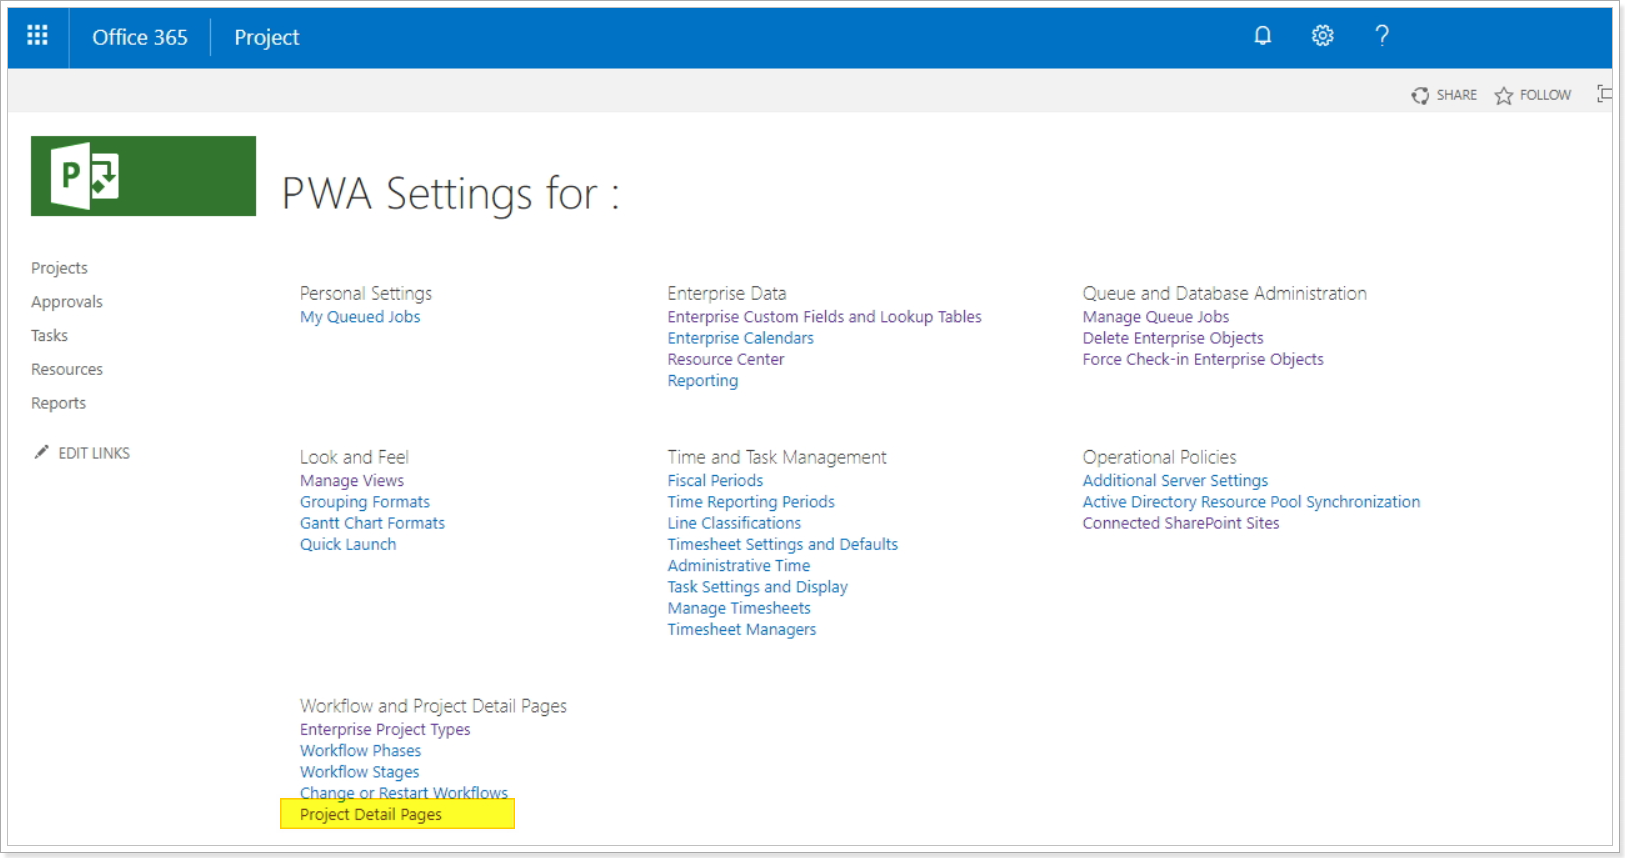
Adding custom fields to a Project Details Page.
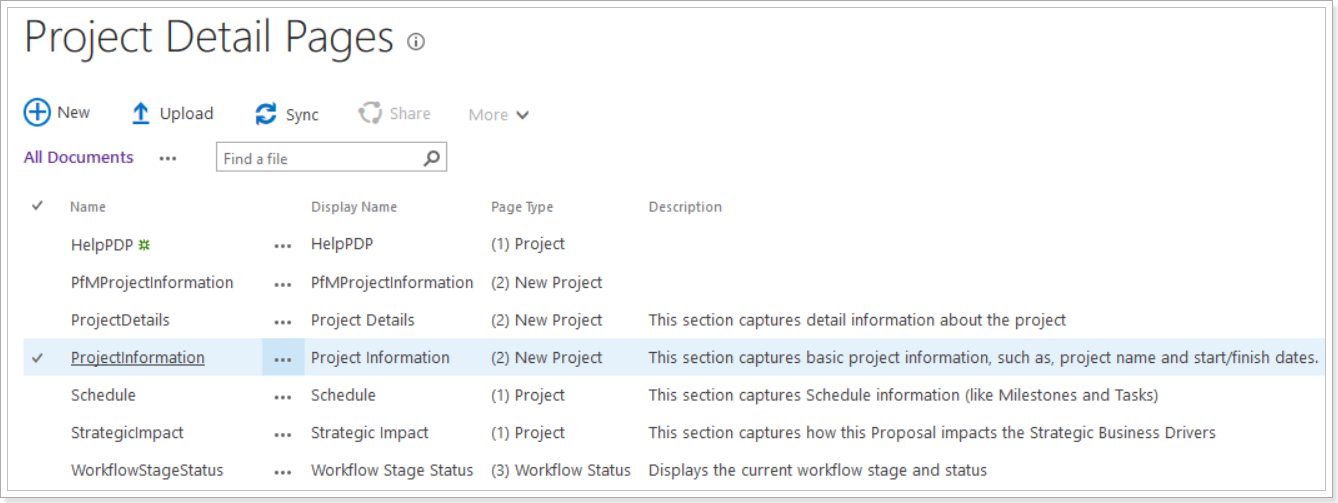
1. Navigate to PWA Settings –> Project Detail Pages.
2. Add fields ‘Sync Project with Planner’, and 'Planner Task Group Email' to the PDP of the Project which will be synchronized. For example, it can be Project Information or a similar PDP.
Adding ‘Sync with Planner’ and ‘Planner Bucket’ and 'Planner Task Plan ID' fields to a Task View.
1. Navigate to PWA Settings → View Management. 
2. Create a new Task View or edit an existing one (we will use Task Summary as an example) and add the custom fields listed above to this view.

3. Add ‘Sync with Planner’ and ‘Planner Bucket’ and 'Planner Task Plan ID' fields to a Task View.
Congratulations! You have successfully configured the integration scenario and your PWA!
To make sure that everything works as expected and run the first integration please refer to the Running your first integration article.