
Integration Hub synchronizes with Planner only those Project Online tasks, for which the previously created custom fields are populated with data. The following Enterprise Custom Fields must be present in your Project Online configuration for successful integration. Fields can either be created manually or created automatically by Integration Hub during scenario creation.
For that, the fields should be added to the Task View and to the PDP page.
- “Sync Project with Planner” field - A project-level Flag custom field name that identifies if Project should be synchronized with plan in Planner.
- “Sync Task with Planner” field - A task-level Flag custom field name that identifies if Task should be synchronized with plan task in Planner.
- “Planner Bucket” field - A task-level Text custom field name that defines the name of the Planner bucket the task should belong to.
- Default Bucket - The name of the bucket in Planner that will be used if the value in the “Planner Bucket” task field is not specified.
- “Planner Plan Id” field - A project-level Text custom field name that identifies the id of related Plan in Planner.
- “Planner Group Email” field - A project-level Text custom field name that identifies the email of the Planner Group that the connected Plan belongs to.
Adding ‘Sync Project with Planner’, 'Planner Plan Id' and 'Planner Group Email' fields to the PDP page.
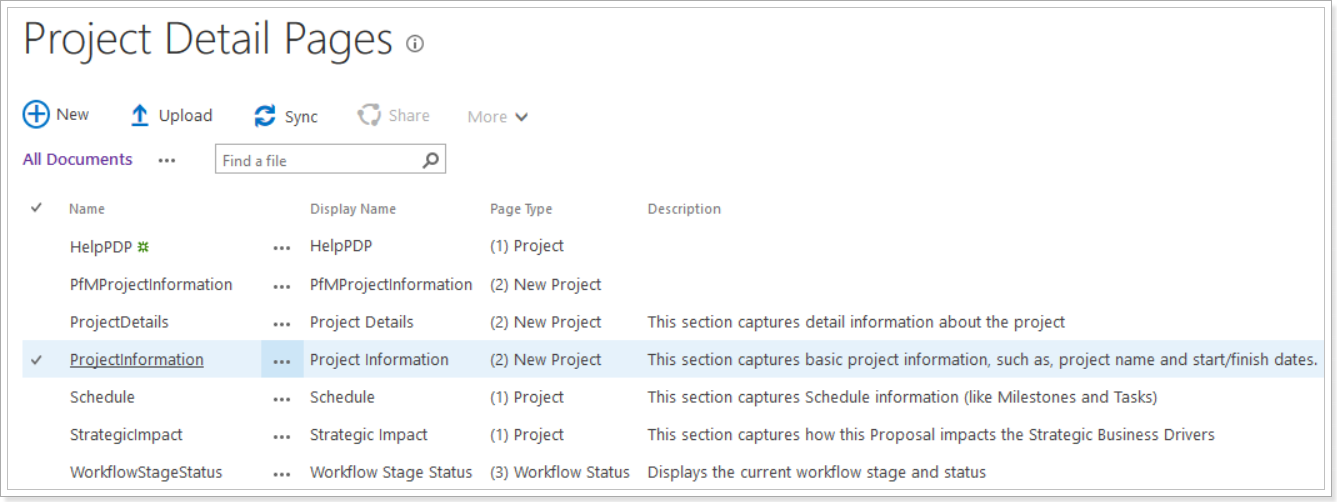
1. Navigate to PWA Settings –> Project Detail Pages

2. It is required to add fields ‘Sync Project with Planner’, 'Planner Plan Id', and 'Planner Group Email' to the PDP of the Project which will be synchronized. For example, it can be Project Information or a similar PDP. Select to open this PDP.
When the PDP is opened click on the Page tab and select the Edit Page option.

Add fields ‘Sync Project with Planner’, 'Planner Plan Id', and 'Planner Group Email' to the PDP of the Project which will be synchronized.

Adding ‘Sync Task with Planner’ and ‘Planner Bucket’ fields to a Task View.
The next step is to add ‘Sync Task with Planner’ and ‘Planner Bucket’ fields to a Task View.
1. Navigate to PWA Settings → View Management.

2. Create a new Task View or select to edit an existing one (e.g. 'Task Summary'). 
And add “Sync Task with Planner” and “Planner Bucket” fields to this view.

Project and Plan are matched in the following way:
- Primary mapping will be done by “PlanID” if exists.
- Secondary mapping will be done by “Planner Group Email” if “PlanID” is not defined.
Please note: New Project is not created during the sync from Planner to Project Online, it should be created manually and mapped to the related plan.
Please note: New Plan is created automatically during the sync from Project Online to Planner if PlanId and PlannerGroupEmail fields are not filled in.
Congratulations! You have successfully configured the integration scenario and your PWA!
To make sure that everything works as expected and run the first integration please refer to the Running your first integration article.