
Add Connection to Planner
1. Once you have signed up to EPM Pulse by the steps from this article, you can select your project management system and set up your first Data Connection.
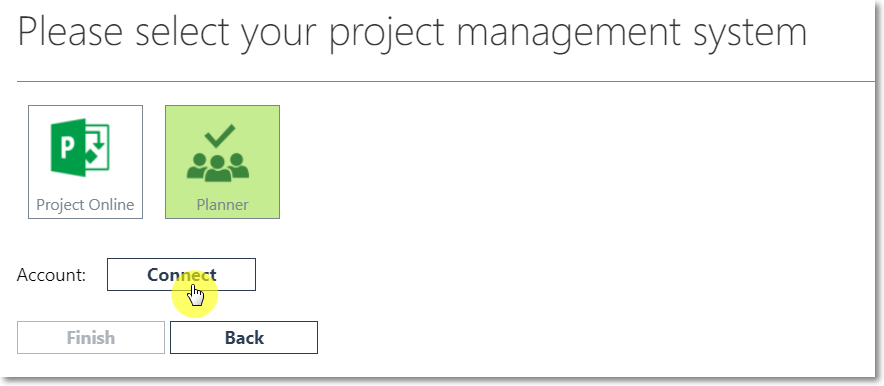
2. Select Planner tile as your project management system.

3. Click Connect.
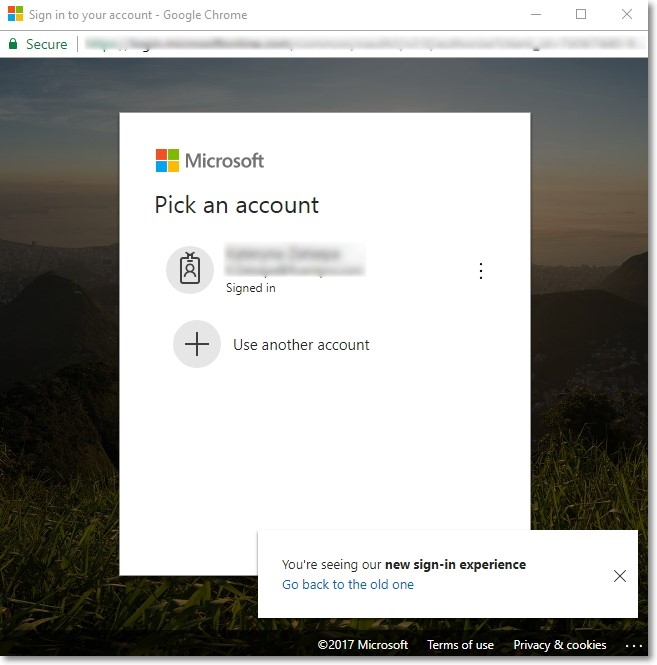
4. In the pop-up window use the tenant Global Administrator credentials to log in to Planner.
- Tenant Global Administrator account is required to establish Planner connection for the first time.
- When the connection is established, a different account from the same tenant can be used as a synchronization account. The synchronization account should have access to the necessary Planner Groups, Planner Users and be a member of the Plans needed to be synchronized.
- If Extend Plans Sync option is not enabled, this account should open all plans that need to be synchronized at least once.
For detailed information please refer to the Connection Account Requirements for Planner Connection article.
5. Click Finish to add the connection to Planner to your EPM Pulse.
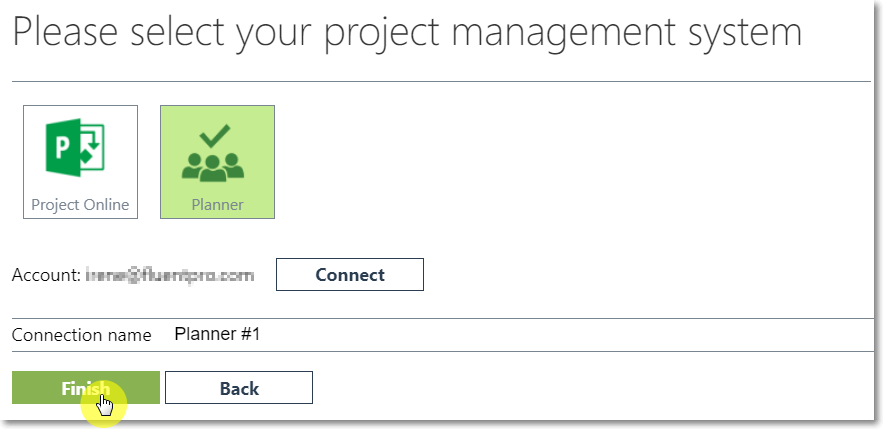
6. When the connection is added, please allow EPM Pulse some time to perform the initial synchronization, which normally takes around 10 minutes.
Once the connection is configured, you can add users, so they can access EPM Pulse to create and view reports. Please refer to this article to find details on how to manage users and user roles in EPM Pulse.
Please note: If you also going to set up Project Online connection, we recommend that you use a separate account for data synchronization from Planner to avoid throttling in Planner (data sync fails with 429 error or takes longer than expected). Project Online user account should have a Project Web App license and should be assigned to the PWA Administrators security group and Site Collection Administrators group on the PWA.