In this article, we will review how to create task custom fields in Planner Premium (formerly Project for the web).
You may need to create new custom fields in Planner Premium when you perform the migration from Project Online (or Asana) to Planner Premium and map task fields from Project Online (or Asana) to Planner Premium. If there is no required field in your Planner Premium environment, you can create it from the mapping page in Project Migrator.
In this article, we will review how to create custom fields in the Project Online -> Planner Premium scenario; the steps are the same for other scenarios.
To create custom fields, it is required to generate a Token when establishing a connection to your Planner Premium account. Please refer to the 'How to generate a token' article for more information.

To create a new custom field in Planner Premium, perform the following:
1. Scroll down to the Task Field Mapping step. Click the Create Custom Field button at the bottom of this section.

2. In the 'New Field' window, select the field type:
- Text
- Date
- Number (rollup type can also be selected)
- Yes/No
- Choice (allows creating necessary values (max 25 choice options))
3. Type in the field name. Click Proceed.

Please note: Only 10 task custom fields can be created from the Project Migrator mapping page in Planner Premium (due to the Planner Premium limitation that does not allow creating more than10 custom task fields per project).
If the migration is performed to an existing project that already has some fields created, only the first fields will be created to have a max of 10 fields per project.
If the field with the same name already exists, it will not be possible to create such a field.
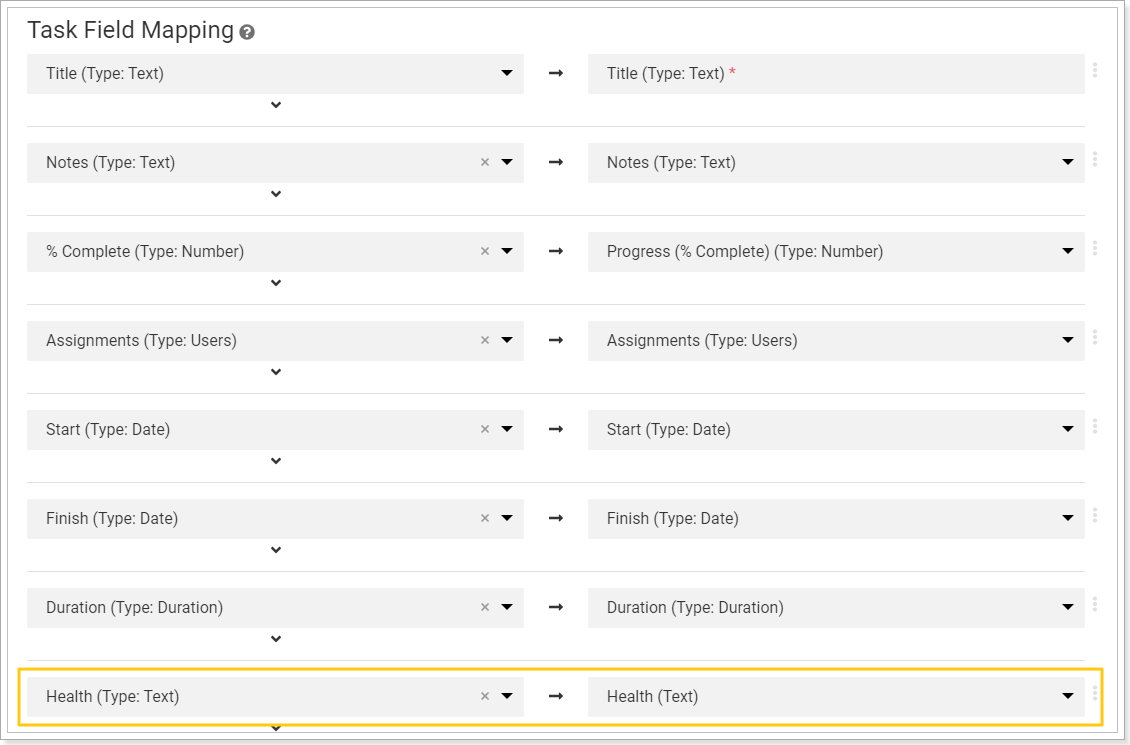
4. When the field is created, you can map it to the required custom field from Project Online.
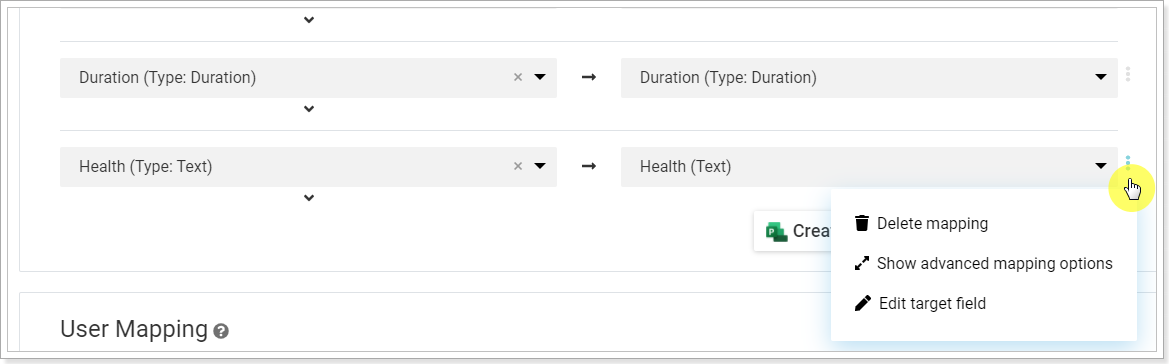
To delete the mapping for the selected field, click on the ellipsis button and select the Delete mapping option.
Please note: The custom field will not be deleted from the Planner Premium; only the mapping will be deleted, and these fields will not be taken into account during migration. You can then add this field for mapping again if needed by clicking the Add mapping button.
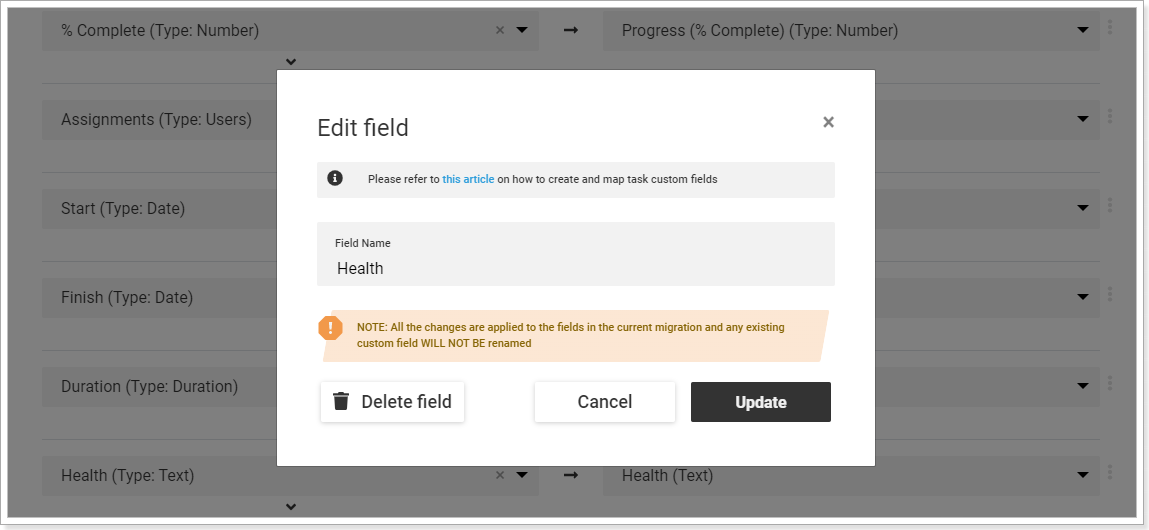
If you need to delete the custom field from Planner Premium or edit this field, open the menu and select the Edit target field option.
The field will be opened for editing. The delete field option here allows deleting this field from the Planner Premium.