In this article, we will review how to restore data from the created backup for Planner (basic plans) (former Microsoft Planner).
There are two pages where you can launch the restore process: Operation Details and Data Protection.
Data Protection
This page is most convenient when there is a need to restore a single Plan/Microsoft Group. Opening the full backup summary and selecting more data to restore is also possible.
To launch the restoration of a single plan, perform the following:
1. Open the Data Protection page and select the plan you need to restore right now (the plan restore is taken as an example, but you can restore a single group following the same steps).
You can select to review all backups of the plan/groups on the page or review only Completed or Failed backups using the buttons at the bottom of this section.
Use the date range option to select the required date to the state you need to restore the plan. Use the Search option to find the needed Plan/Group by name. Also, you can sort the columns by Project title or Group.

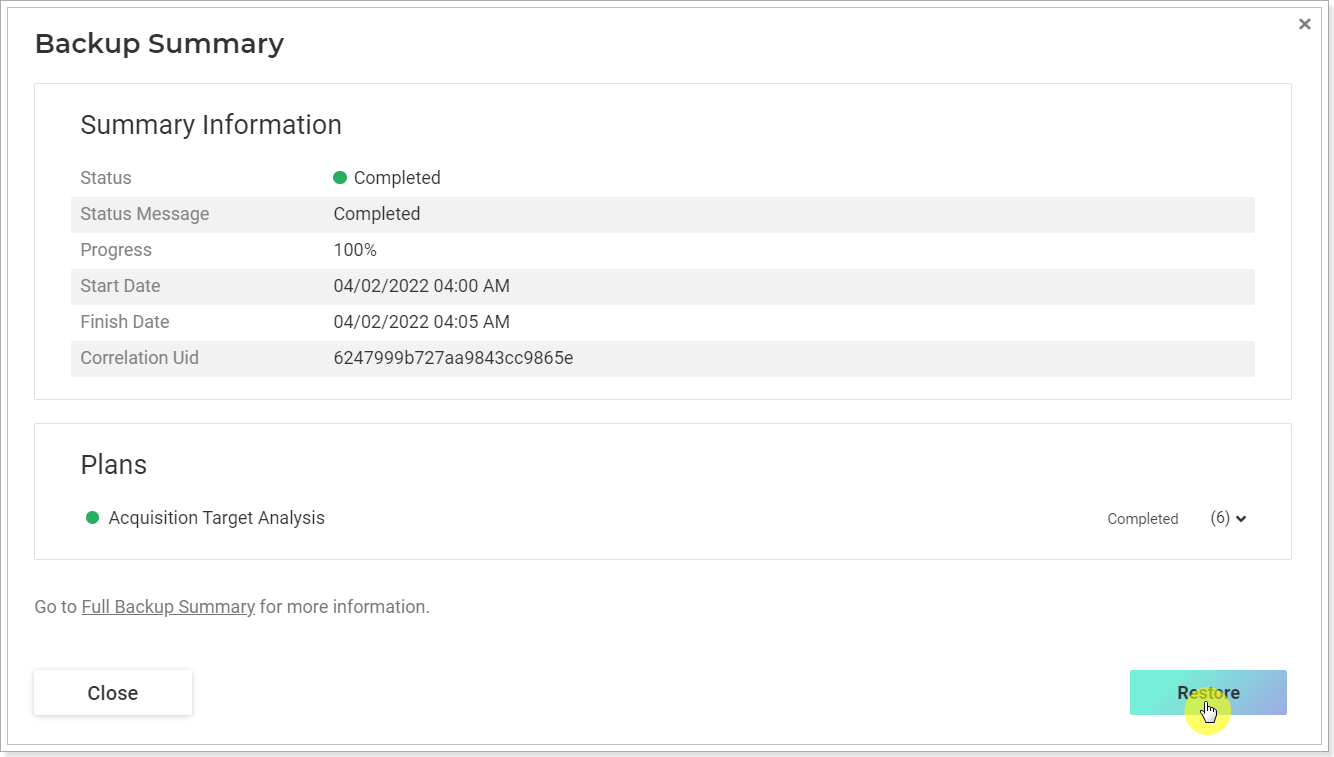
Click on the completed backup status of the required plan, the Backup Summary page will be opened. You can review the information for the selected backup of a single plan and resource it at once by clicking the Restore button.
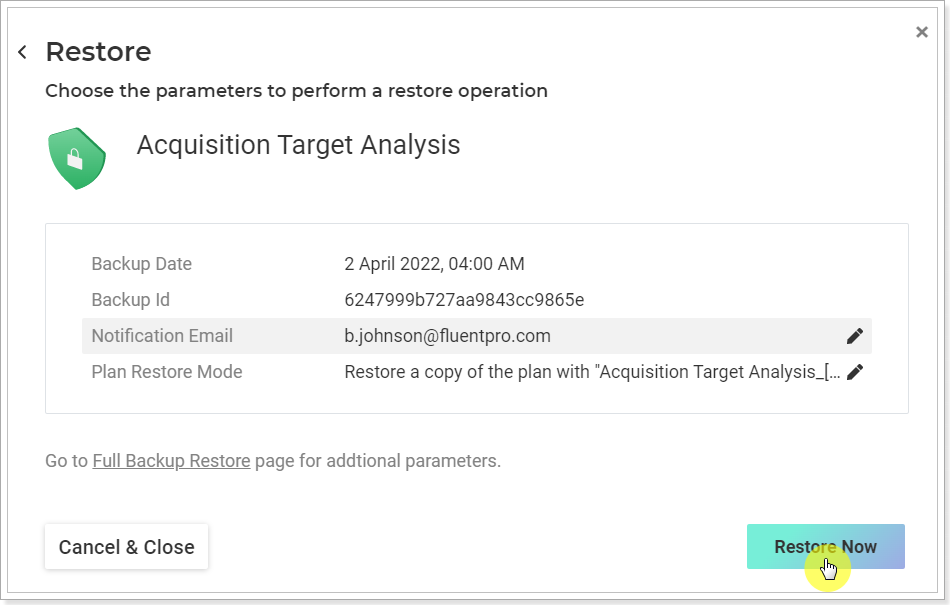
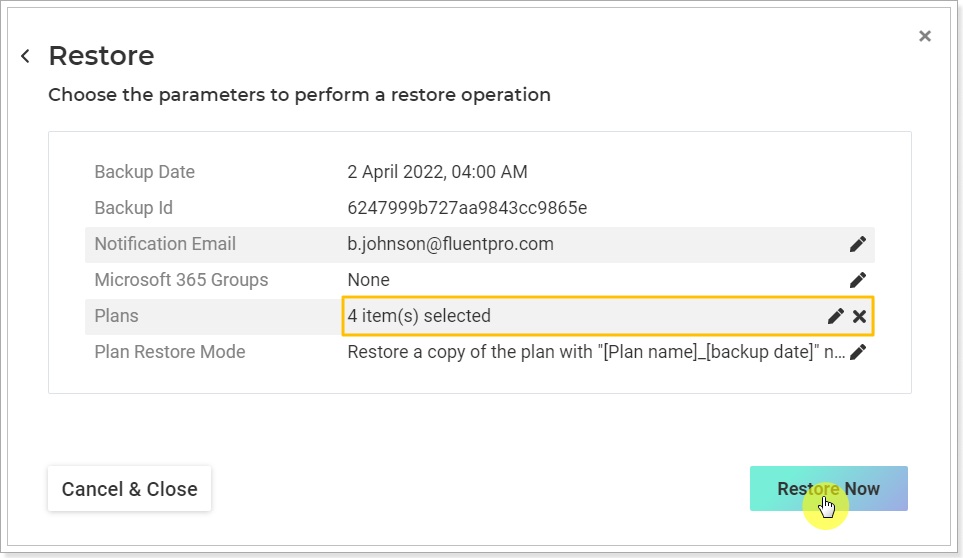
Choose the restore parameters and click the Restore Now button.
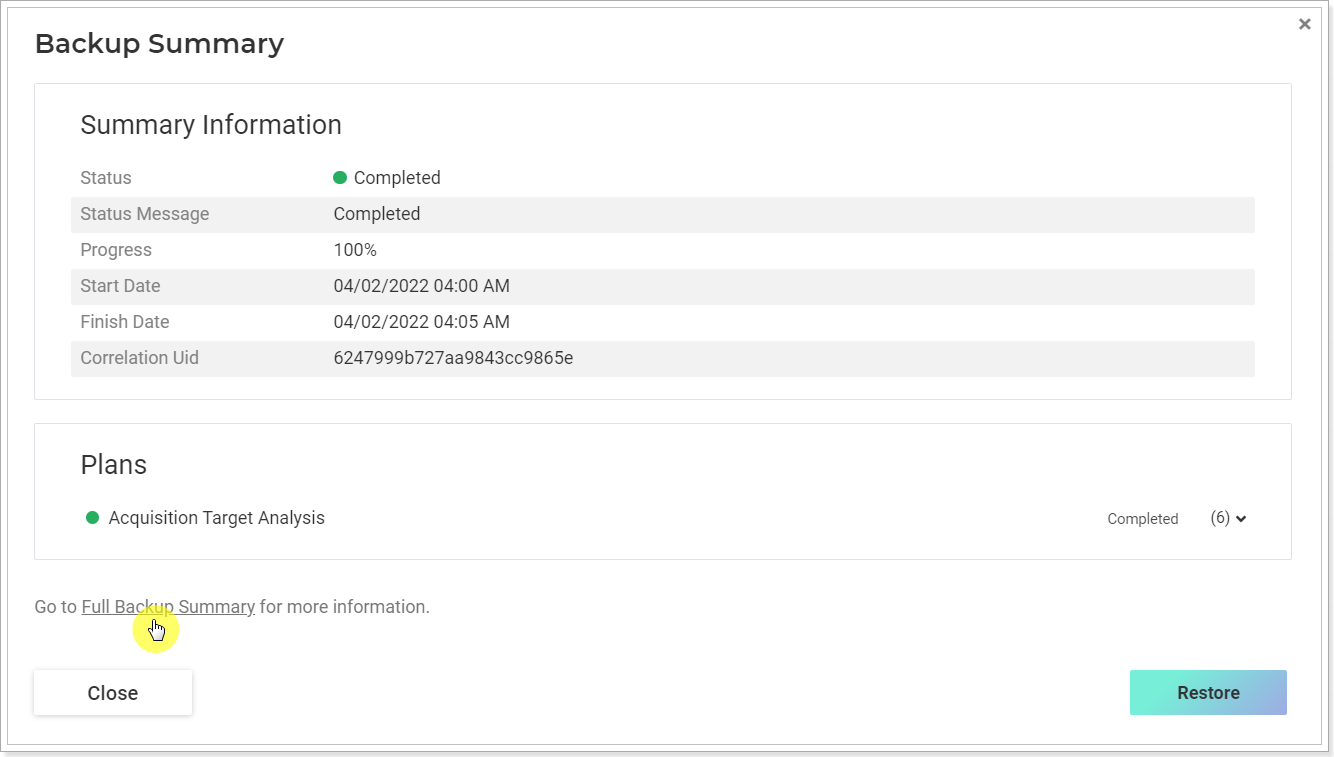
To select more data for restore click the Full Backup Summary option.
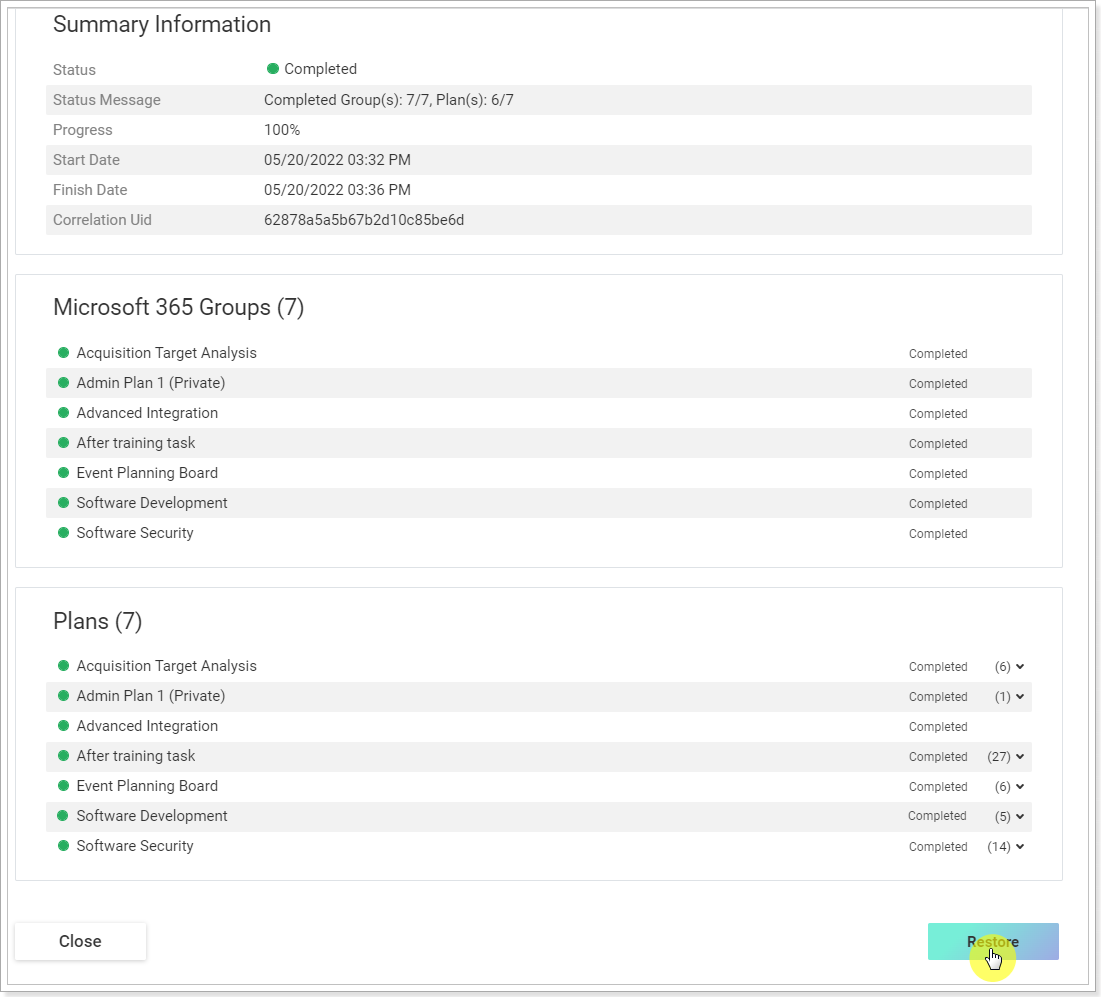
Review the summary for the backup and click the Restore button at the bottom.
The Restore page will be opened where you can select what data you need to restore from this backup: Microsoft 365 groups, plan.
Click on the pencil-like button next to each element to select data.
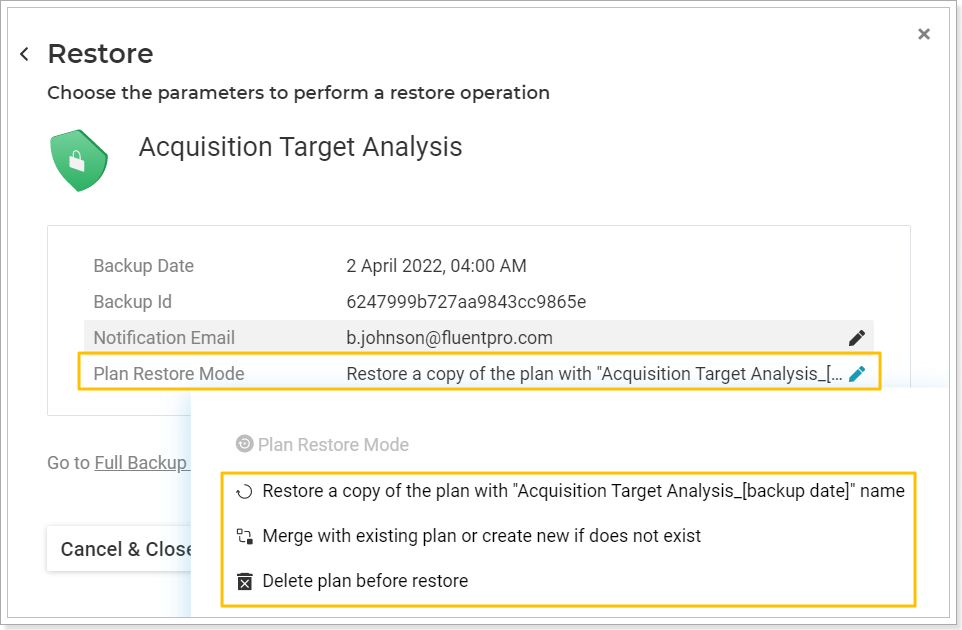
Select the restore mode:
With the 'Restore a copy..' plan mode selected, a copy of the plan will be created with the name 'Plan name and backup date'.
With the ‘Merge with an existing plan or create new if does not exist’ restore mode selected, the existing plan will be found by name and ID, and in case it is not found, a new plan is created from the backup.
If an existing plan is found by the same ID and Name, the plan data is updated, merging with the data from the backup during the restore operation. See how the data will be updated:
Plan Element |
Updated? |
Notes |
Plan Name |
— |
Plan name is not updated if it has changed |
Plan Background |
— |
Plan Background is not rolled back if it has changed |
|
Plan Buckets |
+ — |
The bucket order is not rolled back if it has changed. |
|
Plan Tasks |
+ — |
The Task order is not restored. A copied task is not removed. Newly added tasks are not deleted.
|
Task Element | ||
Name |
+ |
|
|
Assignments |
+ |
If a user assignment is deleted from the task and M365 Group, it will be restored in case the Plan and its Group are restored. |
|
Attachments |
+ — |
Missing attachments are restored as links only.
|
Progress |
+ |
|
Labels |
+ |
|
Priority |
+ |
|
Checklist |
+ |
Missing items are added to the end of the checklist (e.g., 18, 19, 1, 2, 3) |
Start Date |
+ |
|
Due Date |
+ |
|
Notes |
+ |
|
Comments |
+ |
|
Show on Card |
+ |
|
If the ‘Delete plan before restore’ mode is selected, the existing plan is found by name and ID, gets deleted and a new plan is created from the backup.
You can either select everything at once or select only specific elements for restore.
When the data is selected, click the Restore Now button.
Operation Details
On this page, you can open the full backup summary at once and select several items for restoration. Use filters on the page to quickly find the required backup operation.

Click on the completed backup operation to open its summary.
Clicking on the pencil-like buttons next to each element, select the required plan/groups for restore, and select the restore mode. Click the Restore Now button.
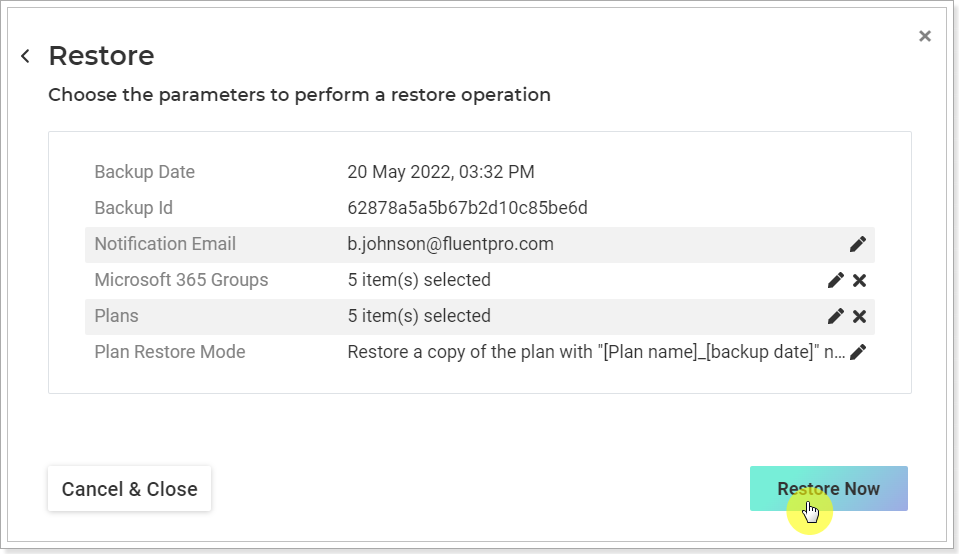
The restore operation will be launched at once and will appear on the Operation Details page where you can check its status and progress.
