
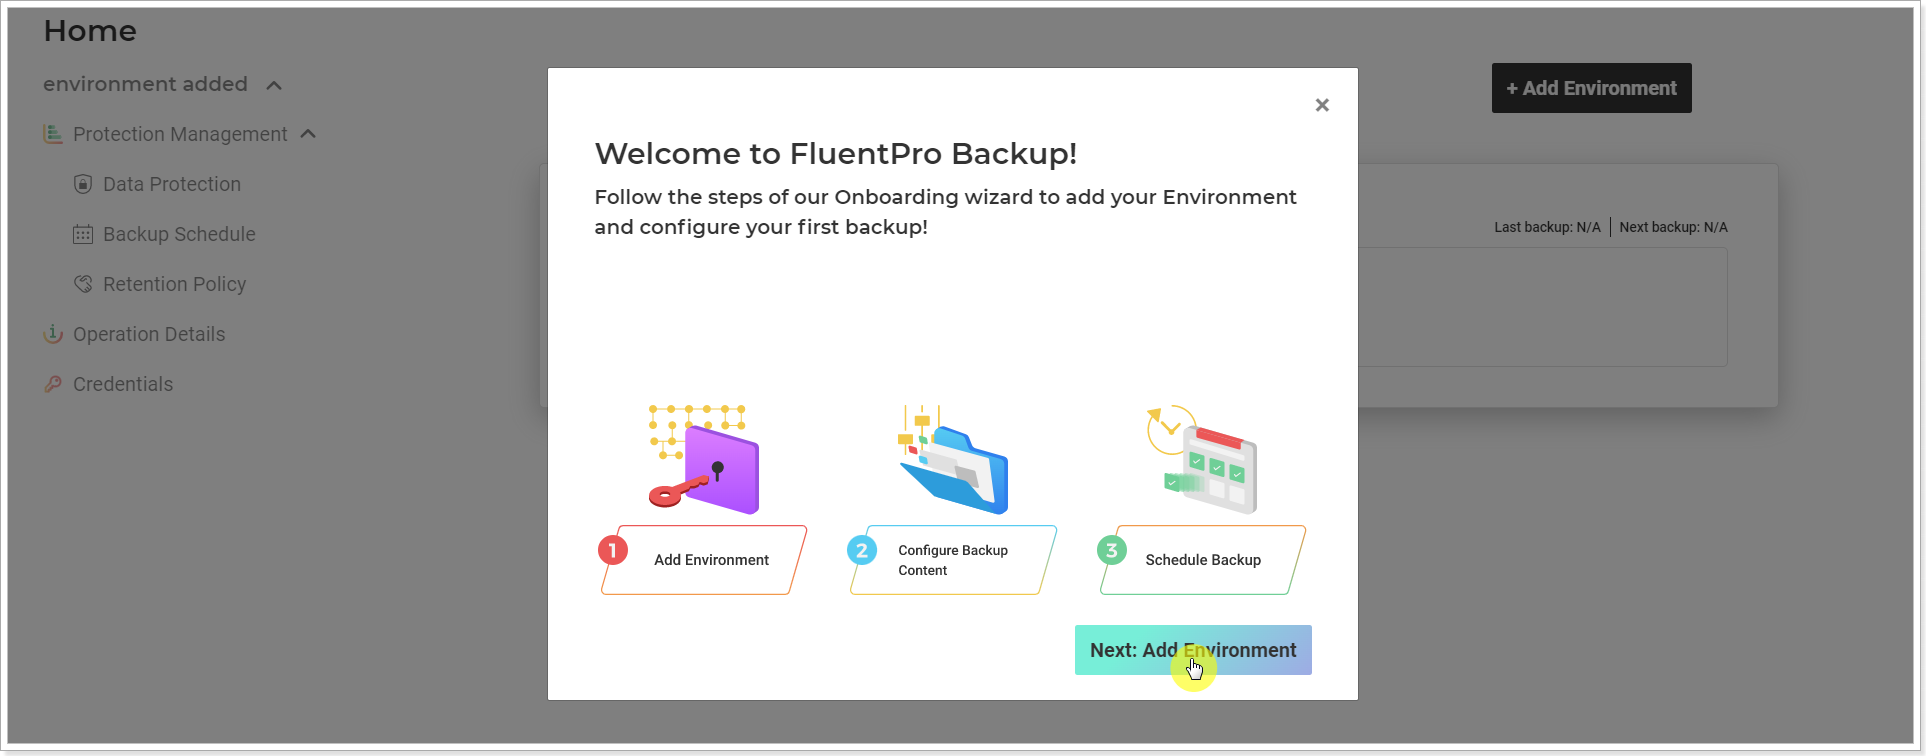
As you sign up to FluentPro Backup, the onboarding wizard will be opened immediately. This wizard allows adding your first environment to FluentPro Backup and scheduling your first backup.
If the onboarding wizard was skipped or you already added another environment, click the Add Environment button on the right.
On the first step, click the 'Add Environment' button.
Connect to your Planner (basic plans)
To add your first Planner (basic plans) environment to FluentPro Backup and schedule your first backup, perform the following:
1. Select the Planner (basic plans) (former Microsoft Planner) system.

2. Click Connect
 3. Provide your credentials and log in to Planner (basic plans) using your Office 365 account.
4. Please refer to the Connection account requirements article to ensure your account has all the necessary permissions.
Click Continue.

Choose which data to back up
- Plans: All, Selected (select only the Plans you need to include in this backup), Ignored (is used to select the projects which should not be backed up. Other not selected projects in that list and newly created projects will be backed up).
- Microsoft 365 Groups: For Selected Plans.
Click Next.
If you need to include only specific plans in the backups instead of all, click the Selected button.

On the Available Plans page, select the required plans. You can filter the plan list by clicking on the names of the columns.
When you are ready with the selection, click the 'Add Selected' button.

Select the backup frequency
First, select the backup start time. This defines the time of day when the first backup will run and serves as the reference point for calculating all subsequent scheduled backups.
To change the settings for how often the backup starts for modified entities, click the 'Actively modified backup data' option and select the required option from the list.
In the 'Unmodified data backup' field, you get to select how often a backup starts for all selected unmodified entities.

If you select the 'Don't check data modification' option under 'Actively modified backup data', backups will run for all selected entities, regardless of any changes.

Also, under 'Unmodified data backup', you can select the 'Don't run force protection' option if needed. This option is available only if “Don’t check modification date” is not selected in the 'Actively modified data backup'.
Your first backup schedule will be launched. You can open the Operation Details page to track progress and review its status.
Further backups will be launched automatically by the created schedule.
Please note: FluentPro Backup does not consider deleted buckets or tasks as changes and does not include the Plans where no changes were made except for the tasks/buckets deletion to the backup.
As soon as the environment is added and the schedule is created, this information appears on the Backup Schedule page. If you open this page, you can review and change the information for your schedule and/or run the backup on demand.
