In this article, we will review how to upgrade a subscription from a Trial to a Paid one in FluentPro Backup.
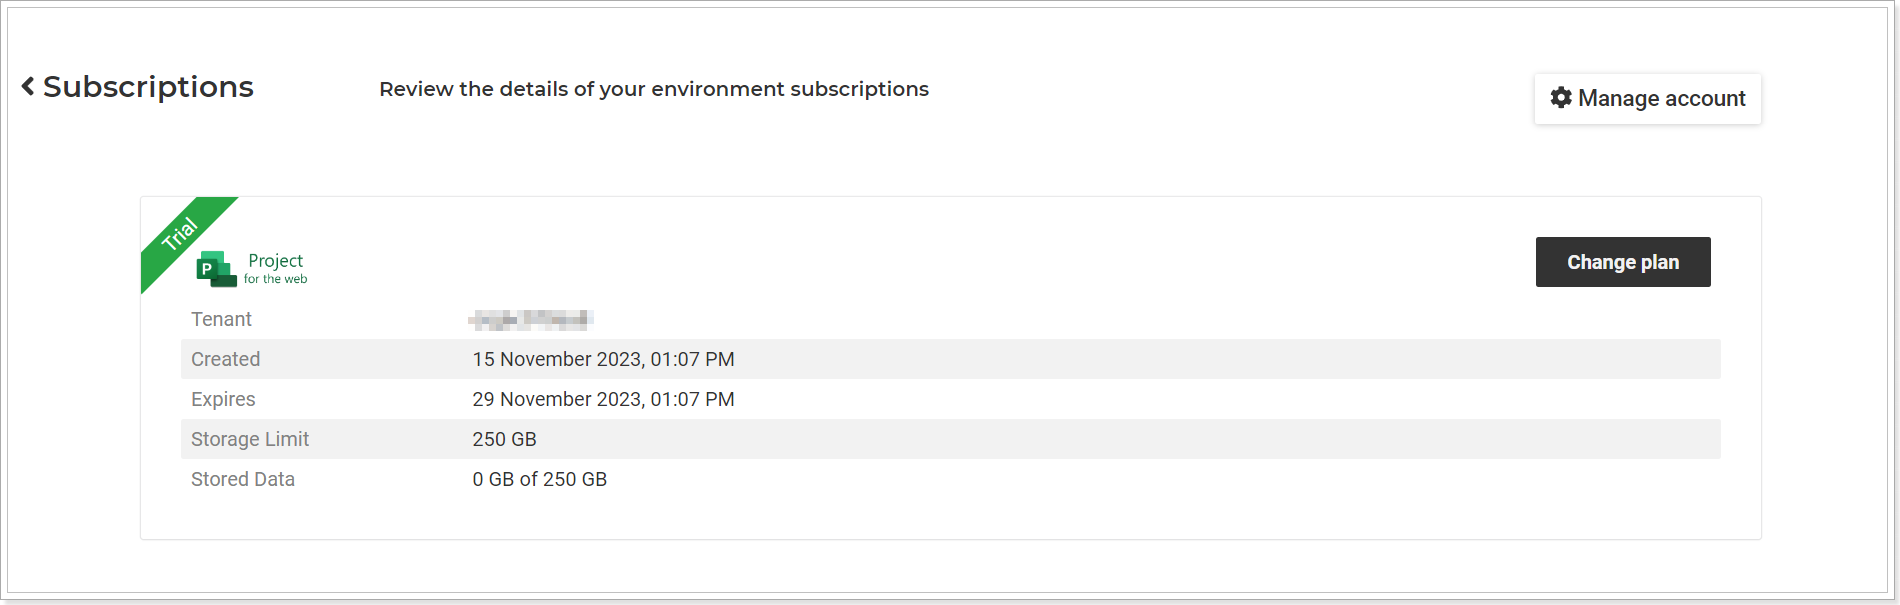
We will review how to upgrade a subscription for the Planner Premium (formerly Project for the web) environment as an example, but the process is the same for all other environments available in FluentPro Backup.
To upgrade the subscription plan to a paid one, perform the following:
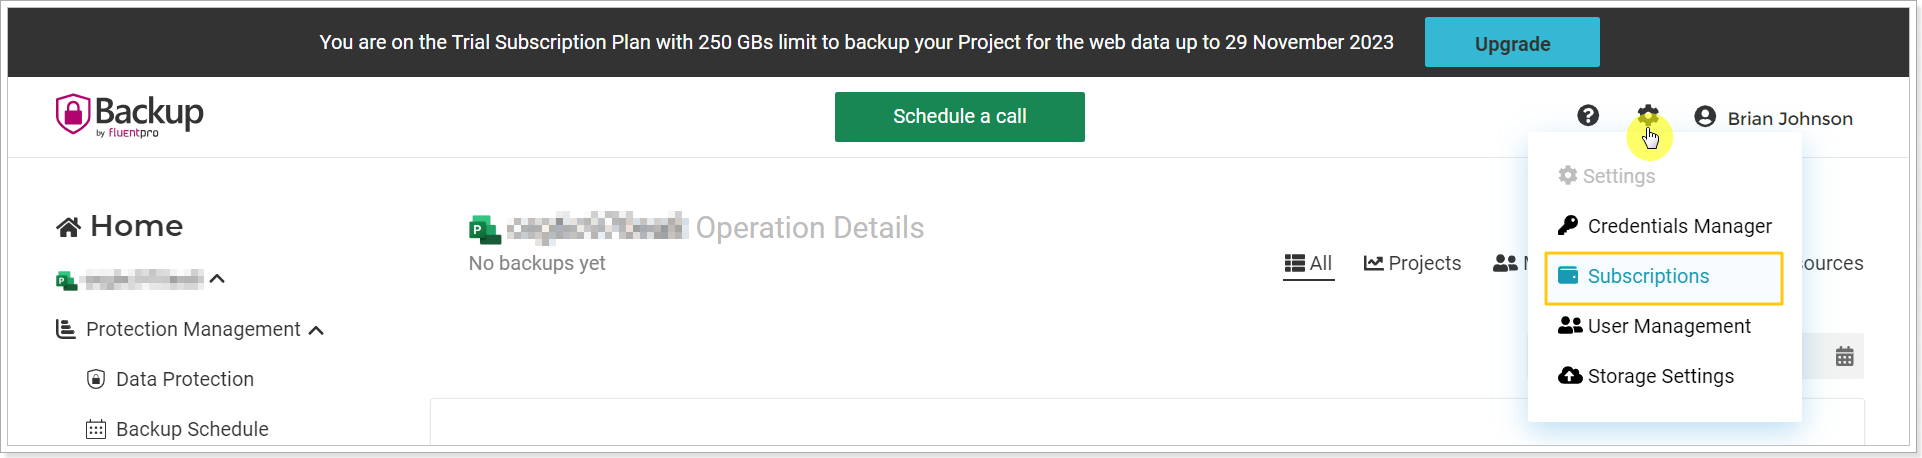
1. Open the Settings menu from the gear button, and select Subscriptions.
Please note: Only users with Administrator permission and tenant Owner can access subscription details, purchase, upgrade or cancel subscriptions.
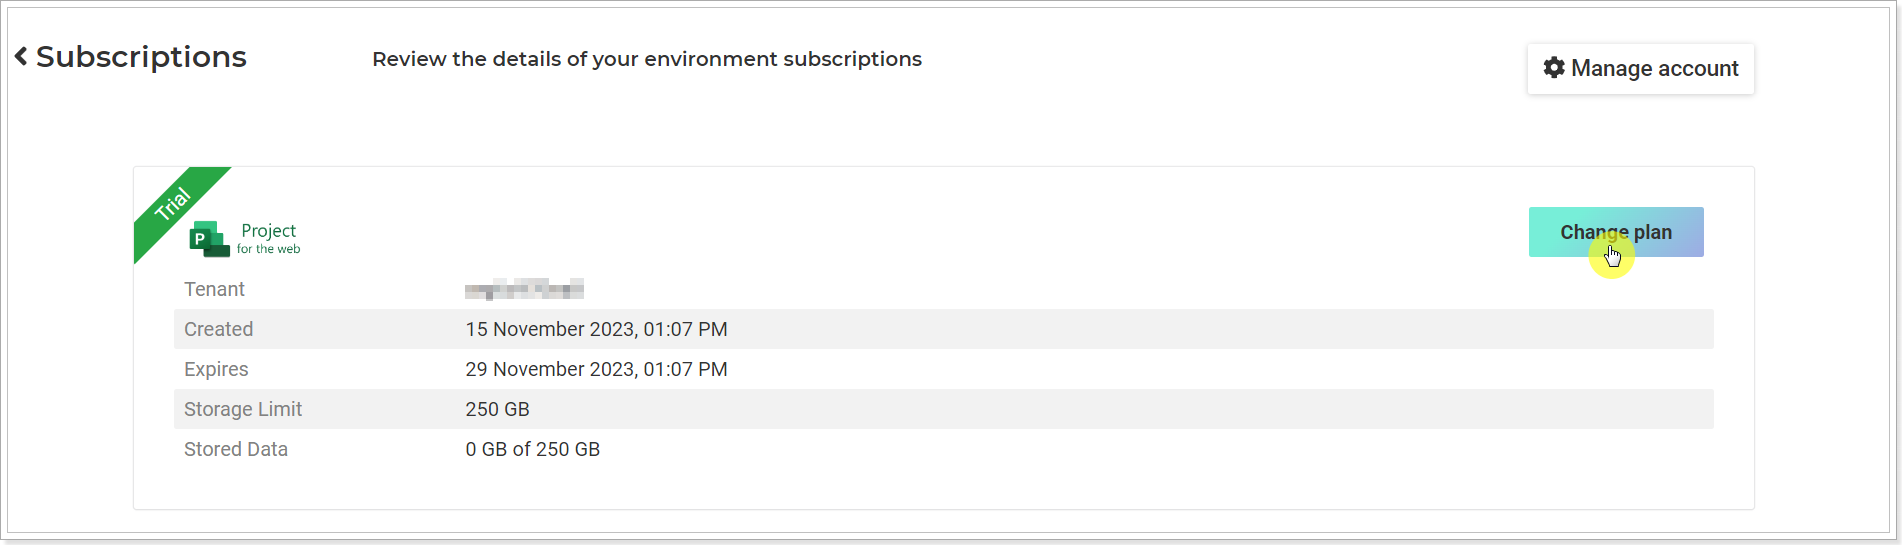
2. Click Change Plan.
3. Select a Monthly or Annual subscription type.
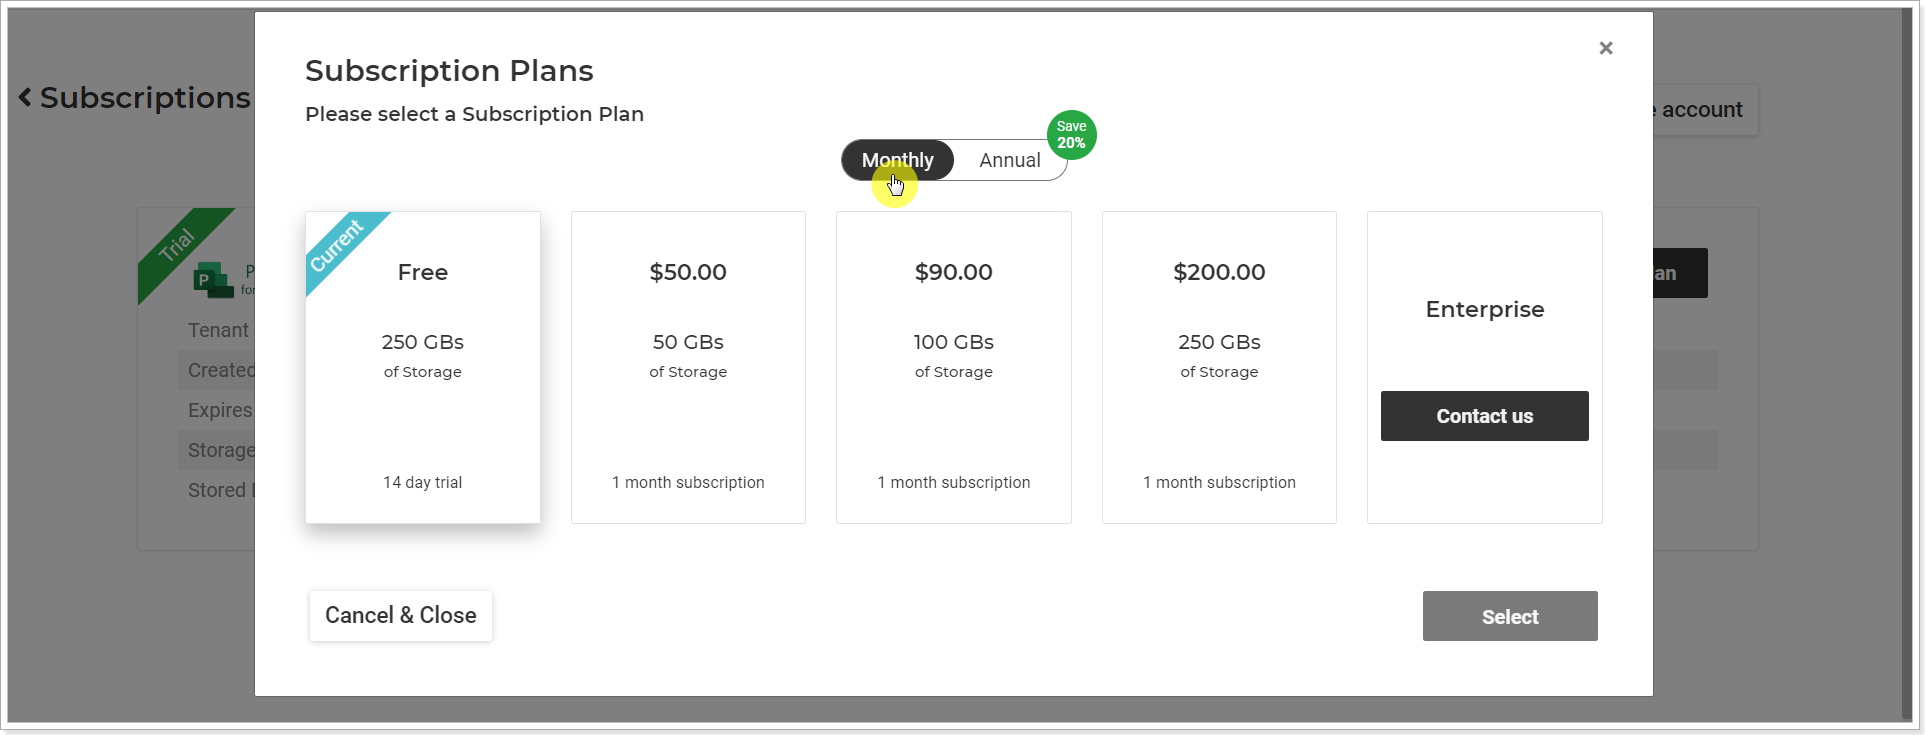
4. Select a Subscription plan from the available plans (the plans are the same for all environments except Dataverse):
- 50GBs of Storage
- 100GBs of Storage
- 250GBs of Storage
- Enterprise (requires contacting the sales team using the Contact Us button)
For the Dataverse environment, the plans are the following:
- 15GBs of Storage
- 100GBs of Storage
- Enterprise (requires contacting the sales team using the Contact Us button)
Please note: If you have backed up your data while being on a trial plan, you will be able to upgrade to the plan that is higher in storage than the amount of storage you have already used. For example, if you used 70GBs of data storage while being on a trial plan, you will not be able to purchase a 50GBs of Storage plan, only the next ones will be available (100GBs, 250GBs, Enterprise). Also, please take into account that the size of stored backed-up data will grow over time, even when the retention policy is configured, so we recommend selecting a bigger storage size when upgrading.
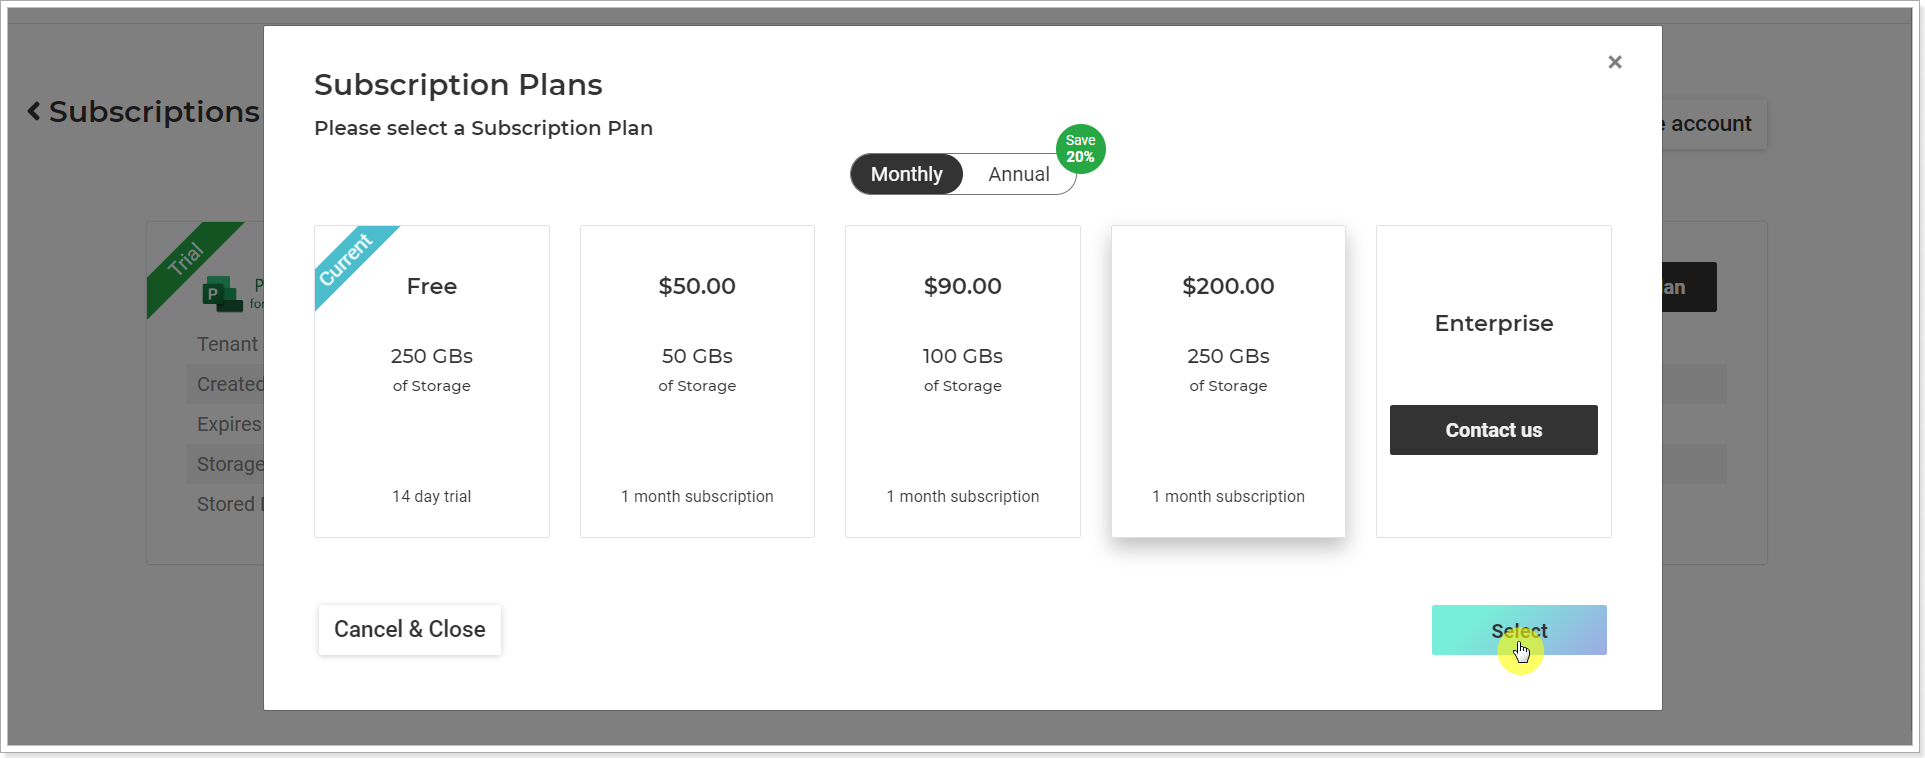
Click Select.
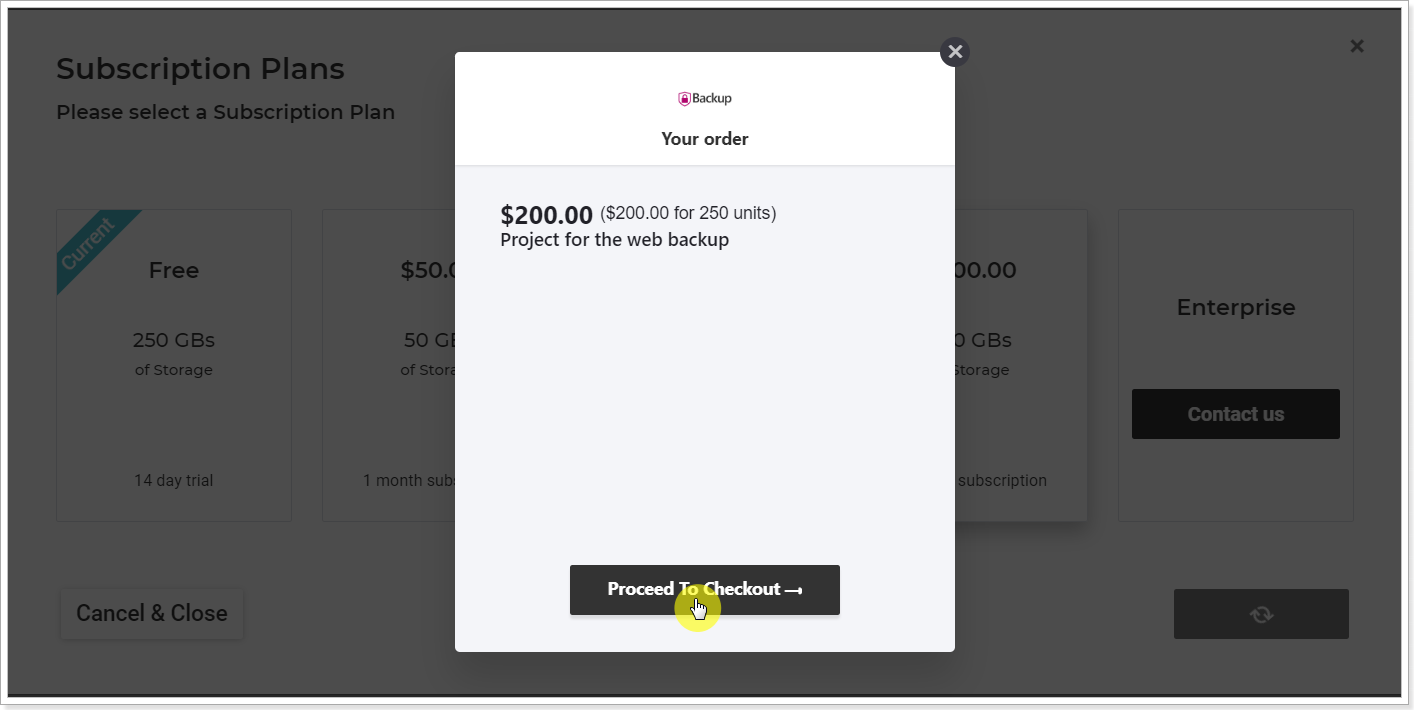
5. Check the information in the Billing window and click the Proceed to Checkout button.
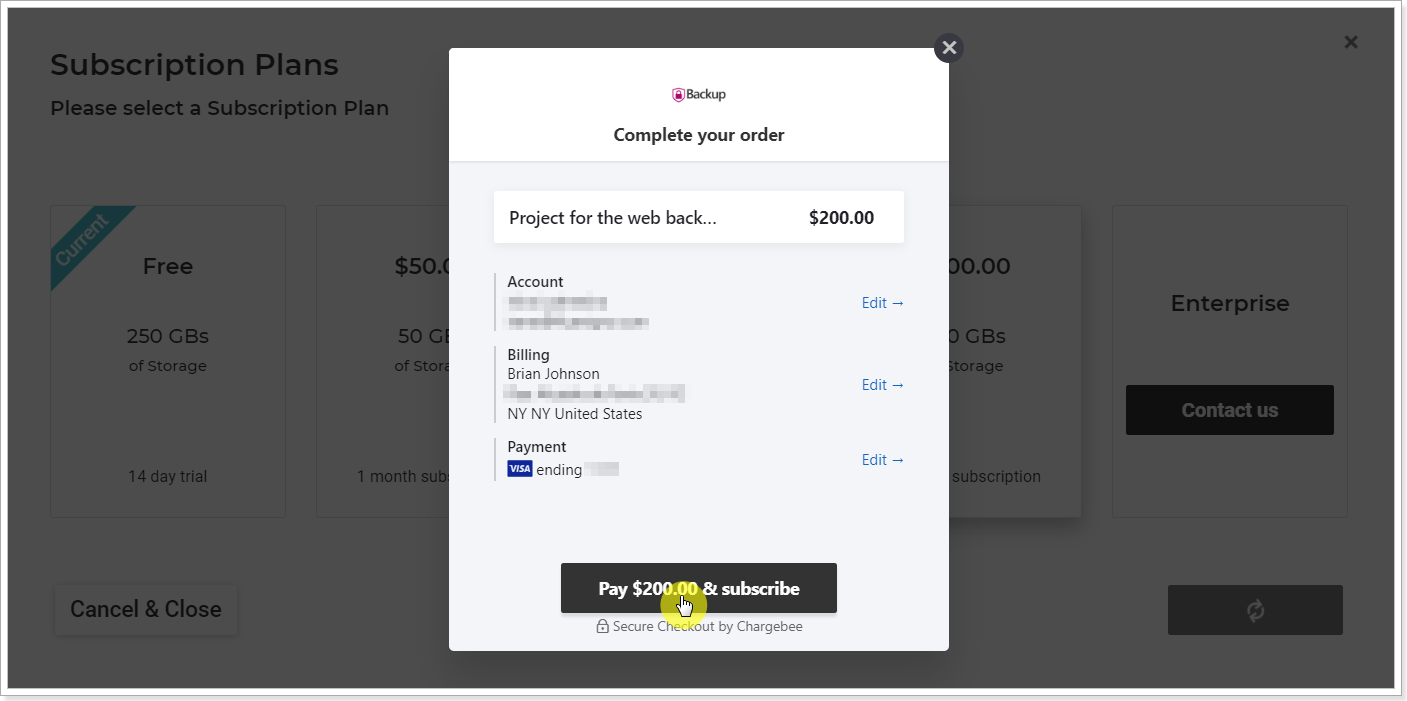
6. Provide your First and Last Name and billing address.
7. Provide your Payment Details.
8. Check the information and click the Pay and Subscribe button.
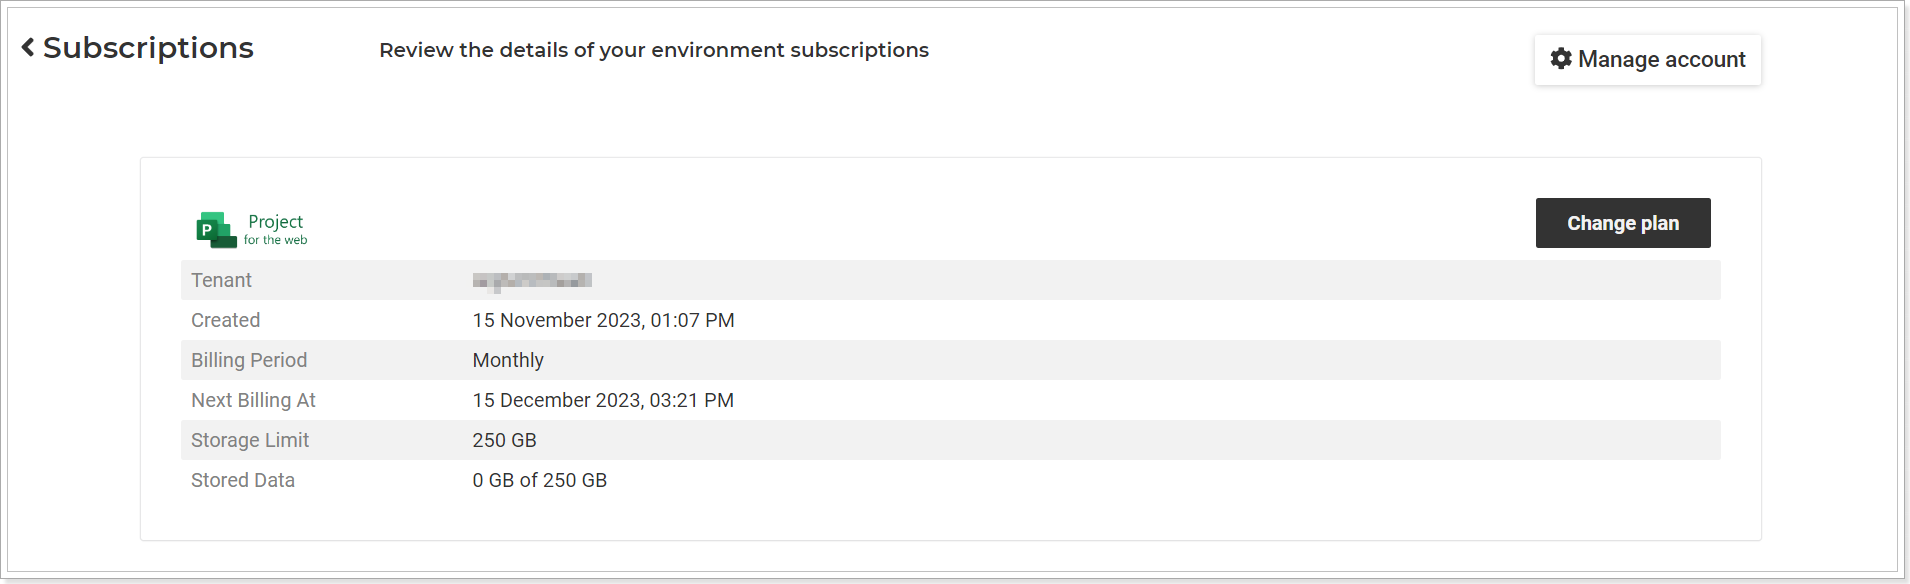
The Subscription plan will appear at once on the Subscriptions page.
You can upgrade this plan, manage your billing details, or add more subscriptions for other environments on the Subscriptions page. To upgrade/downgrade your plan, click the Change Plan button.
Billing is done automatically monthly or annually, depending on the plan selected.
To cancel your subscription, go to the Subscriptions page -> Manage account -> click on your plan -> Cancel Subscription.
Please note: It is possible to downgrade the plan only if the amount of storage used is not higher than in the plan you want to select.