This article describes how to use FluentPro Power BI Pack for the Planner Premium (formerly Project for the web).
Please note: Configuration and usage of Power BI Report Pack for Planner Premium requires an active subscription or an active trial period. Please contact the FluentPro Sales Team for pricing or trial request at sales@fluentpro.com.
To install FluentPro Power BI Pack for Planner Premium, perform the following:
1. Install Power BI report Pack for Planner Premium from AppSource by this Link.
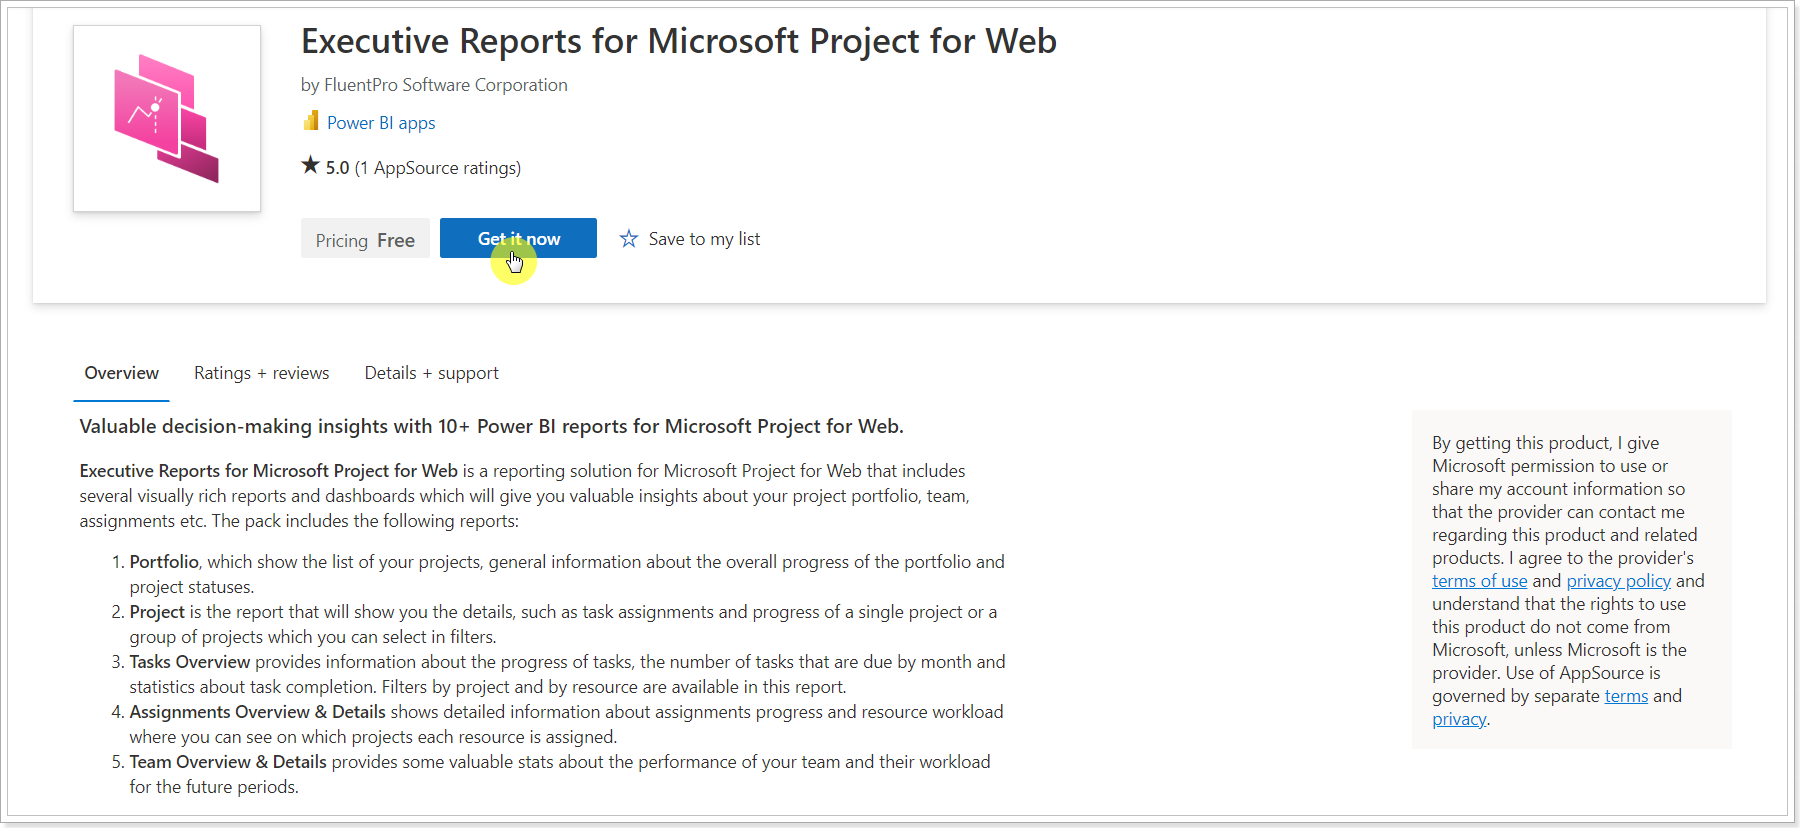
2. As you click 'Get it now', provide the credentials you use to sign in to the Power BI service.
3. In the next window that appears make sure that you are signed in with the correct account, review the terms of use and privacy policy and click Continue to agree and proceed.
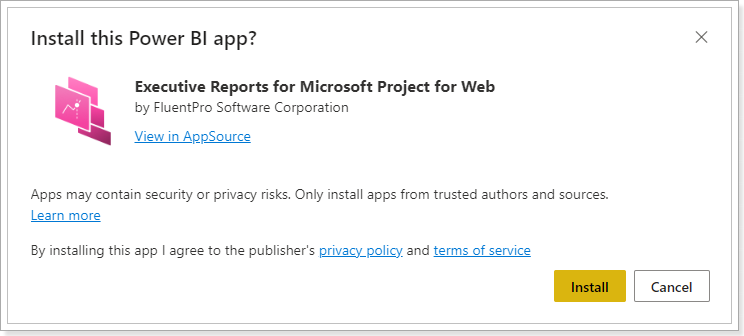
4. Next, click Install to install the Power BI report Pack for Planner Premium.
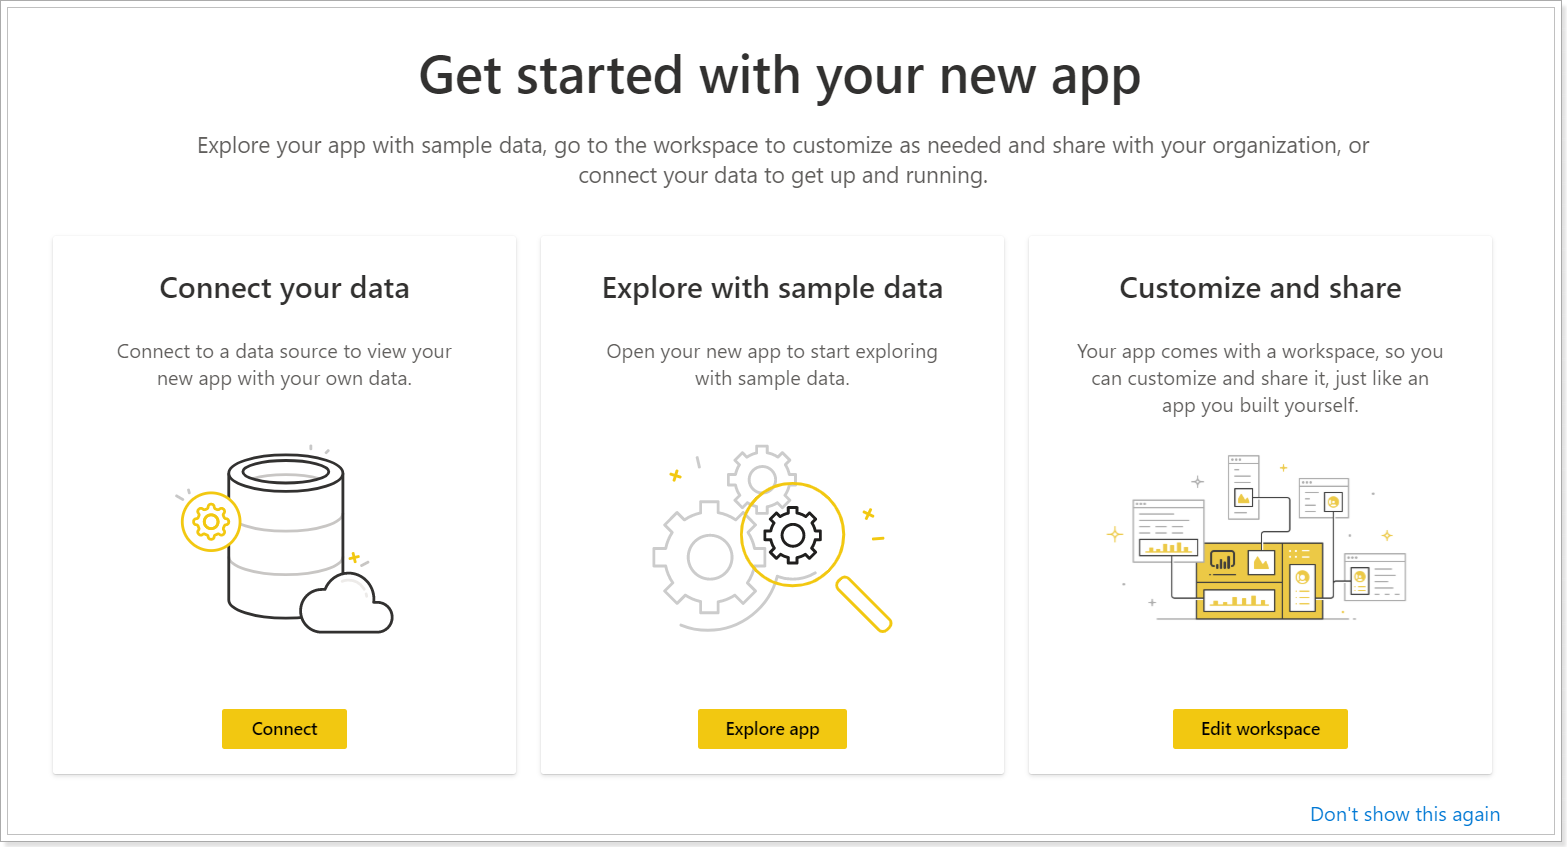
5. The application will appear on the Apps page in the Power BI service. Click on it to open.

6. In the window that appears click Edit Workspace to open the workspace and connect the report to your Planner Premium and review your data on the reports included in this pack.
If you would like to review the reports on the demo data first, click Explore app button.
7. Navigate to the report dataset, click on the ... icon and choose the Settings.
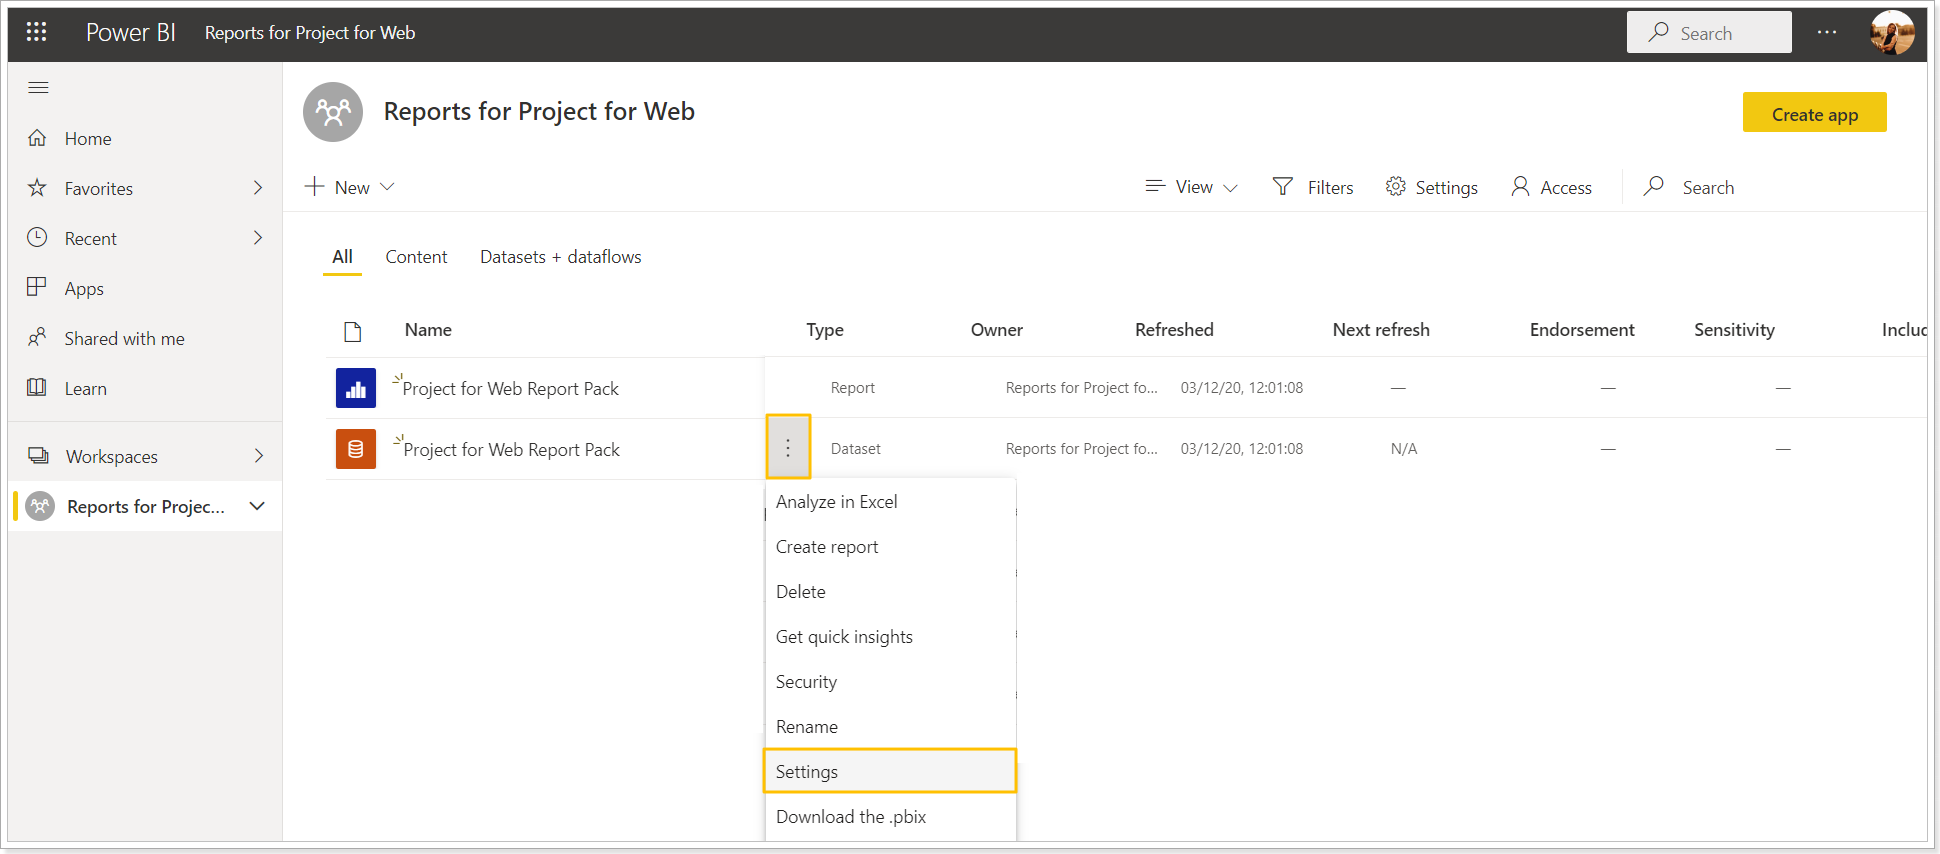
8. On the Settings for dataset page, open the Parameters section, and provide the Environment URL, it should be copied from the Common Data Service (Power Platform).
Planner Premium data is stored in the Dynamics 365 Common Data Service (CDS). You need to enter the URL of the default CDS instance that you are using.
To get this URL perform the following:
- Open the site: https://web.powerapps.com.
- Log in using your Office 365 account.
- On the PowerApps page, click on the gear button and select the Developer Resources option.

- Copy the Web API endpoint URL.
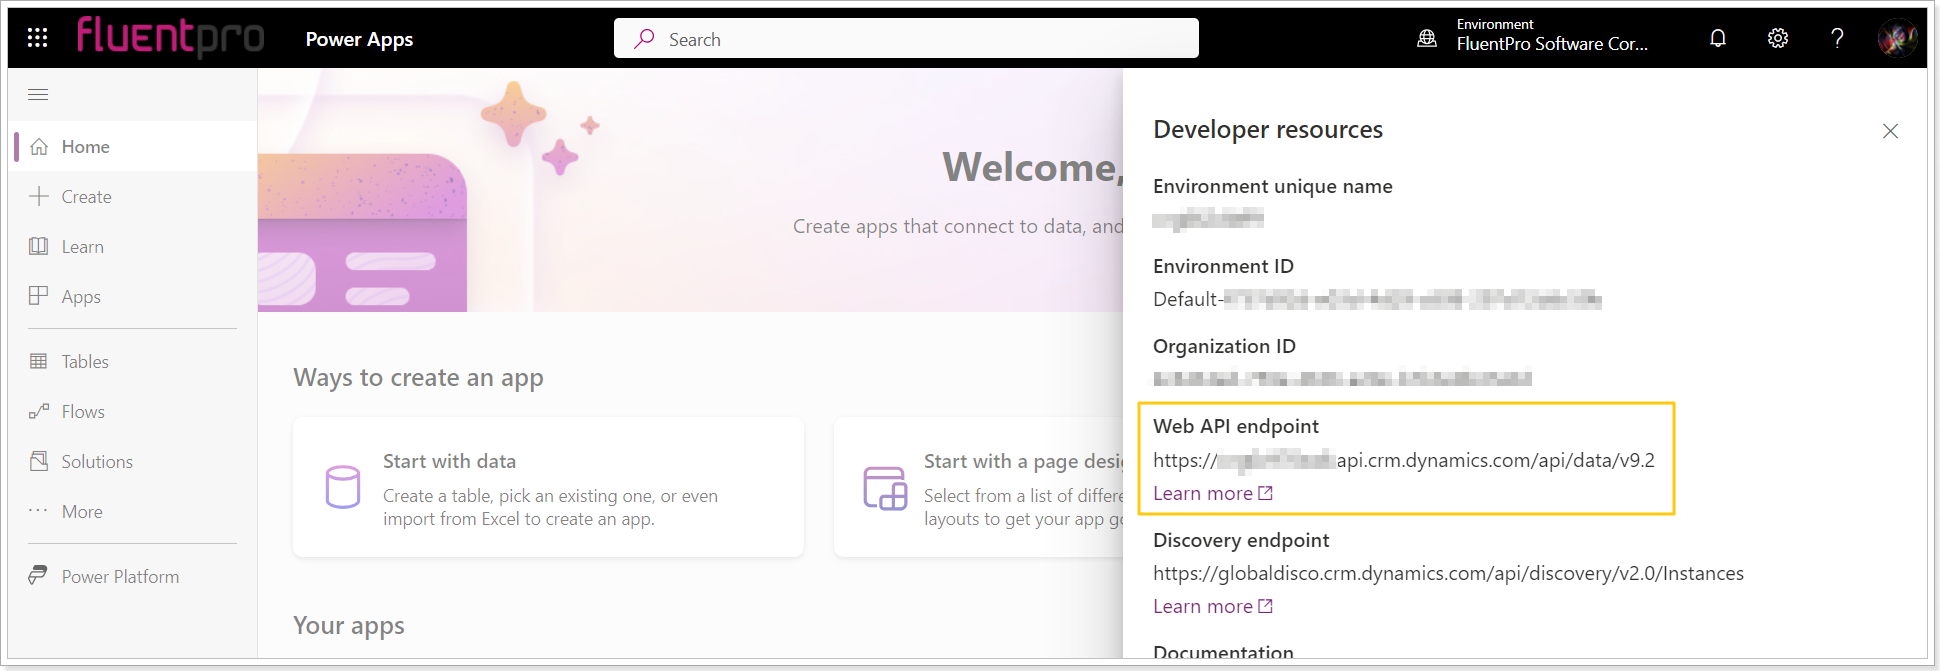
Paste the Environment URL you have copied to the Parameters section of the report dataset.
Click Apply.

9. Next, it is required to set the connection credentials. Open the "Data source credentials" section and click "Edit credentials".
In the opened window, select the OAuth2 authentication method to login with your Microsoft account, and select the necessary privacy level.
Click the Sign in button.

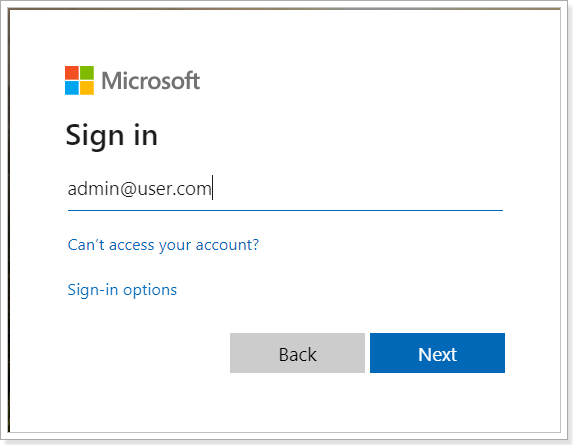
Provide your credentials. We recommend signing in with an Admin account or an account that has access to the Planner Premium projects for which you would like to see data in the report.
10. You can launch data synchronization at once. For this purpose click the refresh button in the report Dataset.
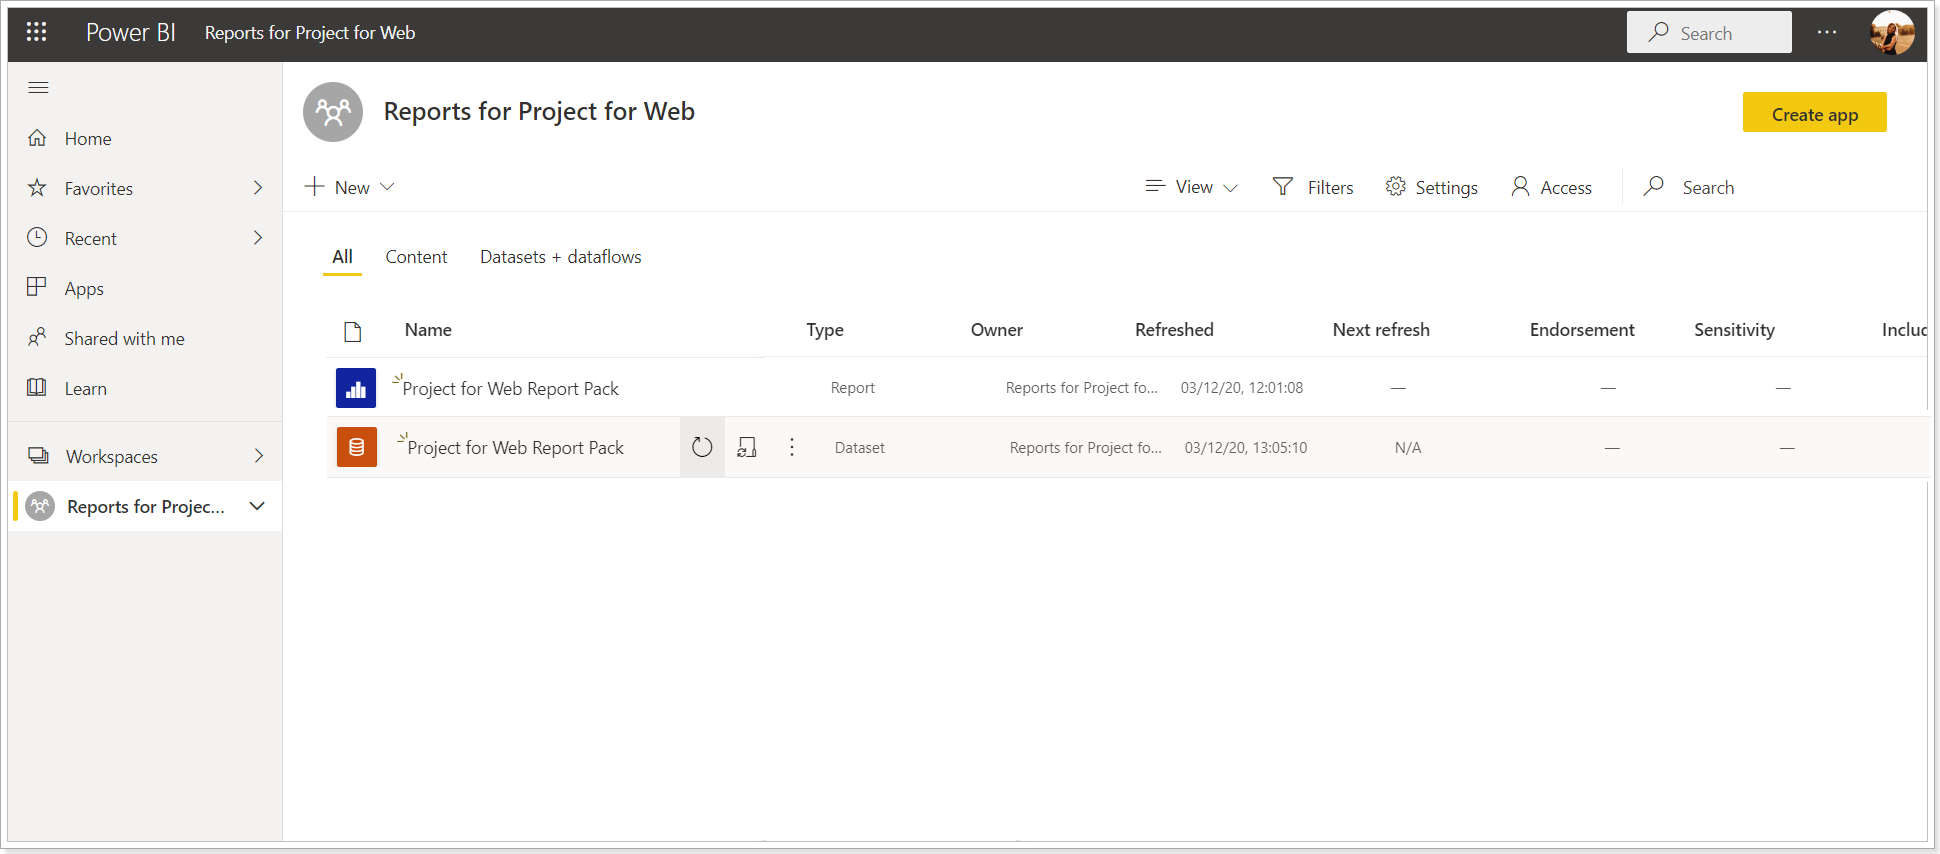
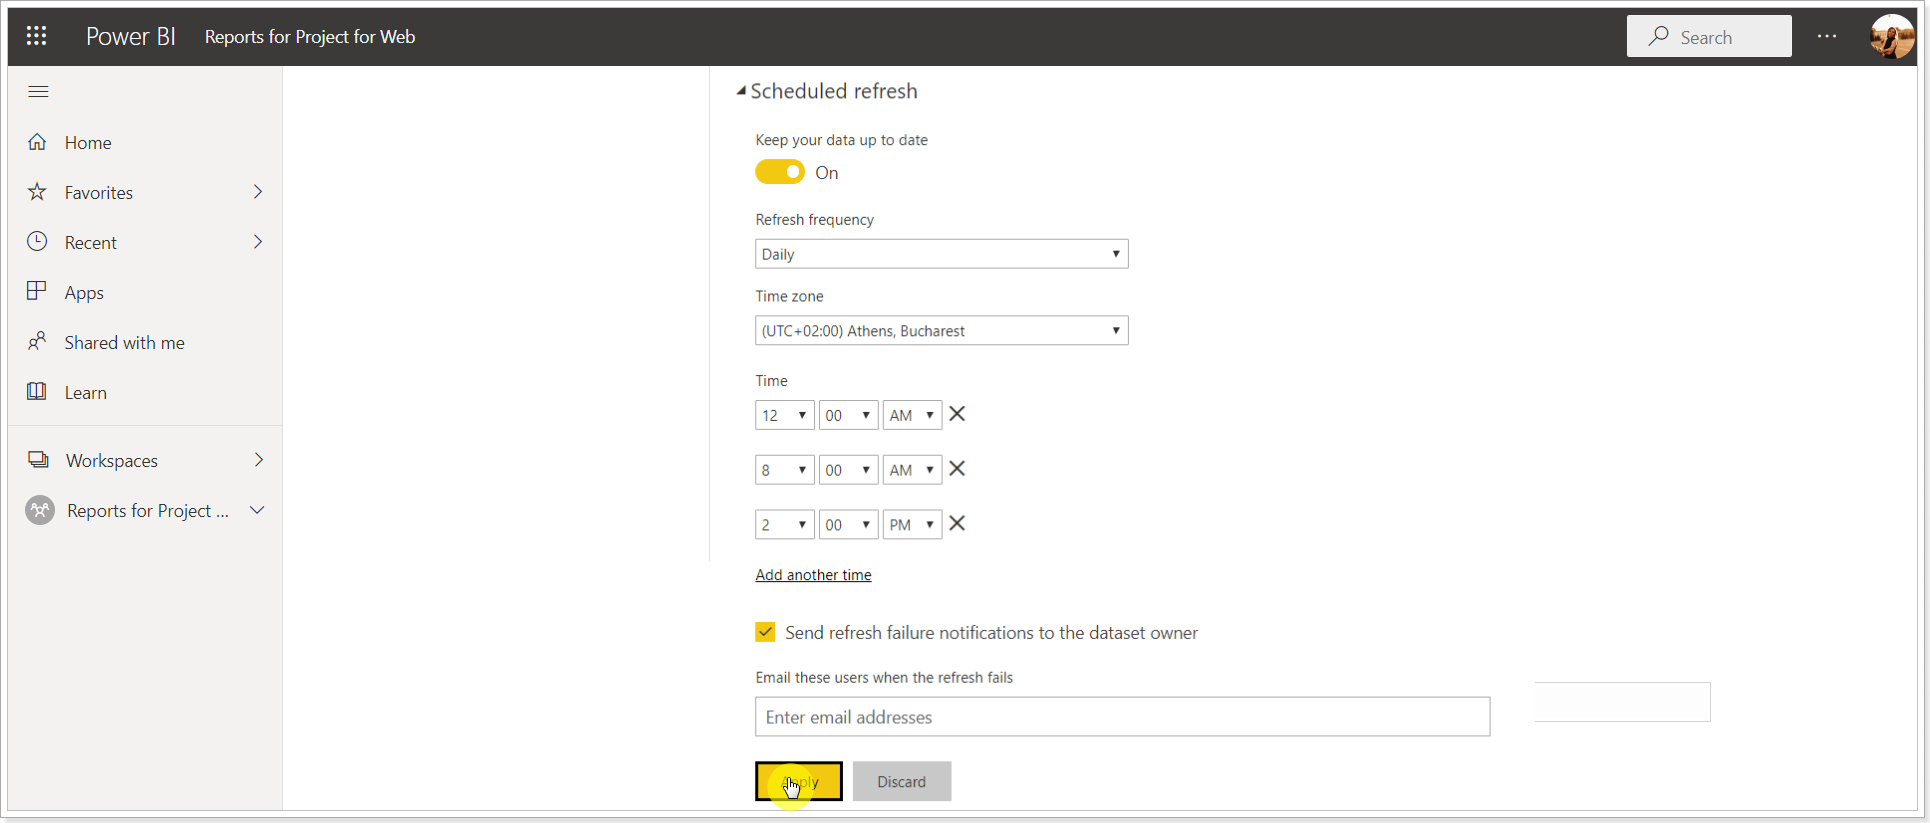
We recommend setting a scheduled synchronization at once, so you can get the most recent data for your reports.
To set the scheduled synchronization, open the Datasets menu and select Settings.
In the Scheduled refresh section, toggle the 'Keep your data up to date' toggle to on, provide the refresh frequency, the time when the synchronization will take place, and click Apply.
