
Set up widget settings for Ad Hoc Metric Widget
All Ad Hoc Metric widgets have the same set of widget settings.
1. Click on the widget to activate the widget menu and click the  button to open widget settings.
Please note: Ad hoc table widget settings are presented on 5 tabs, such as Title, Formatting, Alignment, Layout, Misc. All these settings allow configuring the view of the widget.
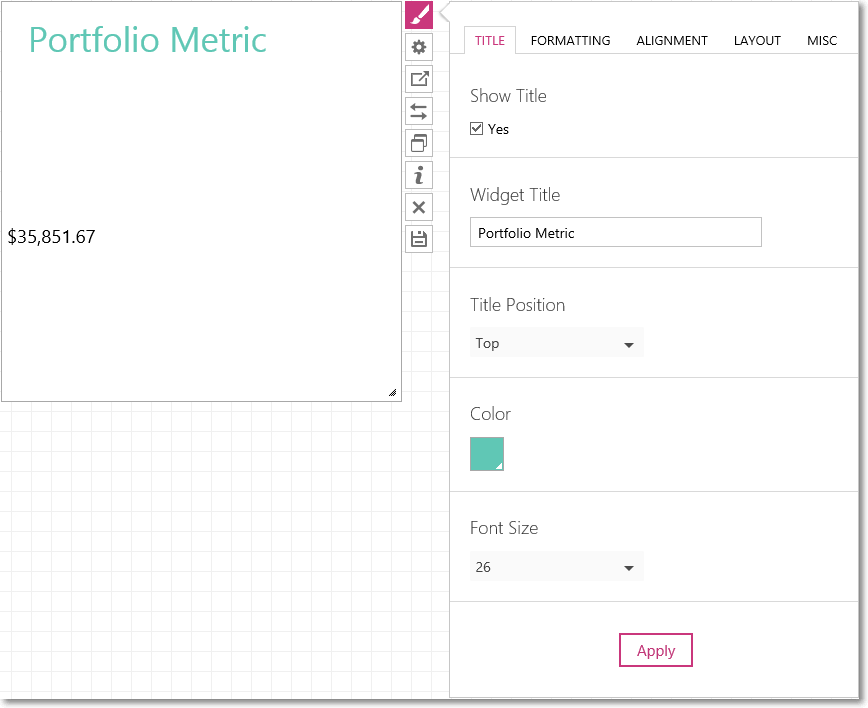
2. On the Title tab define the Title parameters:
a) Check the Show Title checkbox if you want to see the title in the widget.
b) In the Widget Title section enter the name of the widget.
c) In the Title Position section select the position of the title in the widget: Top, Left or Right.
d) In the Color section select the color of the title.
e) In the Font Size section choose the size of the title.
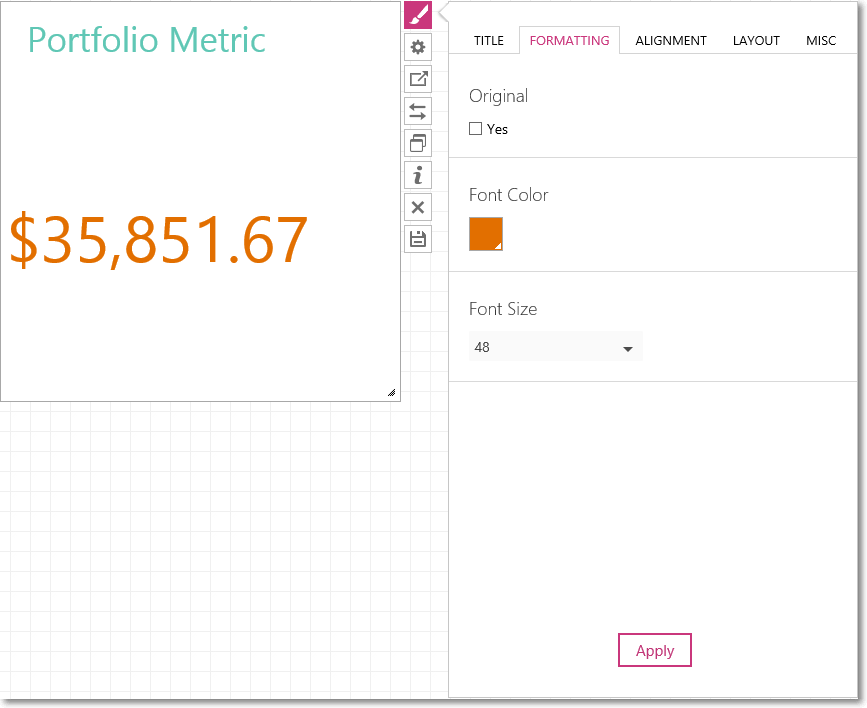
3. On the Formatting tab define the parameters of the data displayed in the widget.
a) Check the Original checkbox if you do not need the Formatting settings to be applied to the widget. b) In the Font Color section select the color of the data presented in the widget. c) In the Font Size section select the size of the data displayed.
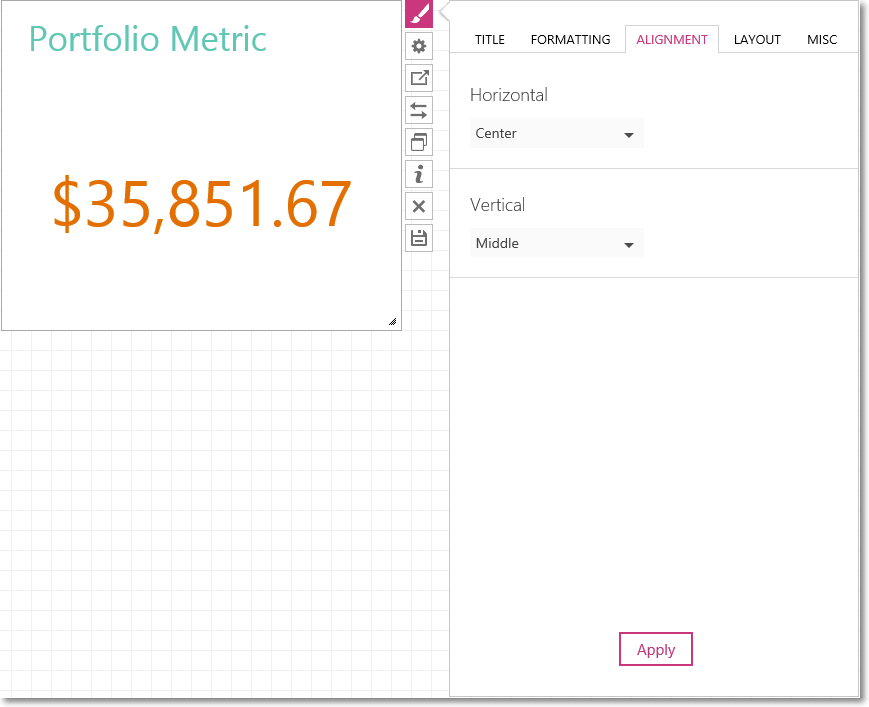
4. On the Alignment tab define the position of the data in the widget.
a) In the Horizontal section choose where the data should be displayed: on the Left, on the Right or in the Center.
b) In the Vertical section choose the position of the data (Top, Middle or Bottom).
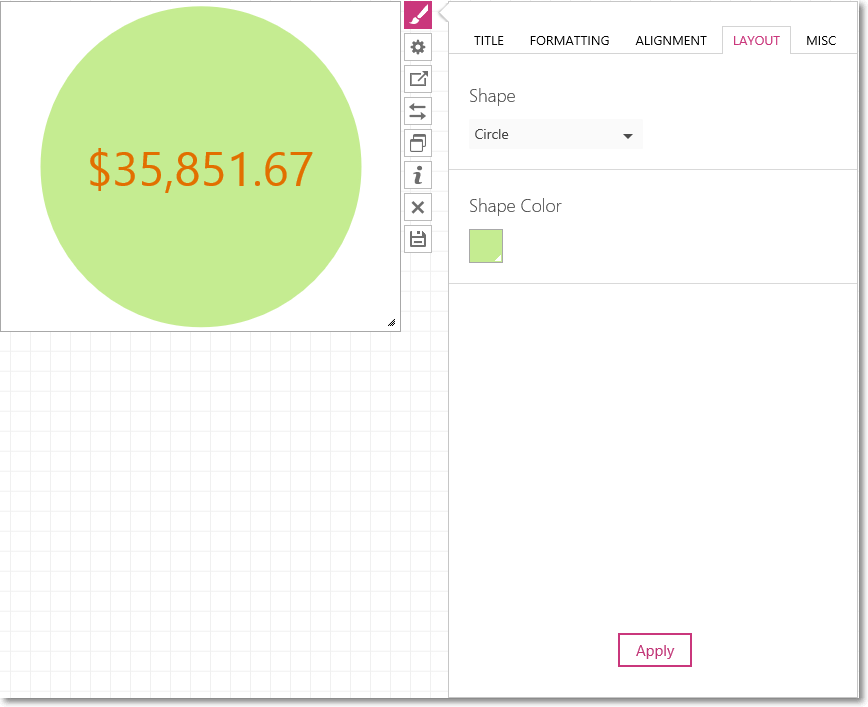
5. On the Layout tab define the presentation of the data displayed in the widget.
a) In the Shape section select the background of the widget if needed. It can be a Circle or a Rectangle. Select None if you do not need any background.
b) In the Shape Color section select the color of the background.
6. On the Misc tab define the view of the borders in the widget and the sizing of the widget in the dashboard.
a) Check the Show Borders checkbox if you need the borders of the widget to be displayed.
b) Check the Enable Scrolling checkbox to apply the scrolling option.
c) In the Sizing section you can select the sizing type Static or By Content (View mode).
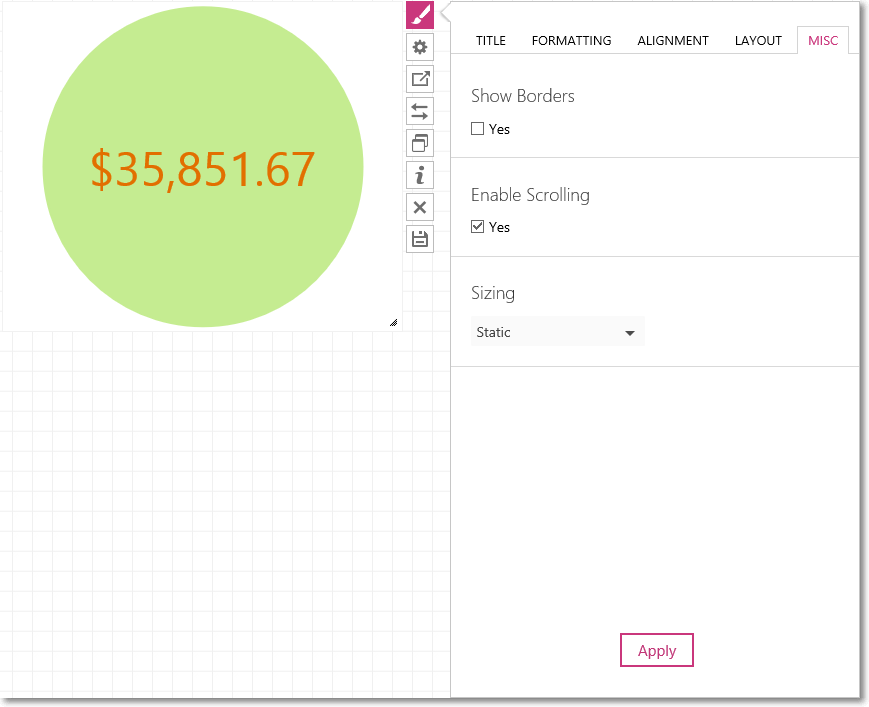
Click the Apply button to apply the changes to the widget.
Please note: If you select the Static type, the widget will be displayed in the size that you have chosen, after saving the dashboard.
Please note: If you select the By Content option, then the widget will change the size, after you save it as a dashboard, automatically, depending on the content of the widget.