
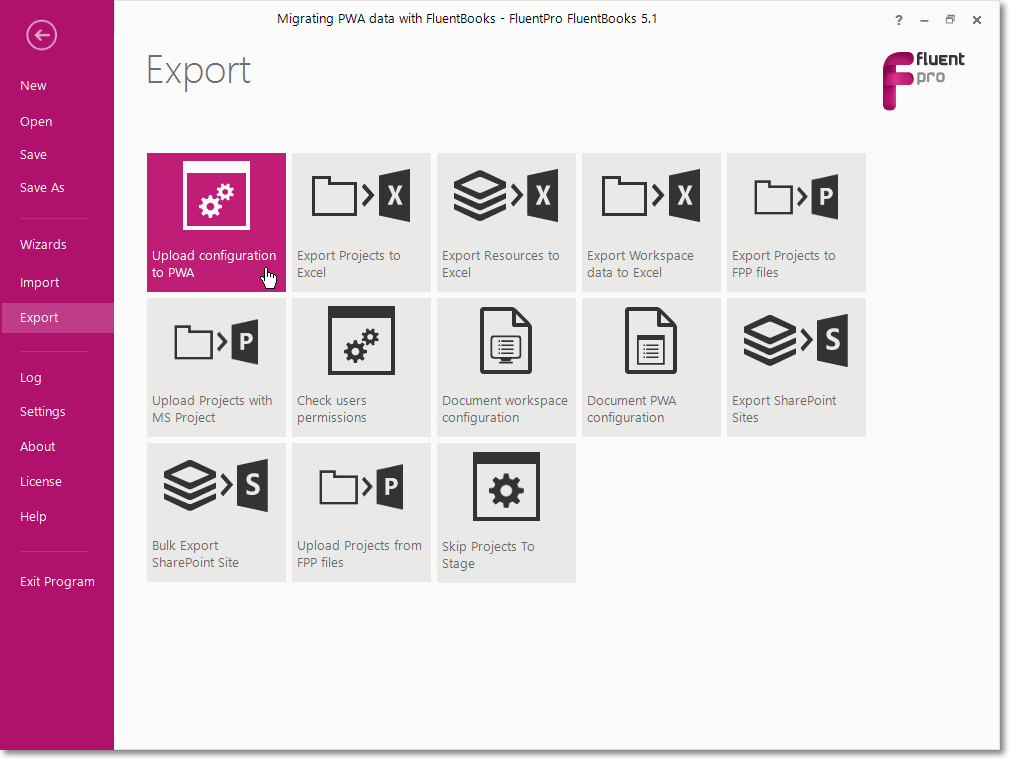
The next step of migration is to upload PWA Configuration to the target PWA using the 'Upload configuration to PWA' wizard.
1. Open the workspace with source PWA Configuration.
2. Select the Export option from the File menu and then the ‘Upload configuration to PWA’ wizard.
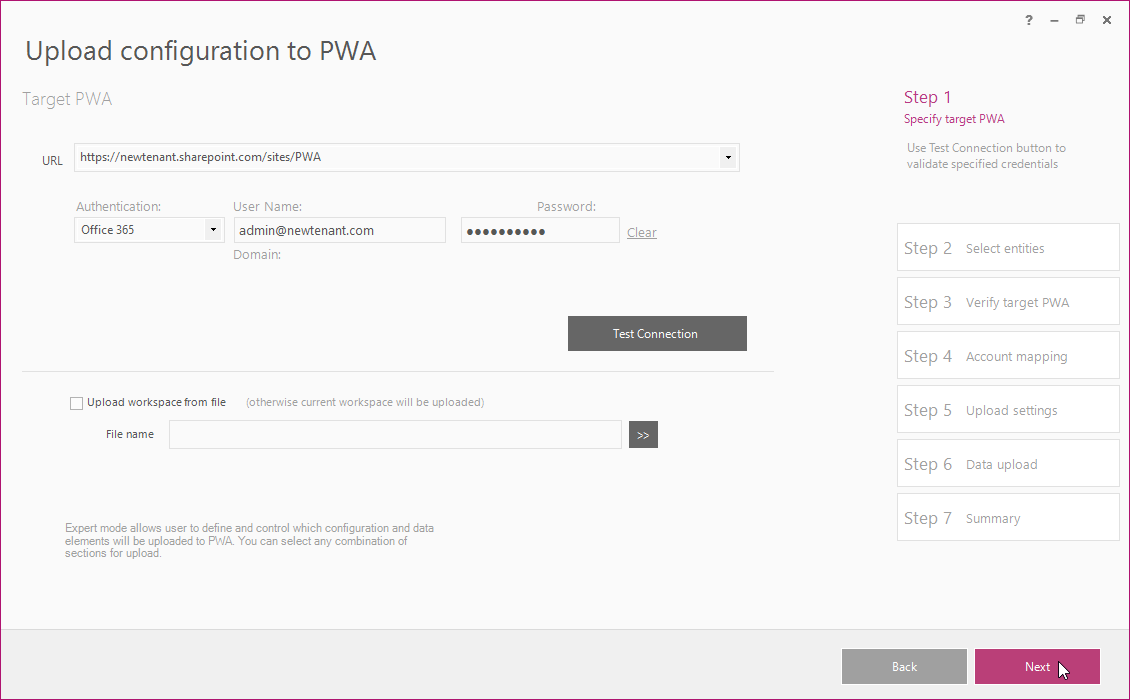
3. Specify the target PWA URL, login credentials and click Next to proceed.
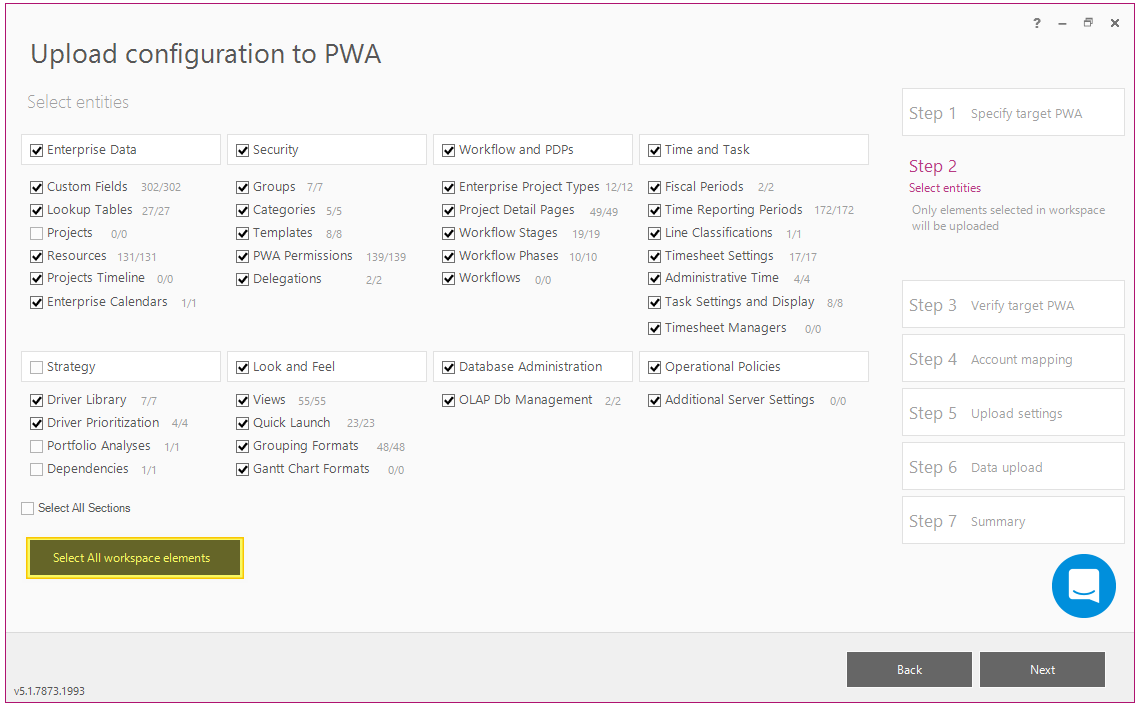
4. Select entities to be uploaded, please note that only selected entities will be uploaded.
‘Select All Sections’ option can be used to select all the sections at one go.
‘Select All workspace elements’ option can be used to select all the elements that were downloaded to the workspace.
Do not check the Projects, Portfolio Analyses and Dependencies check-boxes in this step. The Projects will be uploaded using 'Upload Projects from FPP files' wizard later. Portfolio Analyses and Dependencies will be uploaded after Projects, since they depend on Projects information.
After all the necessary elements are selected click Next to proceed.
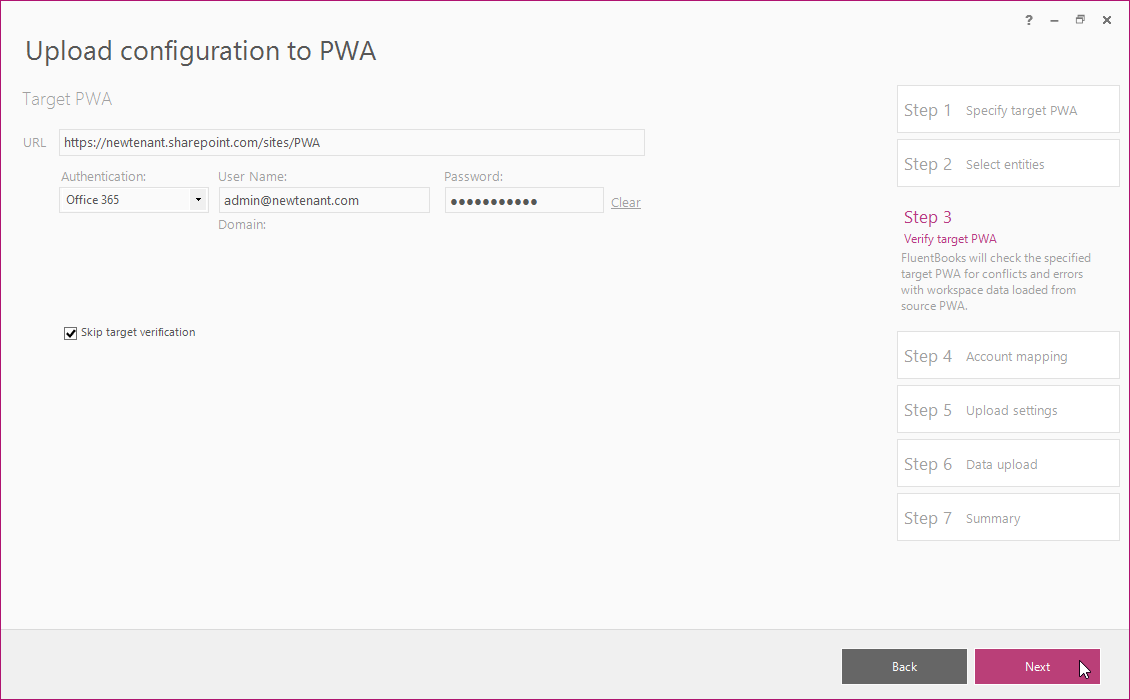
More info about target verification can be found in the Upload configuration to PWA article.
6. Provide the mapping of source User Accounts to target User Accounts. Users which are not provided with target User Logon Accounts will be uploaded as Work Resources without logon to the target PWA.
Note: Mapping is required if source and target PWAs are in the different tenants / farms.
More info about Account mapping can be found in the User Account Mapping article.

7. Save the mapping into a file using Save button. This file will be used later during comparison of Resources. Load button allows loading a previously saved mapping from a file and applying it to the current set of resources.
Click Next to proceed.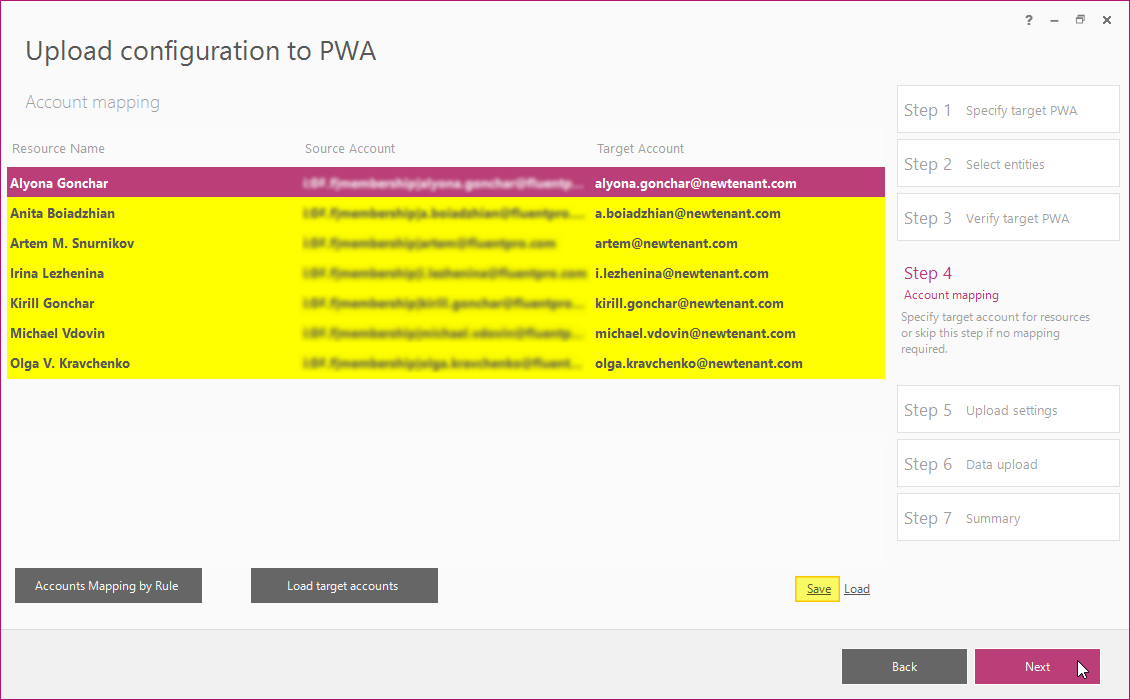
8. Verify the upload settings, turn the ‘Clean up pages before adding webparts' setting ON if it is not turned ON yet.
More info about Upload Settings can be found in the Upload configuration to PWA article.
Click Next to start the data upload.

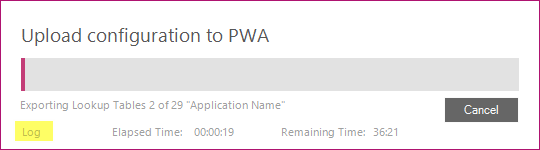
9. Allow the wizard some time to upload the configuration to PWA.
Log option allows viewing the log records in real-time during the upload process.
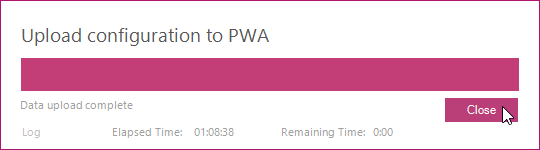
Click Close after the upload is completed.
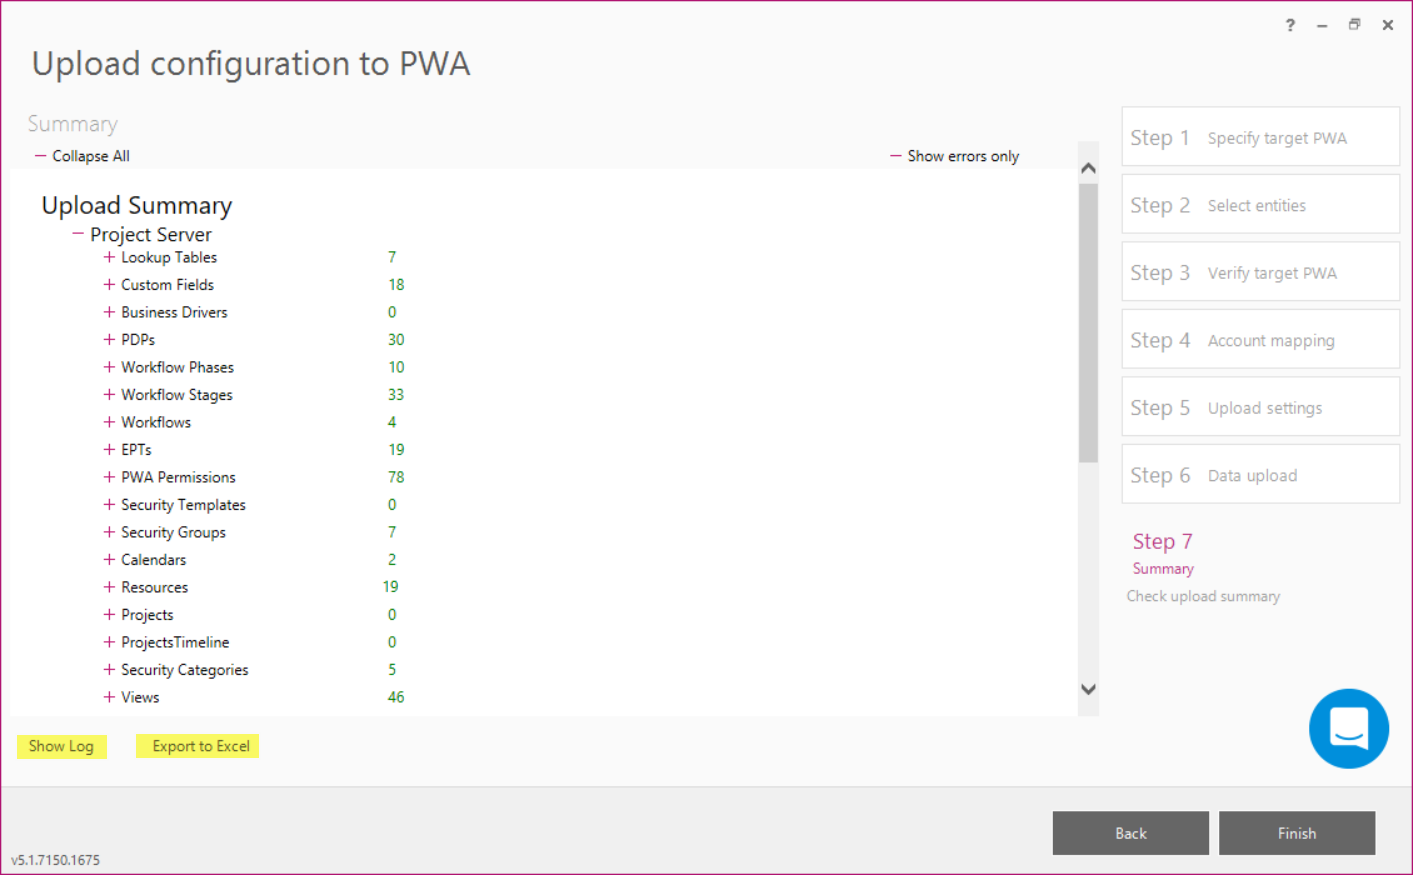
10. Upload Summary shows the results of the export.
Show log option allows viewing the log records after the upload process is completed.
Save Summary for future reference using Export to Excel button. Click Finish to close the wizard.
Next step will be to Compare PWA Configuration.