
FluentBooks allows users to transfer specific custom fields and lookup tables, i.e. not all, but a specific selection, from source PWA to target PWA. This article describes the actions that should be performed for the transfer.
Download Custom Fields and Lookup Tables from the source PWA
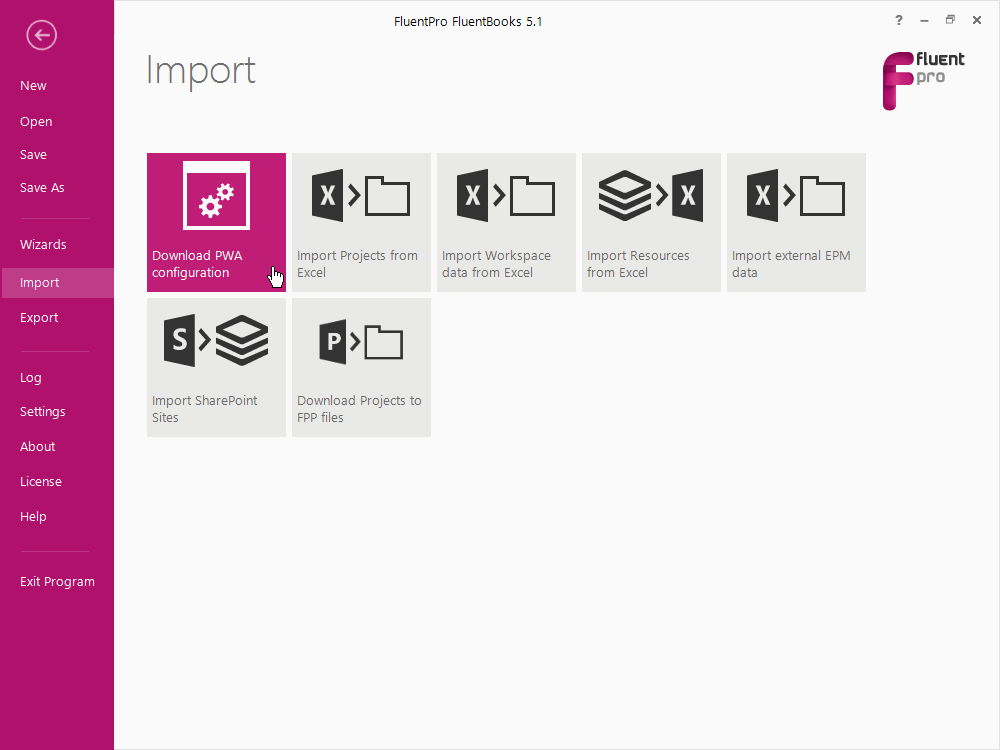
1. Run FluentBooks, select Import option from the File menu and then ‘Download PWA configuration’.
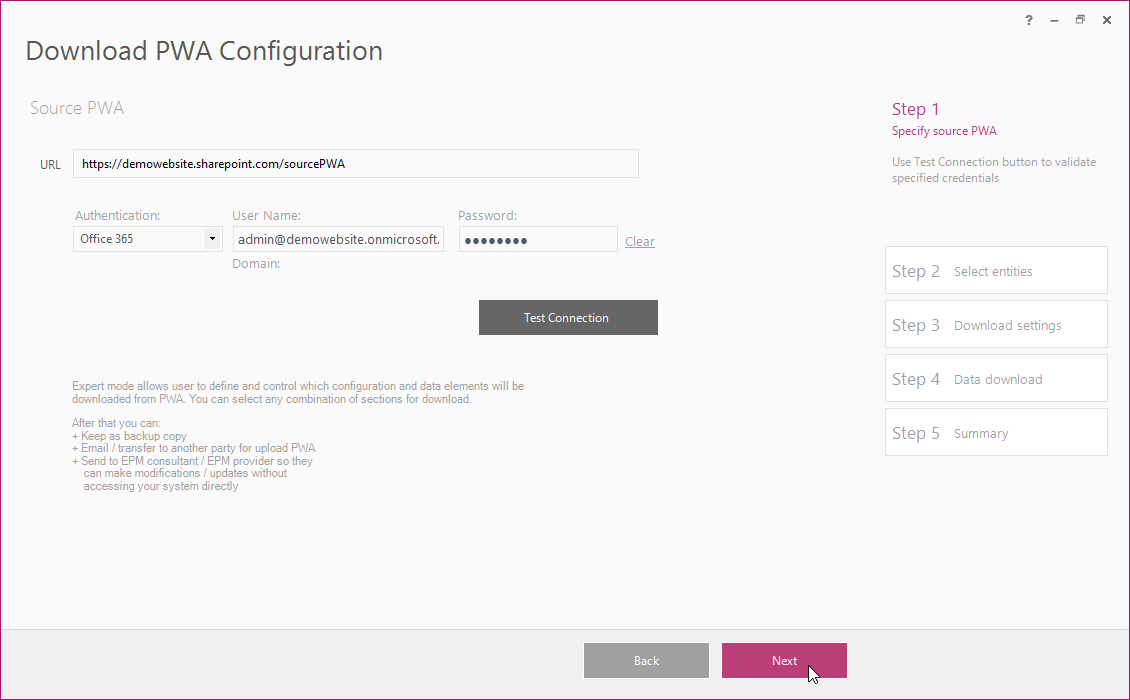
2. Enter the Source PWA credentials and click Next to proceed to the page that will allow selected entities to be downloaded.
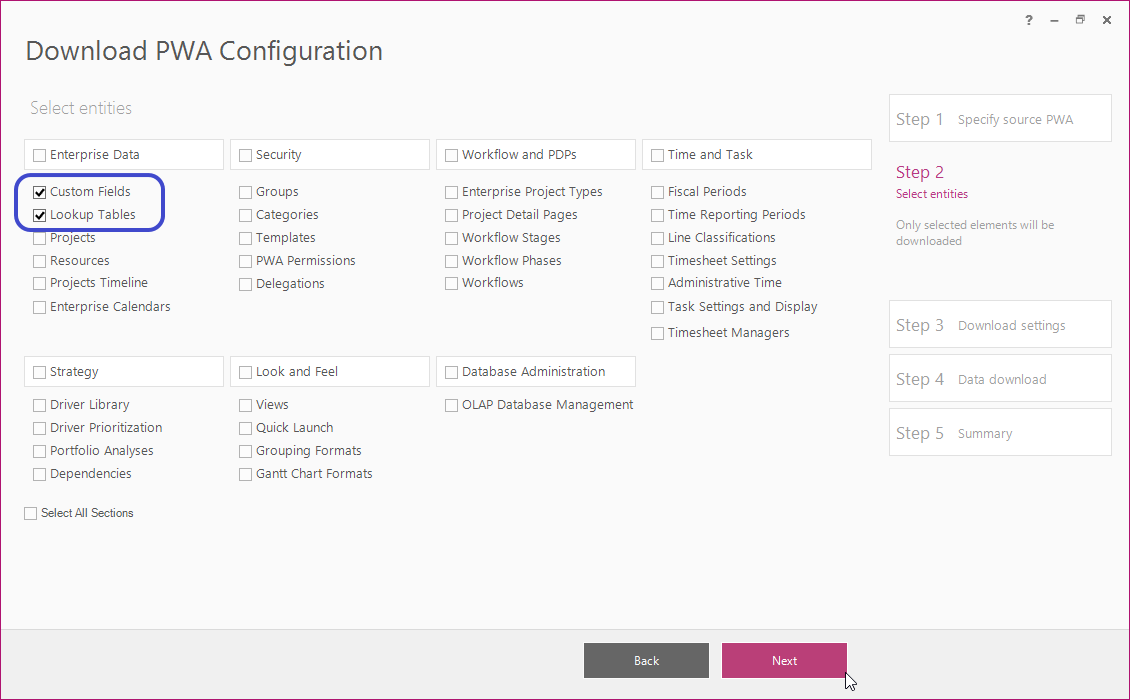
3. Select the entities to be downloaded, in this case ‘Custom Fields’ and ‘Lookup Tables’ and click Next.
4. Click Next on the Download Settings page to start the data download, ‘Download PWA configuration’ progress window will appear, it can be closed after the data download is completed.

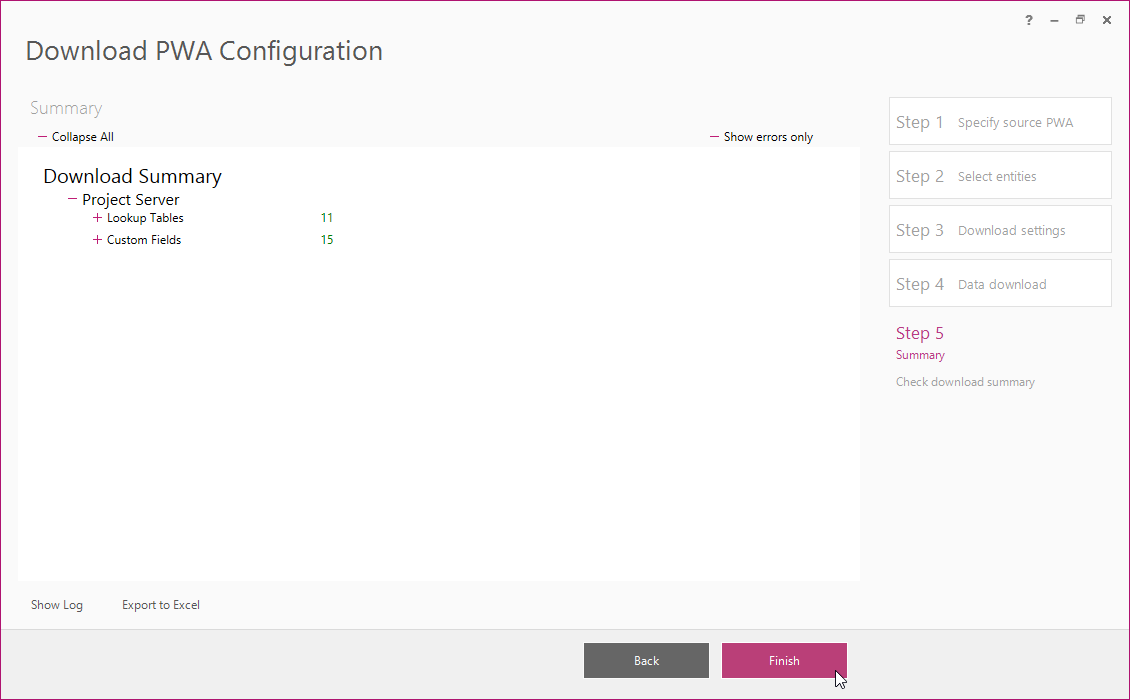
5. The Download Summary displayed after the download process is finished will show the elements that were downloaded from the source PWA and their status. Click Finish to complete this step.
Select specific Custom Fields and Lookup Tables that should be transferred to the target PWA
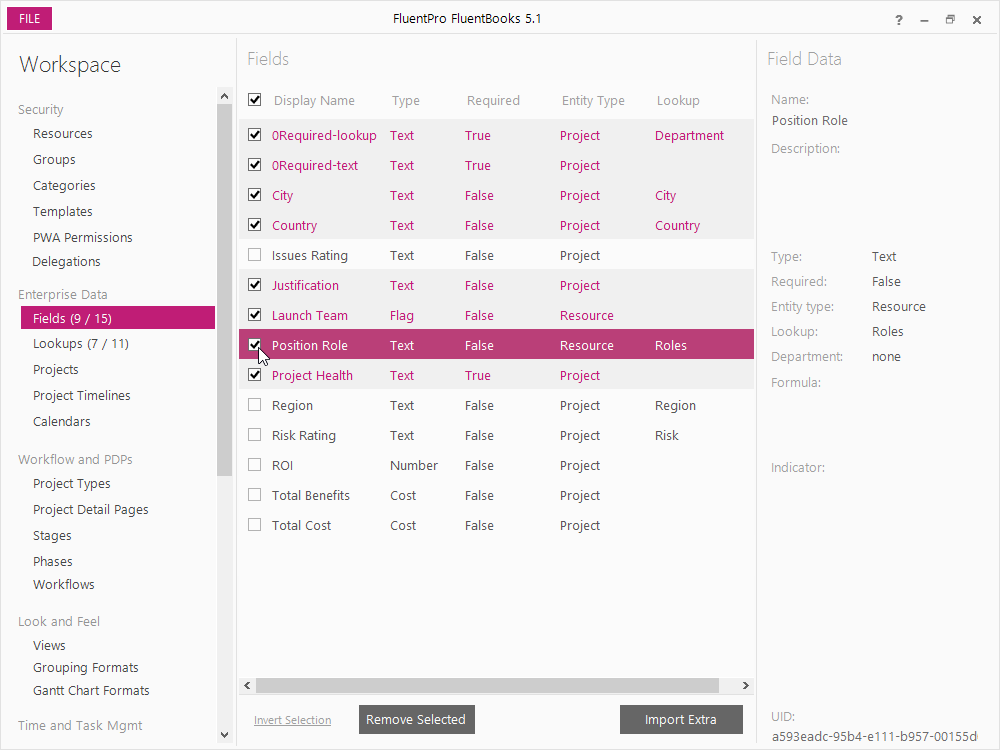
1. FluentBooks Workspace will display all the Custom Fields and Lookups that were downloaded from the source PWA. On this step it is possible to select the exact fields and lookup tables that should be transferred. Only elements with the checked checkbox will be uploaded to the target PWA. Checkboxes can be clicked manually if there are few fields/lookups that need to be transferred, otherwise, the following tools can be used to speed up the selection process:
- all the elements will get checked/unchecked if click the checkbox in the column header;
- clicking the column header will allow to sort each of the columns, this will be helpful if, for example, all fields of one type or entity type need to be transferred;
- a range of elements will be selected if hold Shift and press Page Up/Page Down keys, or hold Shift and click the element by mouse;
- when several elements are selected they can be checked or unchecked by pressing Space on the keyboard;
- the ‘Invert Selection’ link on the bottom of the window will check all the unchecked elements and uncheck all the checked elements.
There are 2 numbers in brackets next to the each Workspace entity: the first one shows the number of selected elements – only selected elements will be uploaded to the target PWA, the second one shows the total number of the elements.
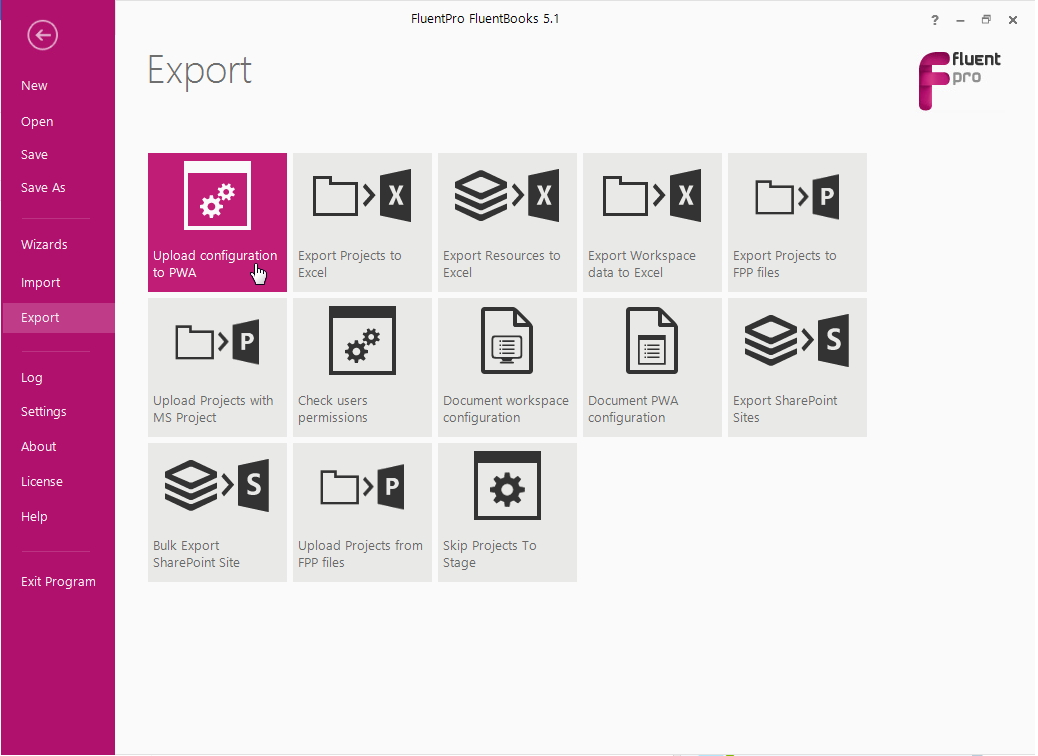
2. After all necessary Fields and Lookups are selected click the Export option from the File menu to proceed to the next step.

Upload Custom Fields and Lookup Tables to the target PWA
1. Select the ‘Upload configuration to PWA’ option to start the upload process.
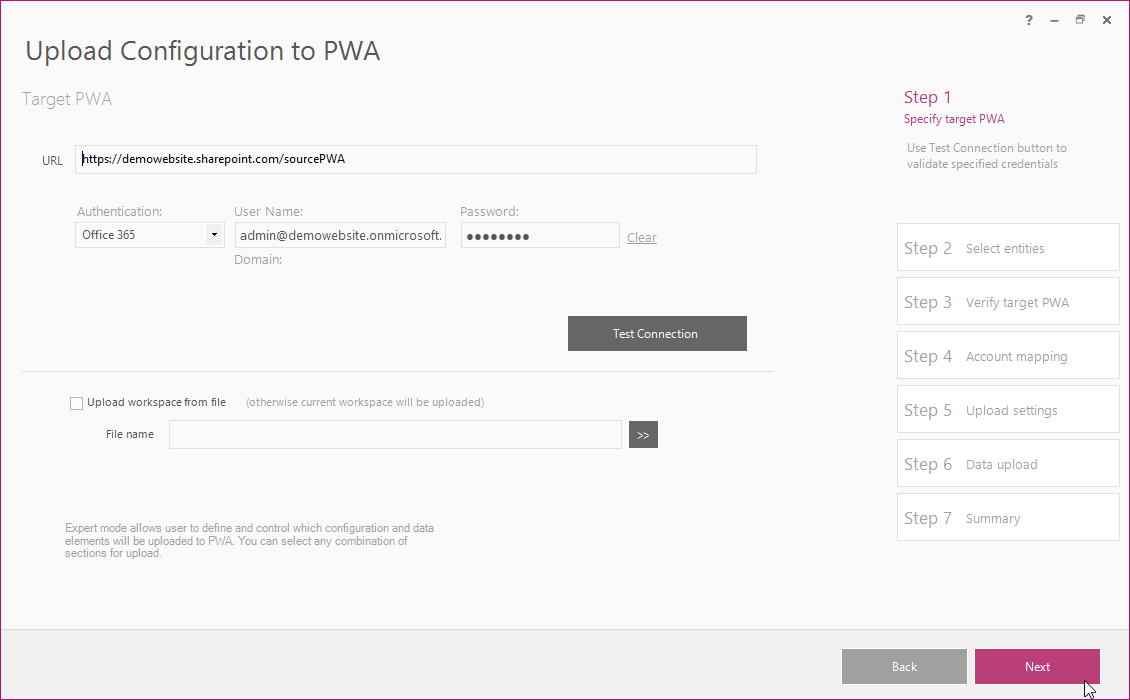
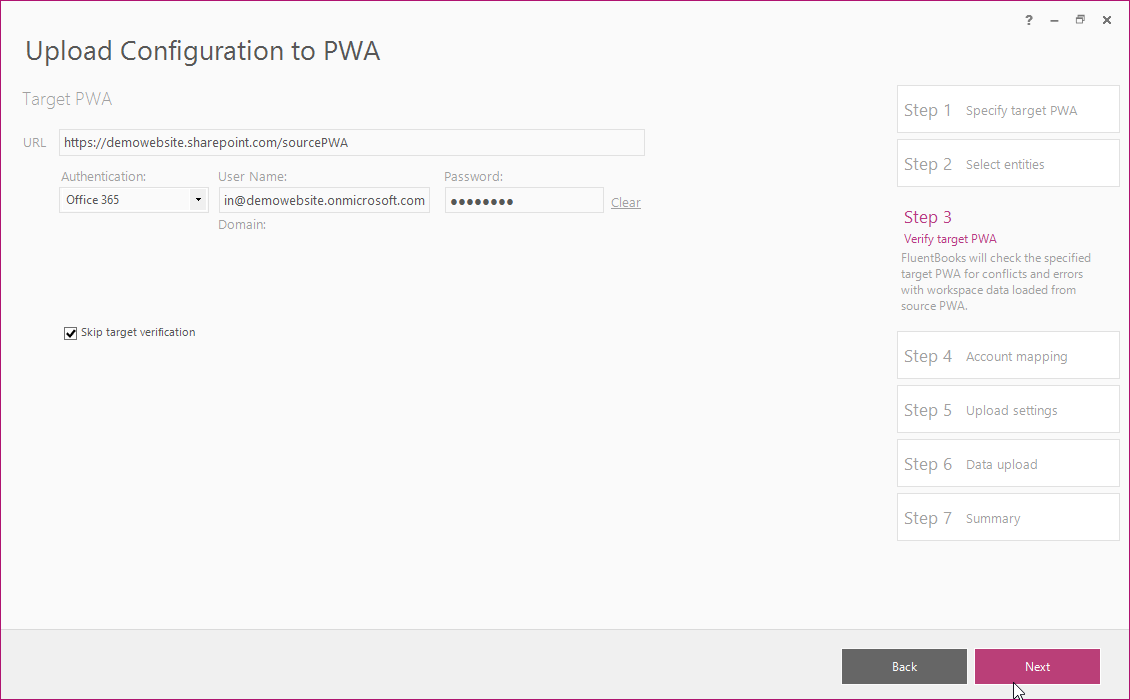
2. Enter the Target PWA credentials and click Next to proceed.
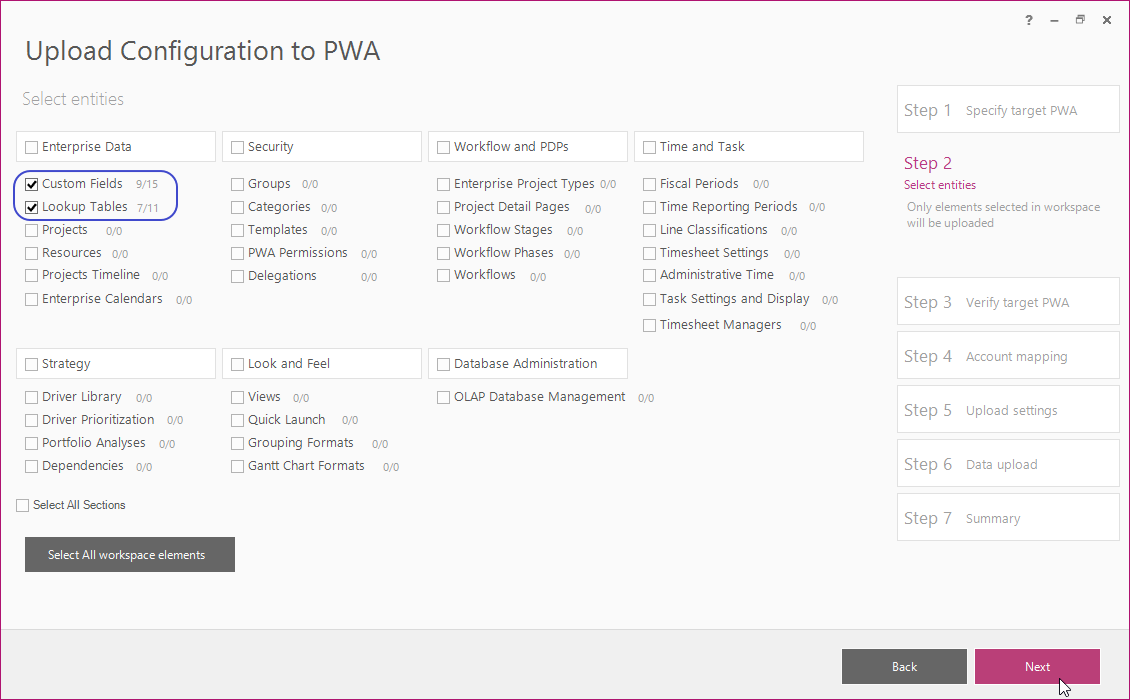
3. Select the entities that will be uploaded, in this case ‘Custom Fields’ and ‘Lookup Tables’ and click Next to proceed with the upload process.
There are 2 numbers in brackets next to the each entity: the first one shows the number of elements for each entity to be uploaded – these are the elements that were selected in workspace, the second one shows the total number of the elements for each entity.
4. Click Next on the ‘Verify target PWA’ step to proceed.
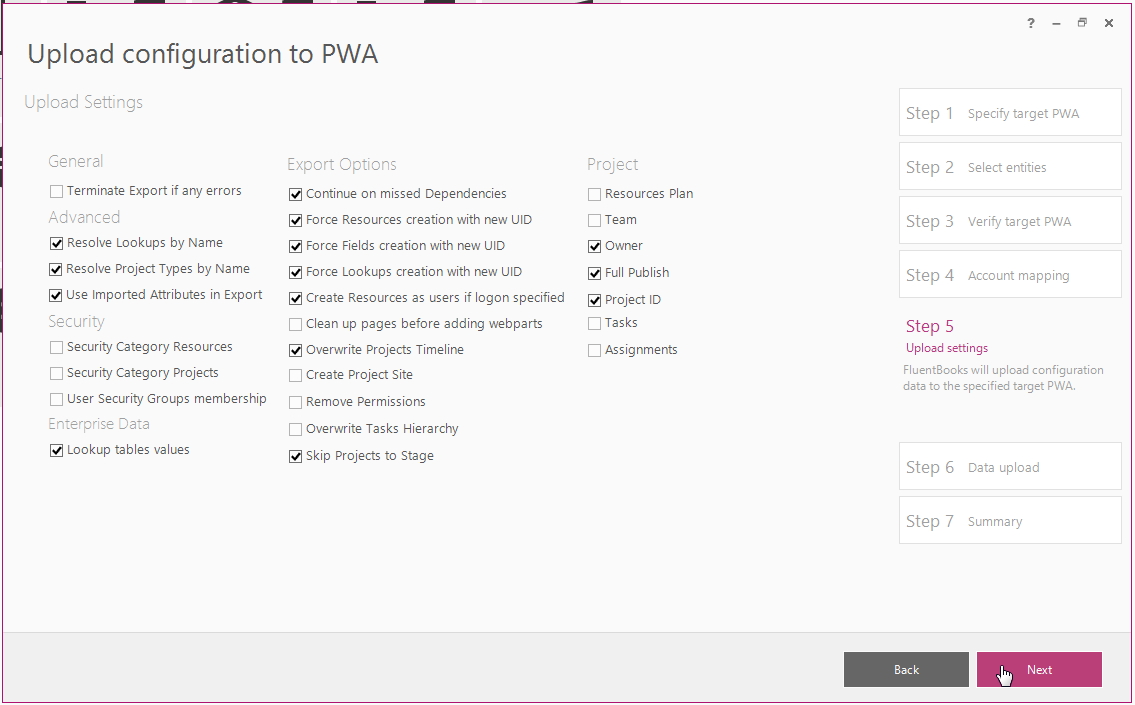
5. Click Next on the ‘Upload settings’ step to start the data upload, ‘Upload configuration to PWA’ progress window will appear, it can be closed after the data upload is completed.
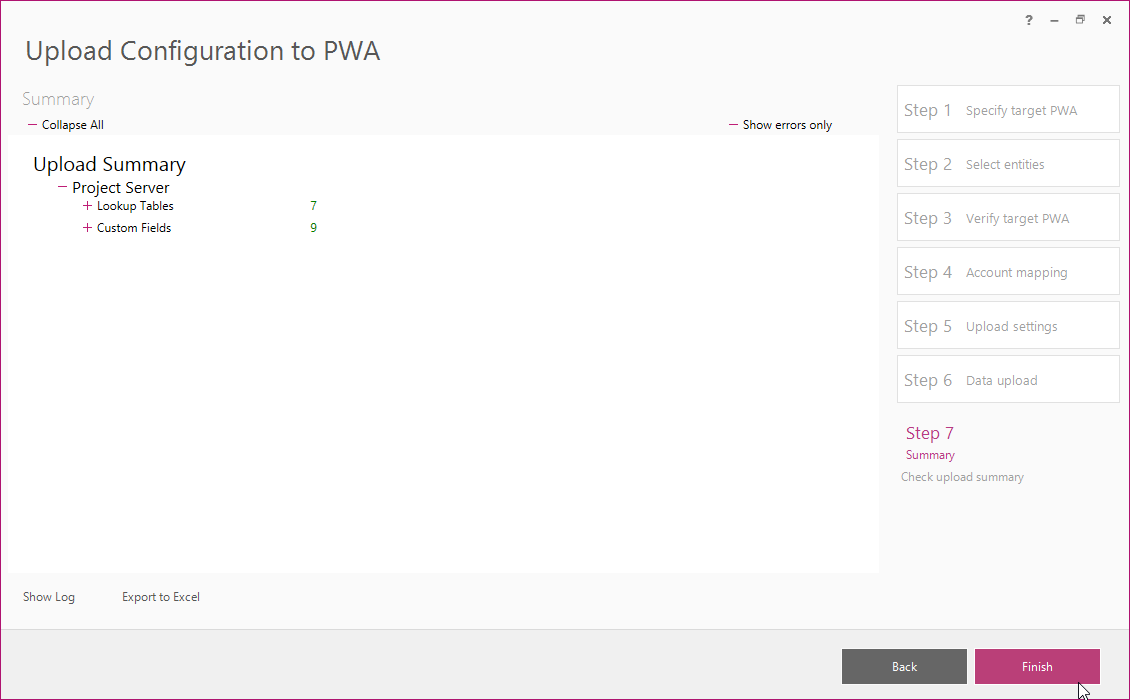
6. The Upload Summary displayed after the upload process is finished will show the elements that were uploaded to the target PWA and their status. Click Finish to complete this step.
7. Navigate to the target PWA and make sure that all the necessary Custom Fields and Lookup Tables appeared on the Enterprise Custom Fields and Lookup Tables page.