There are cases when it is necessary to edit Resource Rates for a significant number of Resources in PWA. One way is to edit all the Resource Rates manually in Project Professional, but this operation can be quite time-consuming. Another way is to use FluentBooks, which can assist a user with the bulk edit of Resource Rates, and thus save time and decrease the efforts spent on the operation. This article describes how to use the ‘Resources Bulk Edit’ FluentBooks wizard in order to perform the bulk edit of Resource Rates.
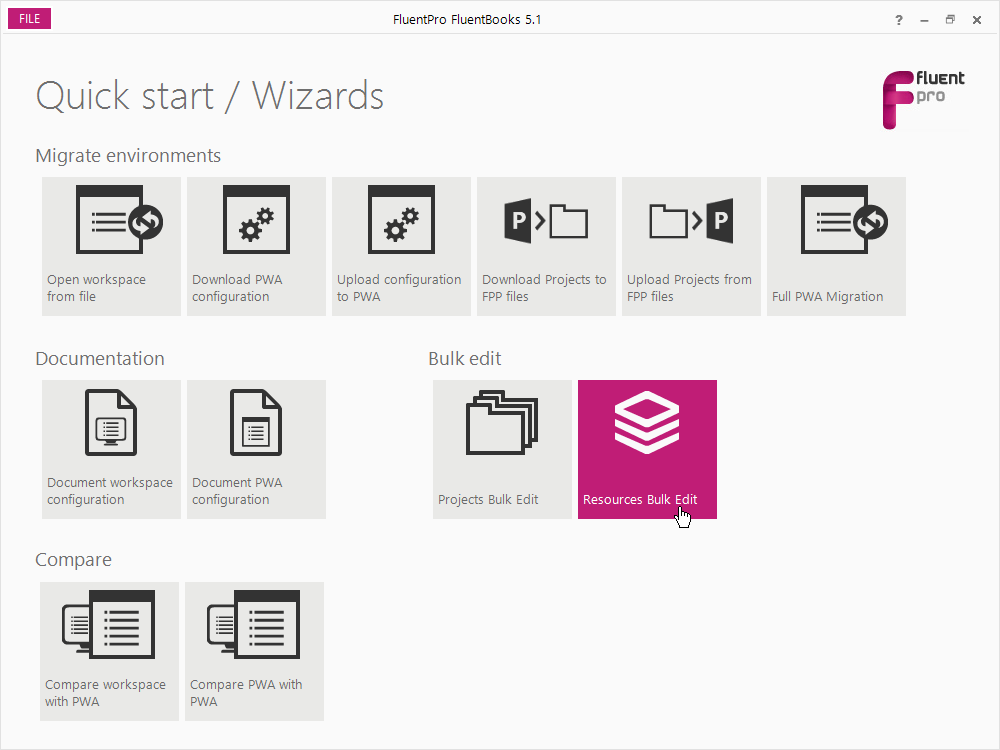
1. Run FluentBooks and launch the ‘Resources Bulk Edit’ wizard from the Wizards screen:
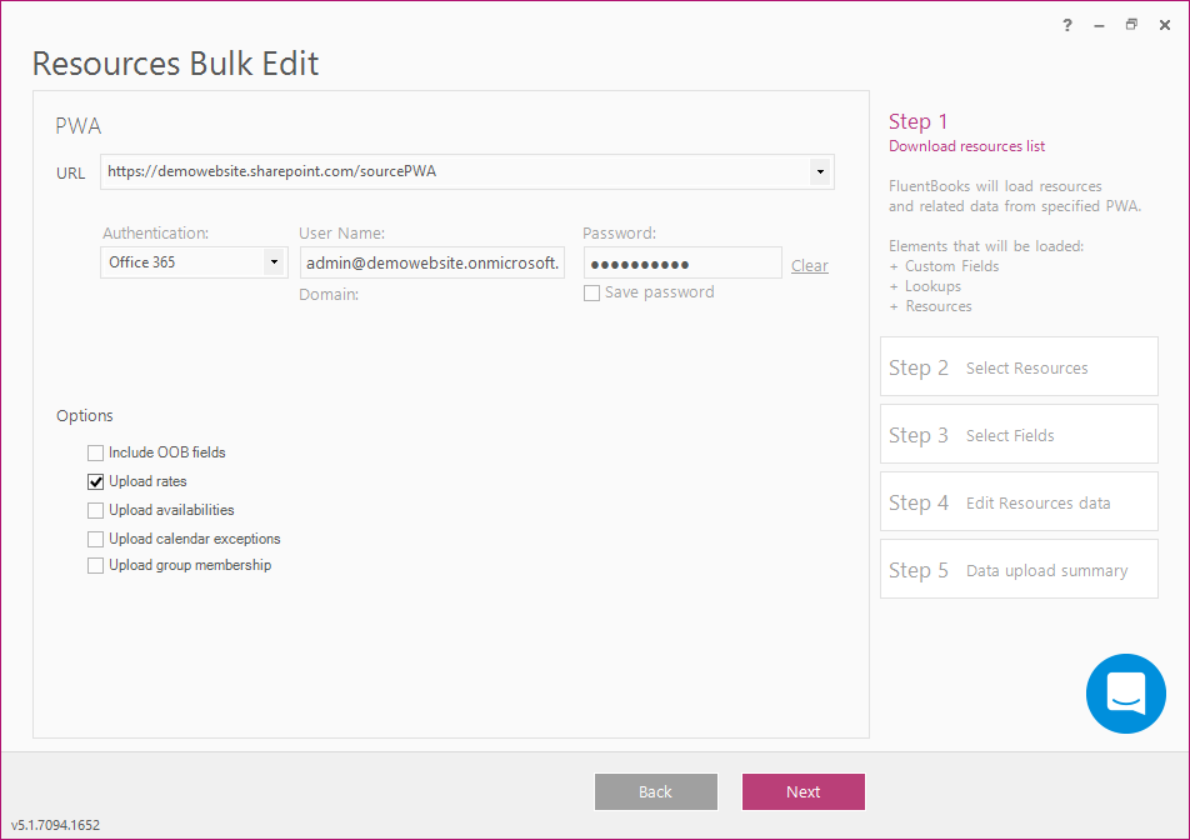
2. Specify the PWA URL, login credentials.
3. Check the Upload Rates checkbox to edit Resource Rates.
Please note: If the checkbox is unchecked, the Resource Rates tab will still appear in the Excel file, but the information for Resource Rates will not be uploaded and updated on the PWA.
Please note: Resource Availabilities, Resource Calendar Exceptions, and Resource Security Group membership checkboxes are checked by default as well.
However, if you do not need to edit, Resource Availabilities, Resource Calendar Exceptions or Resource Security Group membership, please uncheck these checkboxes to make the upload process faster and save the time spent on editing your Resource Rates.
Click Next to proceed.
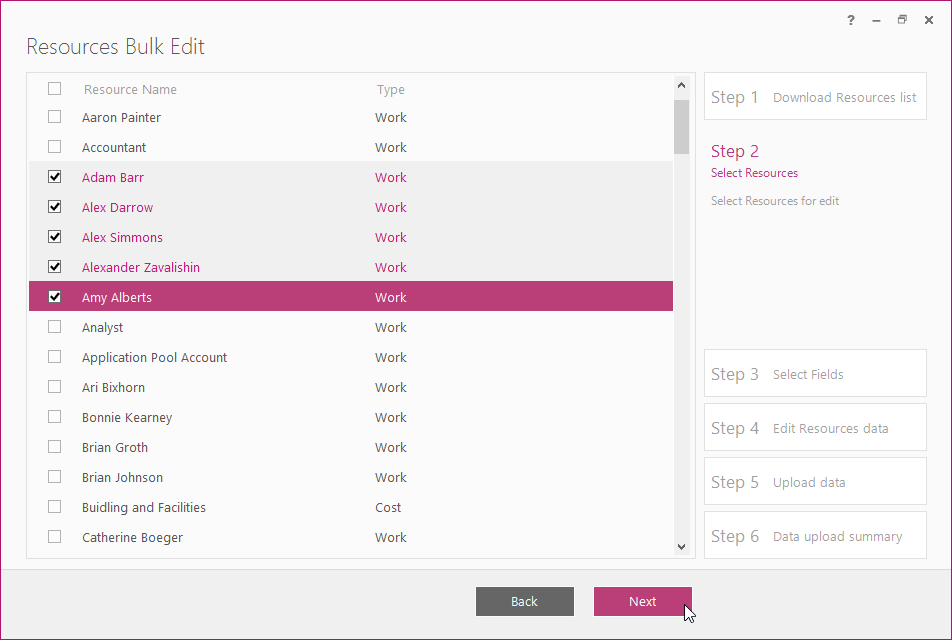
4. Select Resources for which Resource Rates will be edited and click Next:
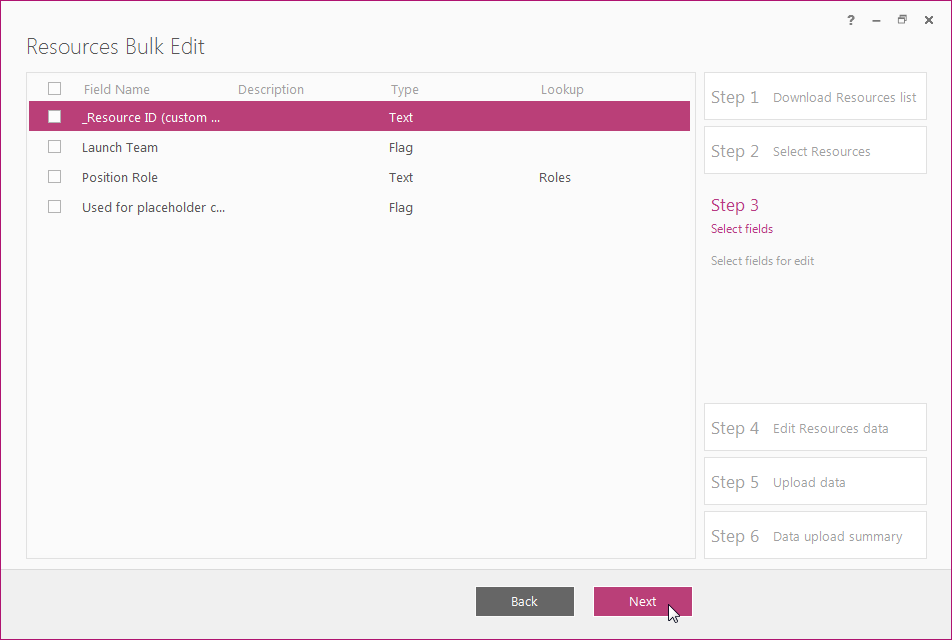
5. If only Resource Rates are going to be edited, then no fields need to be selected on this step, just click Next to proceed:
6. To start editing resources, choose the file name and location for the temporary file (or leave it as per default), then click Prepare data for edit button – FluentBooks will create the temporary file with downloaded resources:
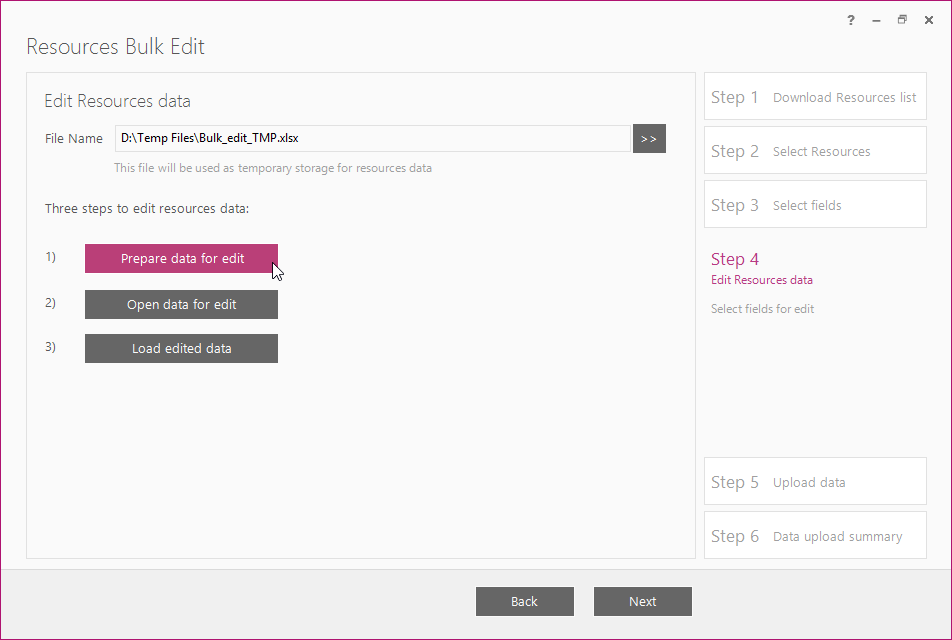
7. Click the Open data for edit button to open this temporary file:

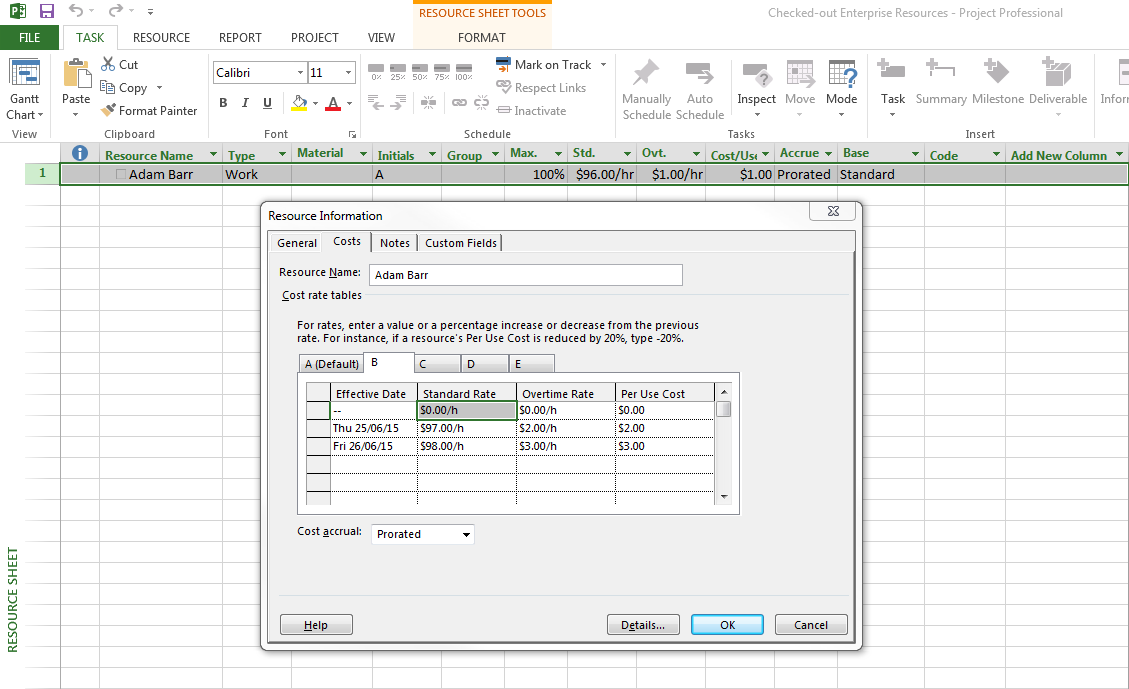
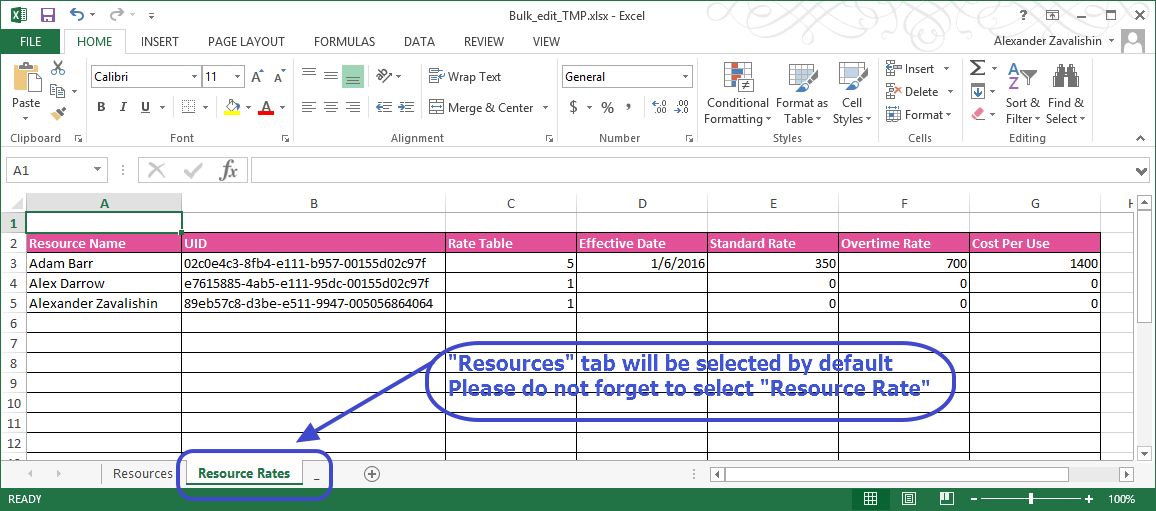
8. Resource Rates are located on the ‘Resource Rates’ sheet in the opened Excel file:
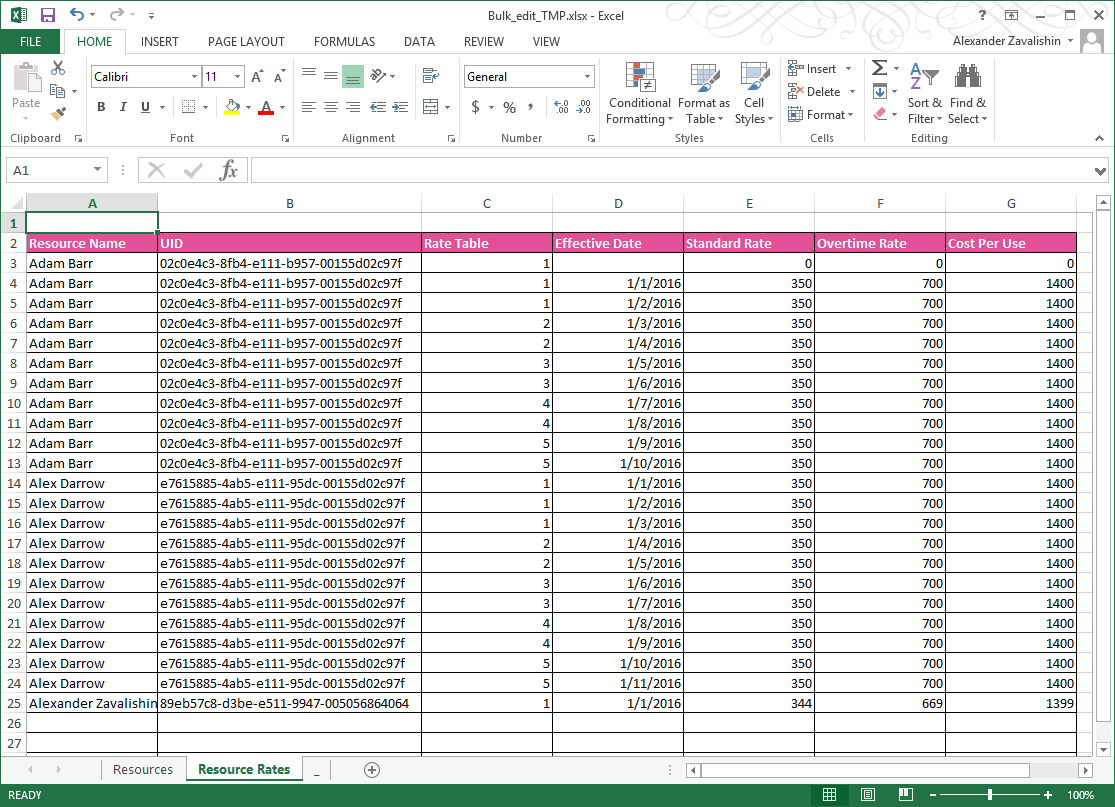
9. Excel tools can be used to edit Resource Rates as needed: edit existing rates, add new rates, etc.
Please note: When adding new rates, make sure that the correct UID is populated for each resource.
Please note: Save the Excel file after Resource Rates were updated as per requirements and close the file.
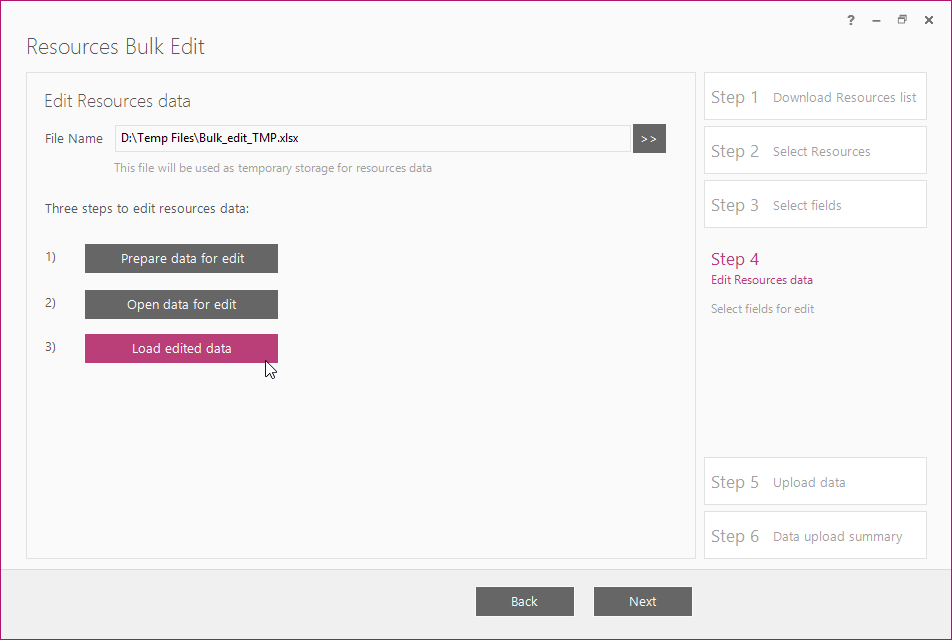
10. Go back to the ‘Resource Bulk Edit’ wizard and click the Load edited data button to load the updated resources:
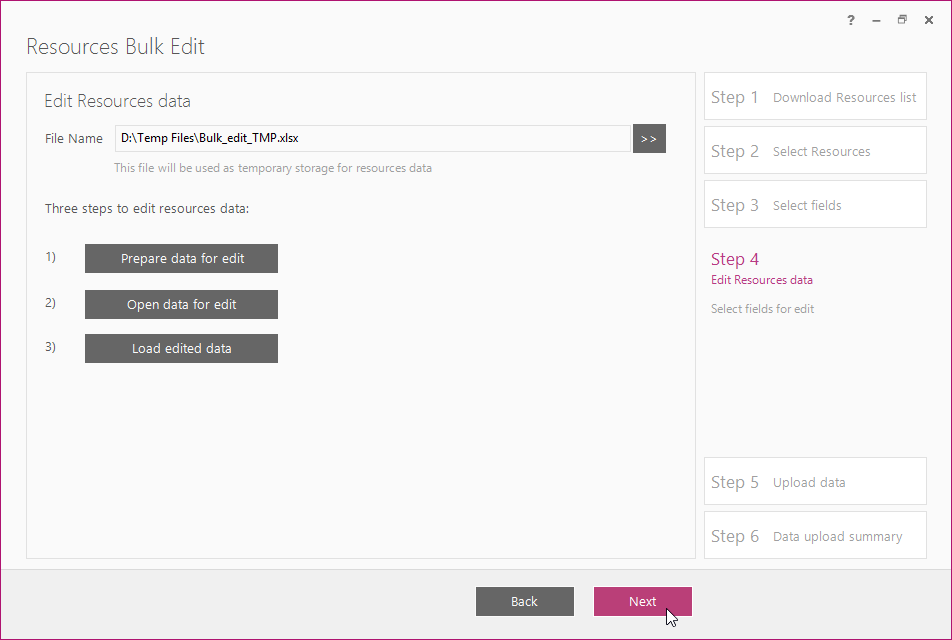
11. Click Next to proceed:
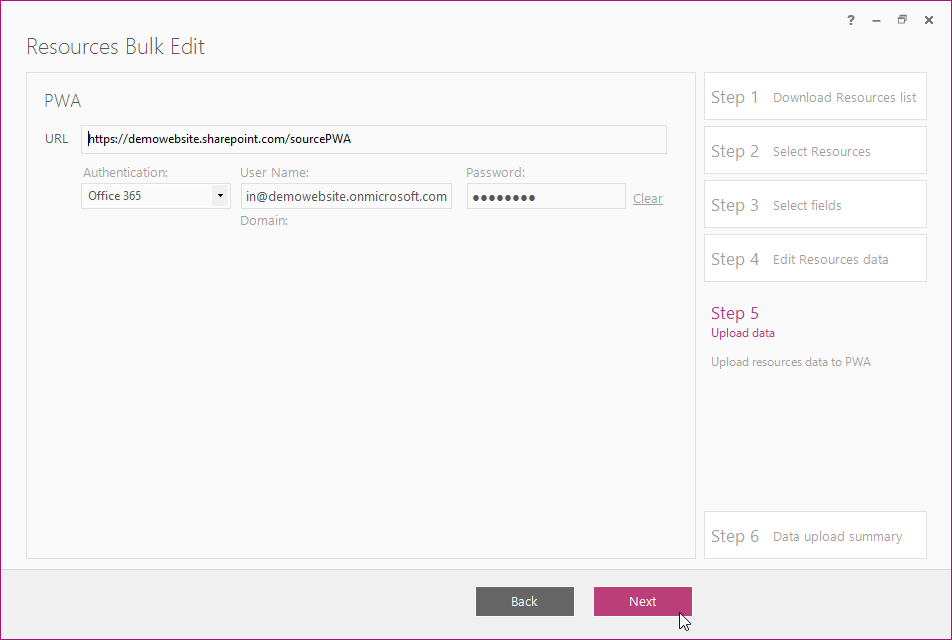
12. Specify the login credentials and click Next to upload the updated Resources to the PWA:
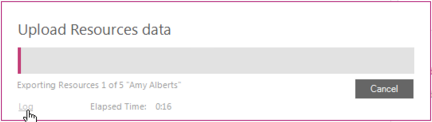
The log option allows viewing the log records in real-time during the upload process.
13. Verify that Resources were uploaded and click the Finish button to close the wizard:
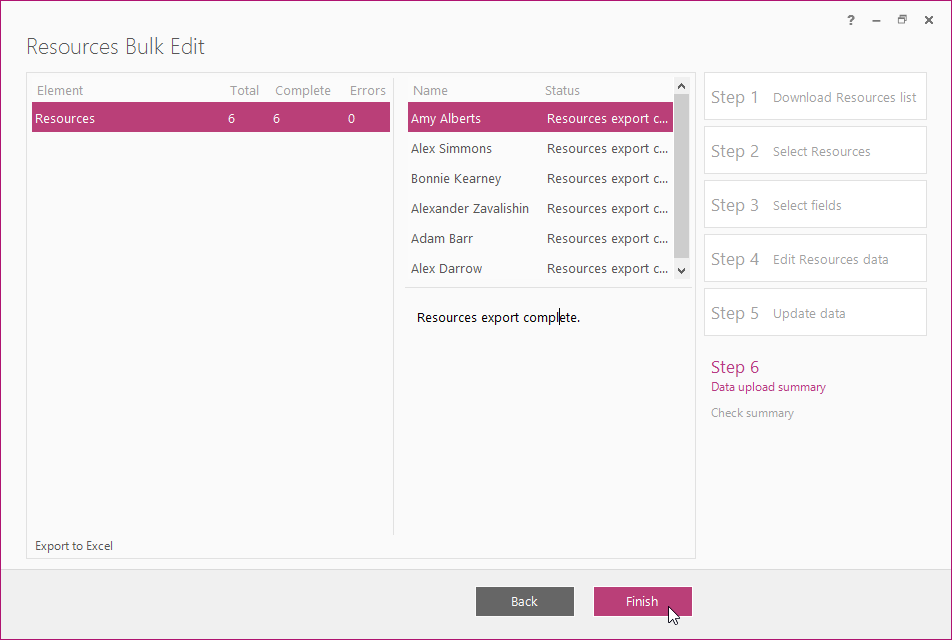
14. Resource Rates are now updated for the Resources: