This article describes how to use Fluentbooks Download (Import) SharePoint Sites and Upload (Export) SharePoint Sites wizards in order to migrate Solutions:
- from Project Server 2010 to Project Server 2013.
- from Project Server 2010 to Project Online.
- from Project Server 2013 to Project Online.
- from Project Server 2010/2013 to Project Server 2016/2019 if the source templates contain features that are not compatible with newer versions of Project Server.
- from Project Online to Project Server 2016/2019/SharePoint Server Subscription Edition.
Please note: Solutions in Project Server 2010 are incompatible with Project Server 2013 and Project Online. Solutions from Project Online are incompatible with Project Server. Therefore, it is not possible to migrate Solutions from Project Server 2010 to Project Server 2013 or Project Online, or from Project Online to Project Server either with FluentBooks or manually. This article provides a workaround to this problem.
We will take the Solutions from Project Server 2010, but the same steps are applied to all scenarios mentioned above.
Test Site Template 1 solution will be used as an example of the Project Server 2010 Solution in this article.
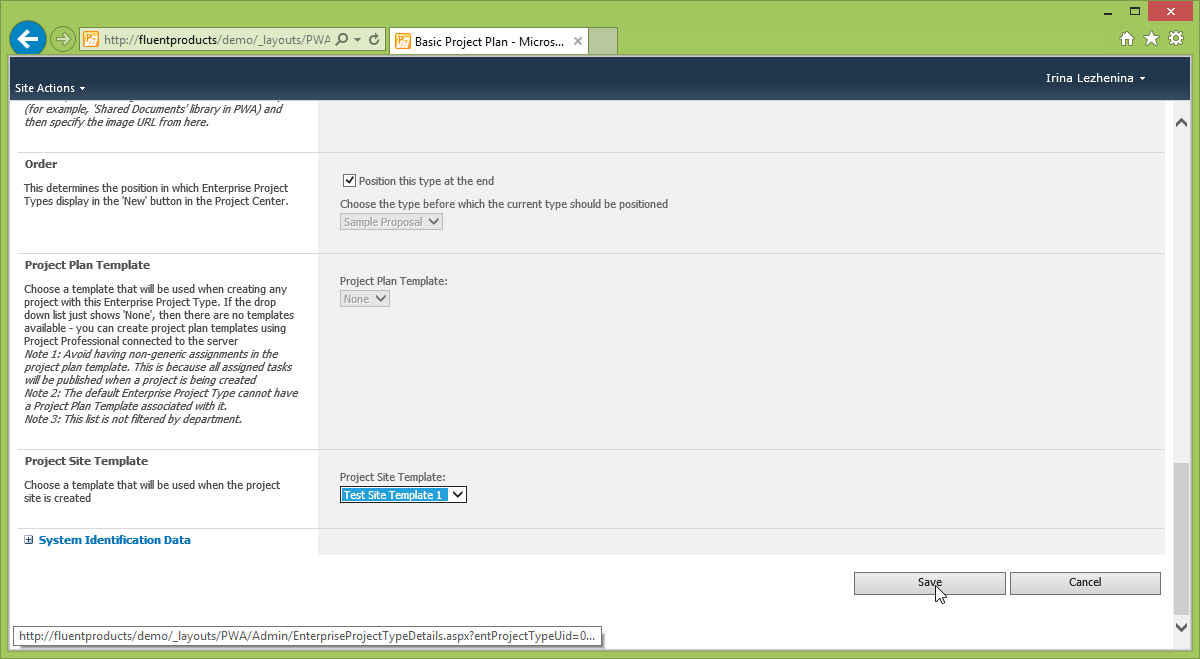
1. On the Project Server 2010, go to Server Settings → Enterprise Project Types and set the Solution that needs to be migrated as a Project Site Template for one of the Enterprise Project Types.
2. Then, create a Project of this Enterprise Project Type, and make sure that the Project Site is also created.
Download(Import) SharePoint Sites
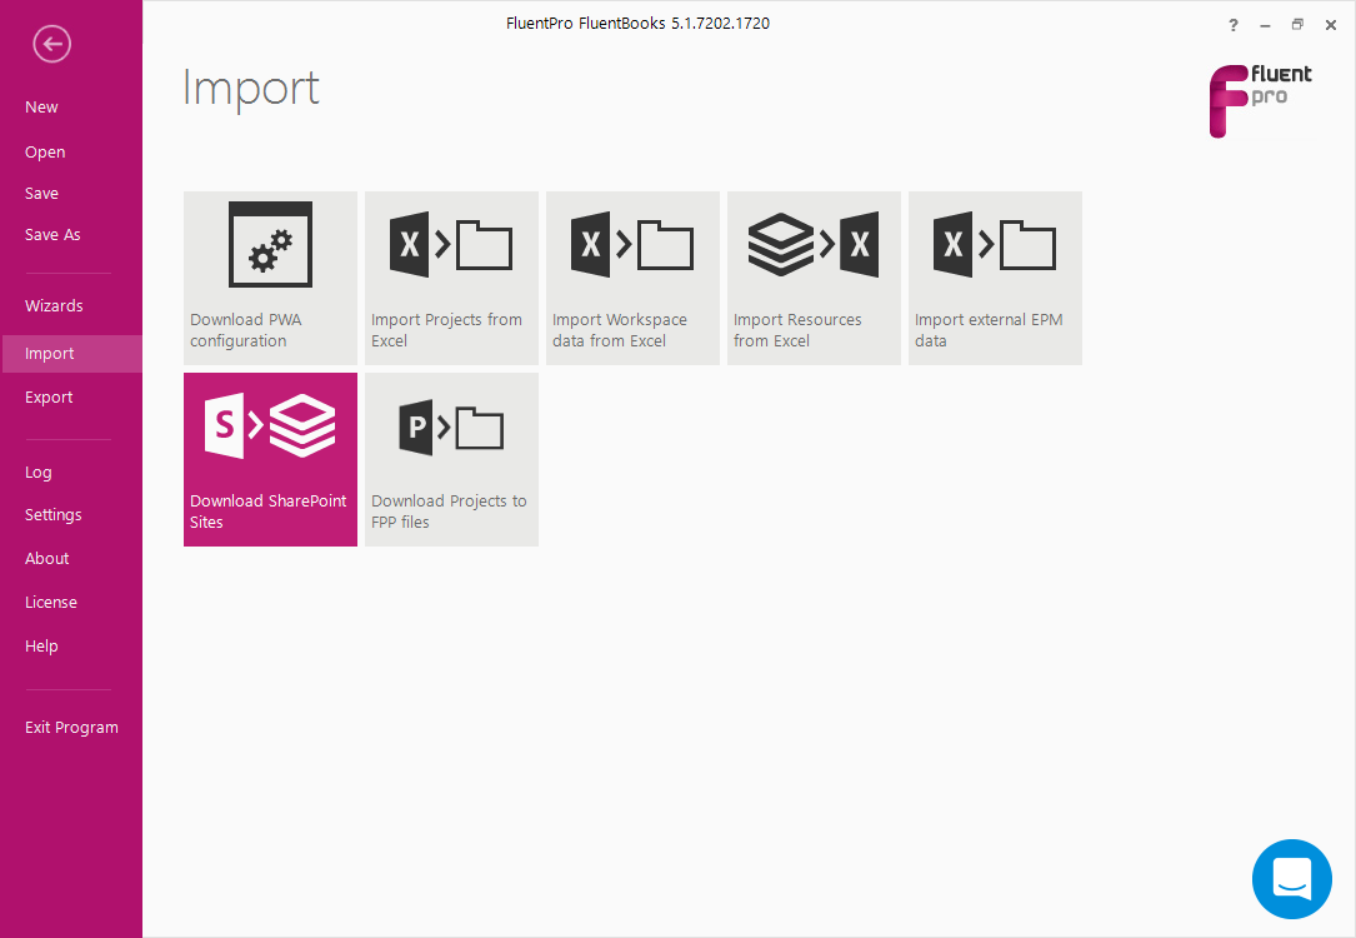
1. Run FluentBooks, select the ‘Download(Import) SharePoint Sites’ option from the Import menu to start the process.
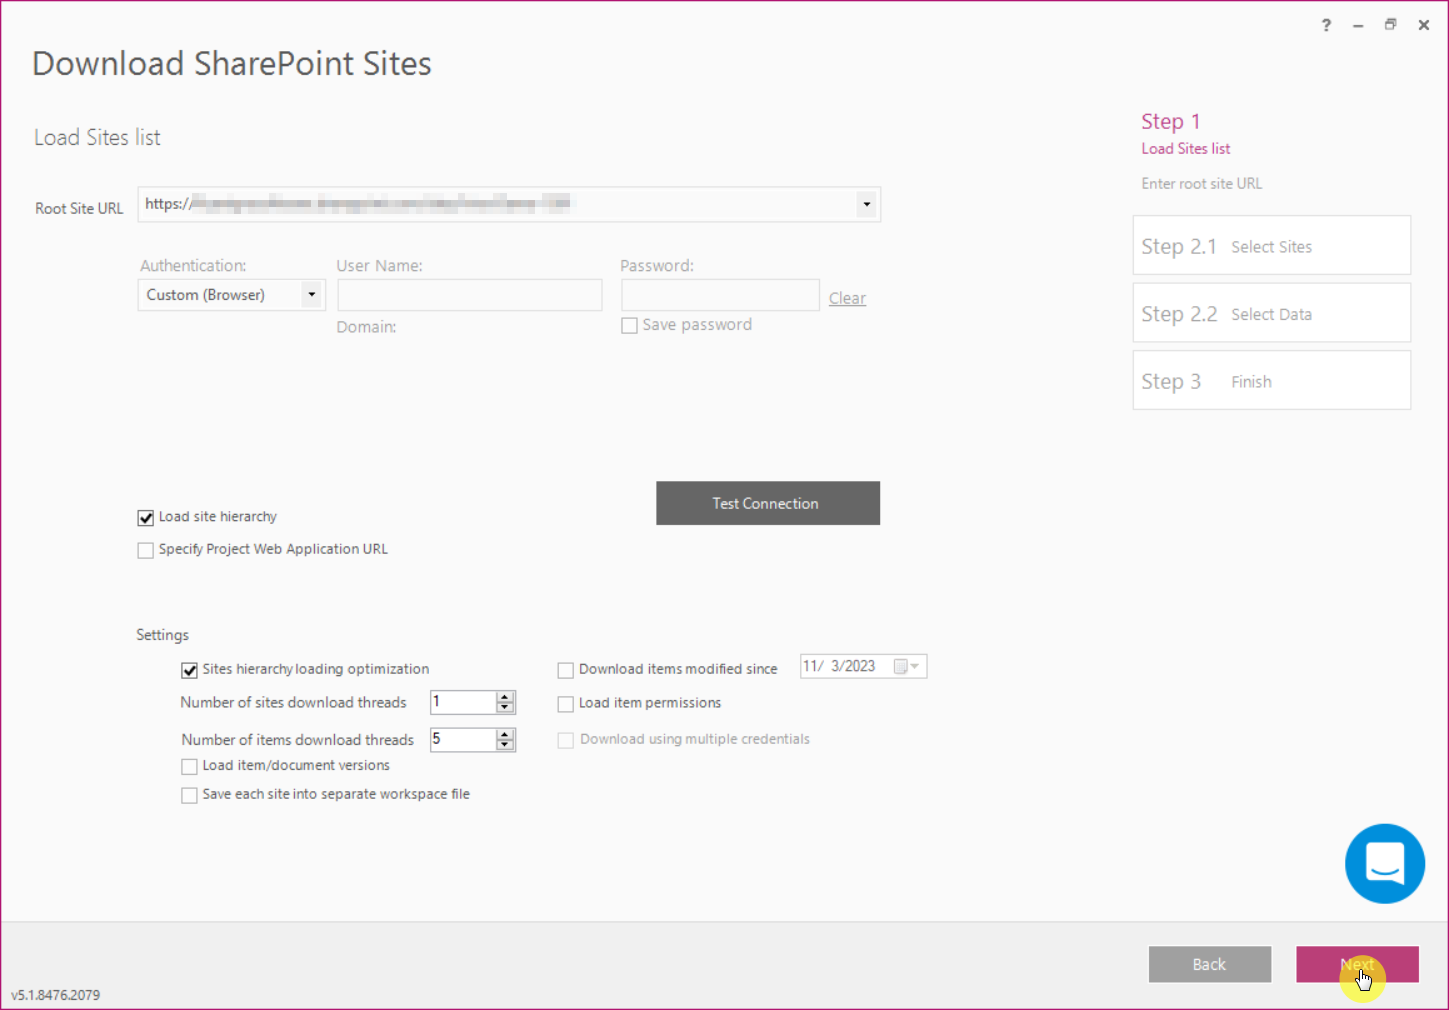
2. On this step specify the Root Site URL of the source PWA and login credentials.
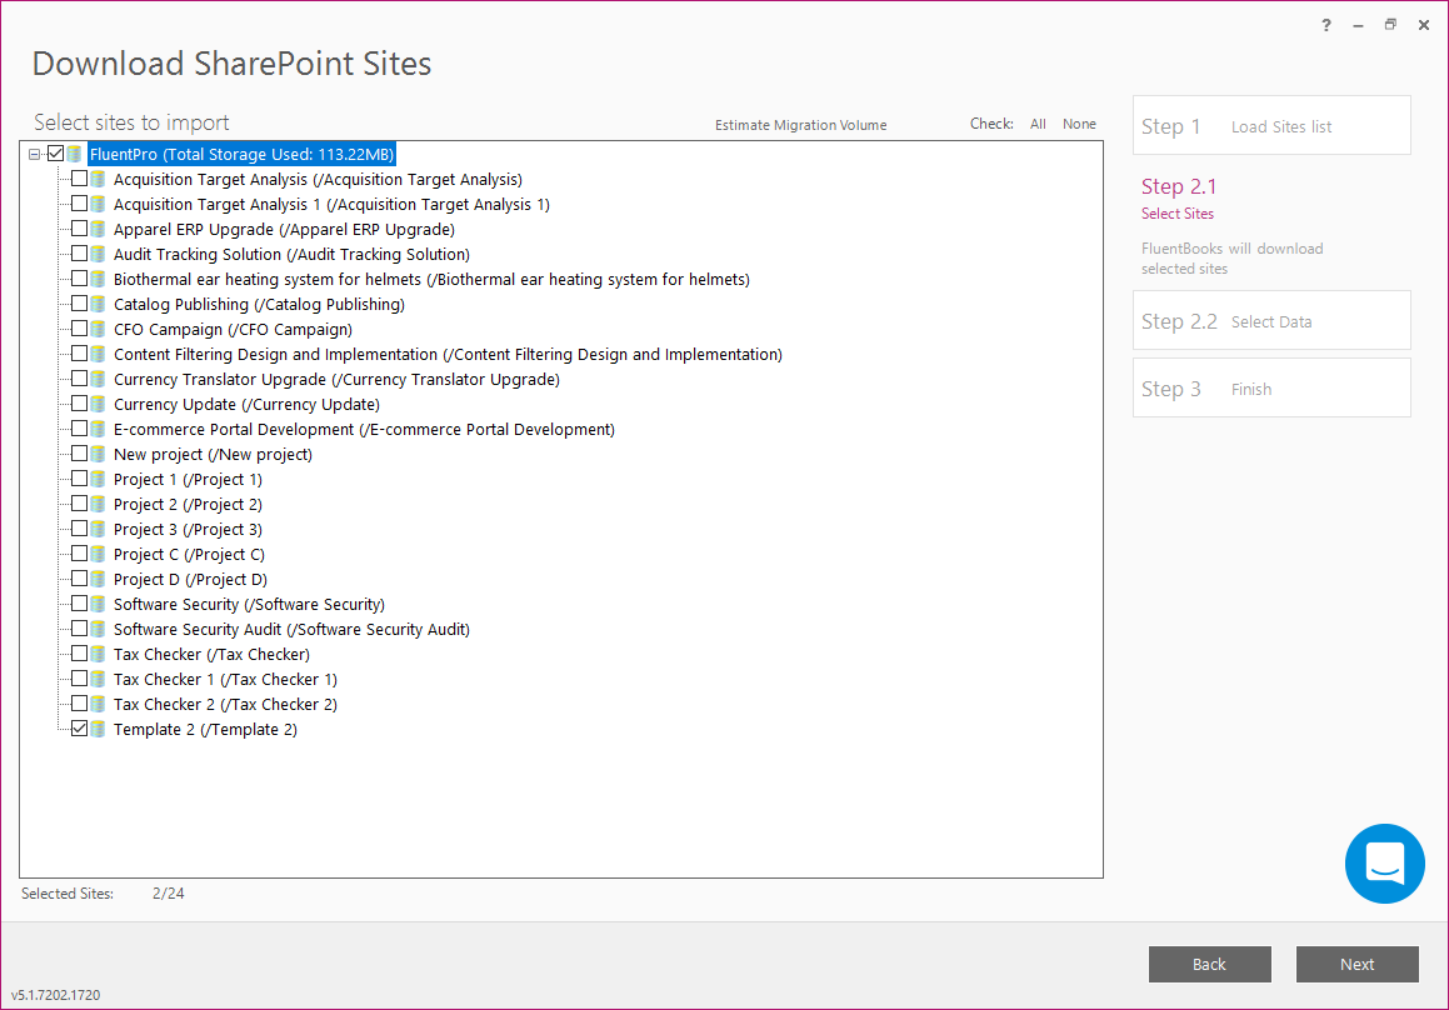
3. Select the sites to be downloaded by checking their checkboxes (the sites that you have created out of the selected templates). Sites with unchecked checkboxes will not be downloaded. Click Next To proceed.
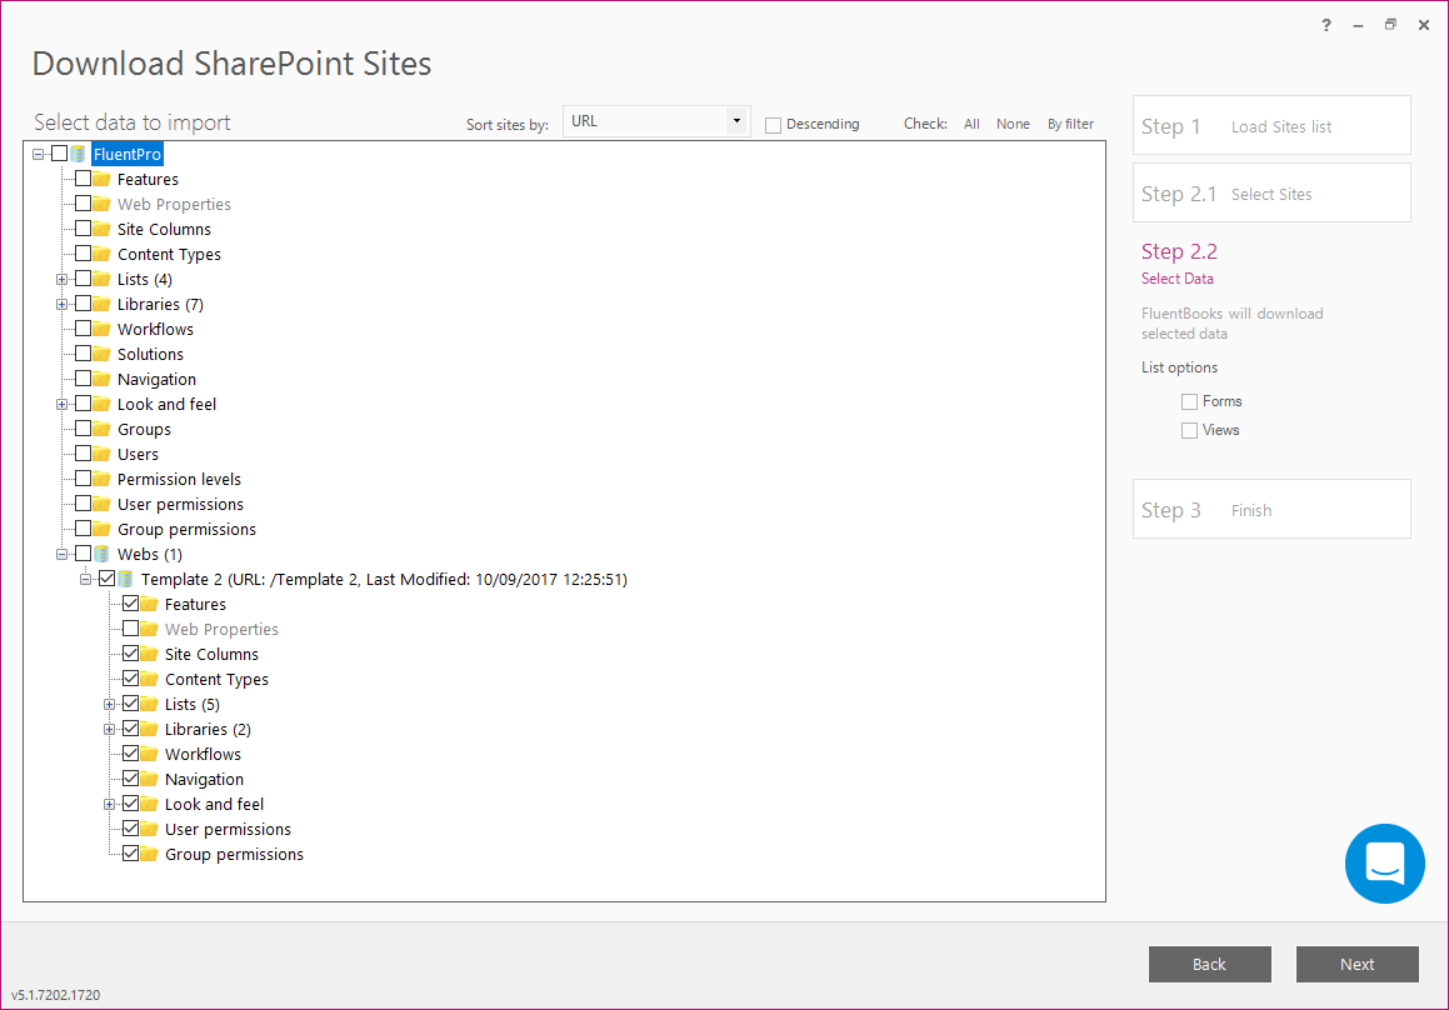
4. Select the SharePoint Sites data to be imported from the source PWA by checking the check-boxes next to the elements. Click Next to start the import process after all necessary data is selected.
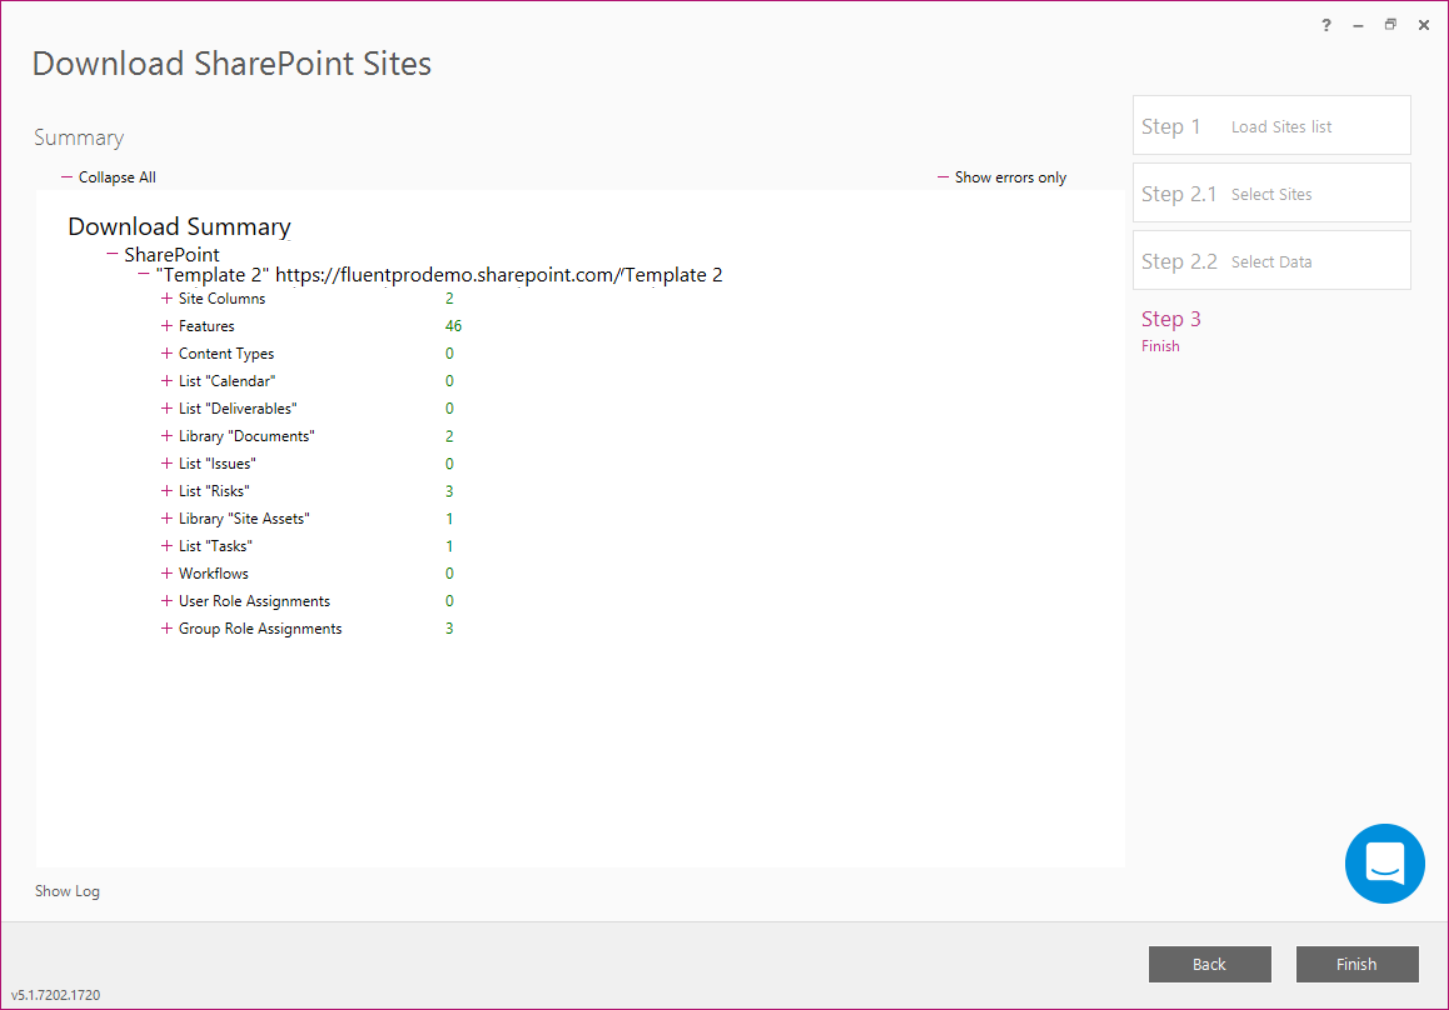
5. Download Summary displayed after the import process is finished will show the SharePoint Sites and the Data that were imported from the source PWA. Click Finish to close the wizard.
Upload(Export) SharePoint Sites
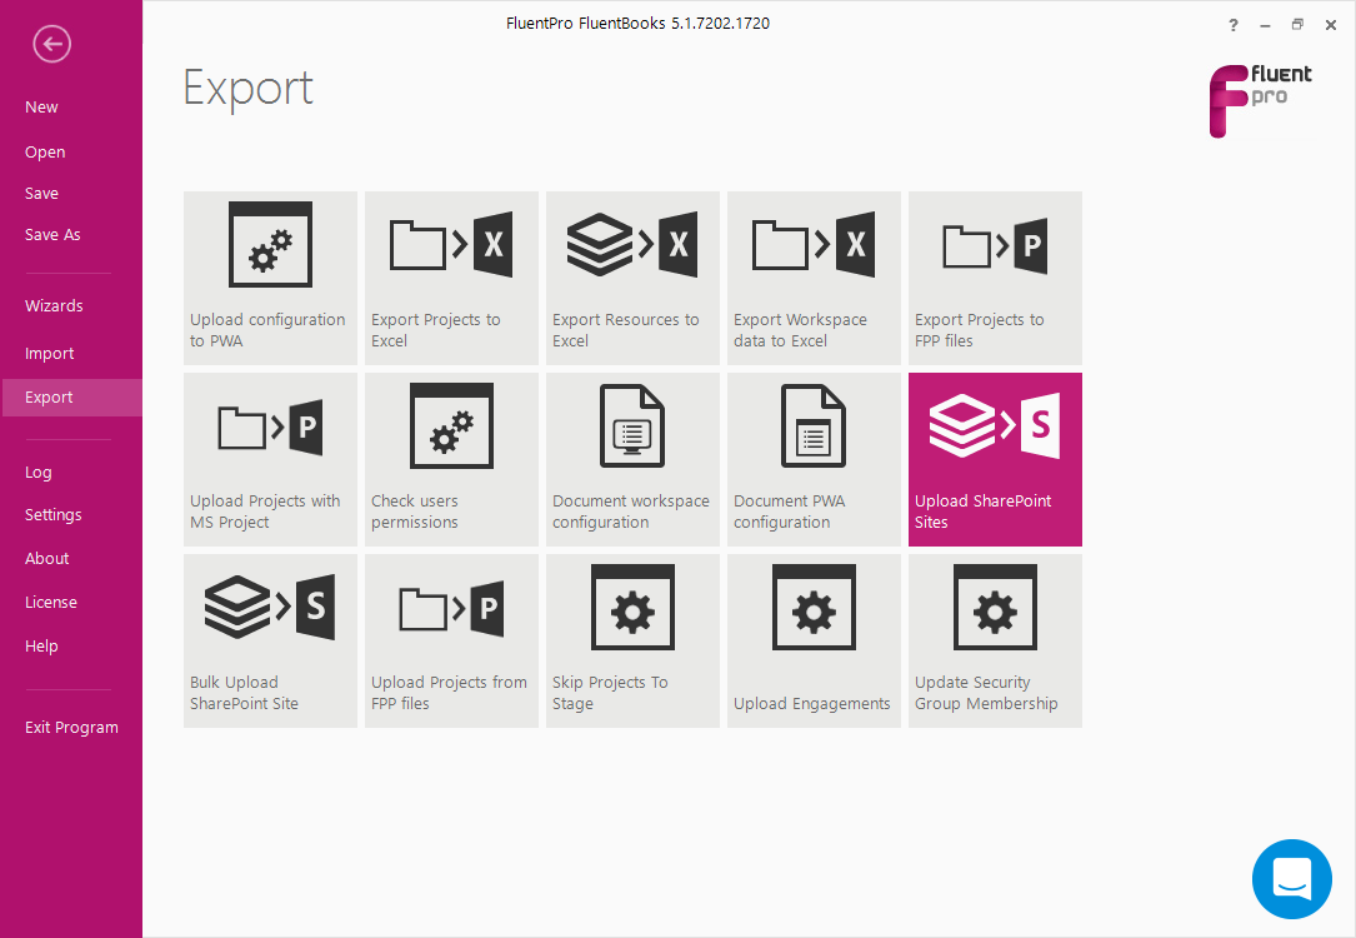
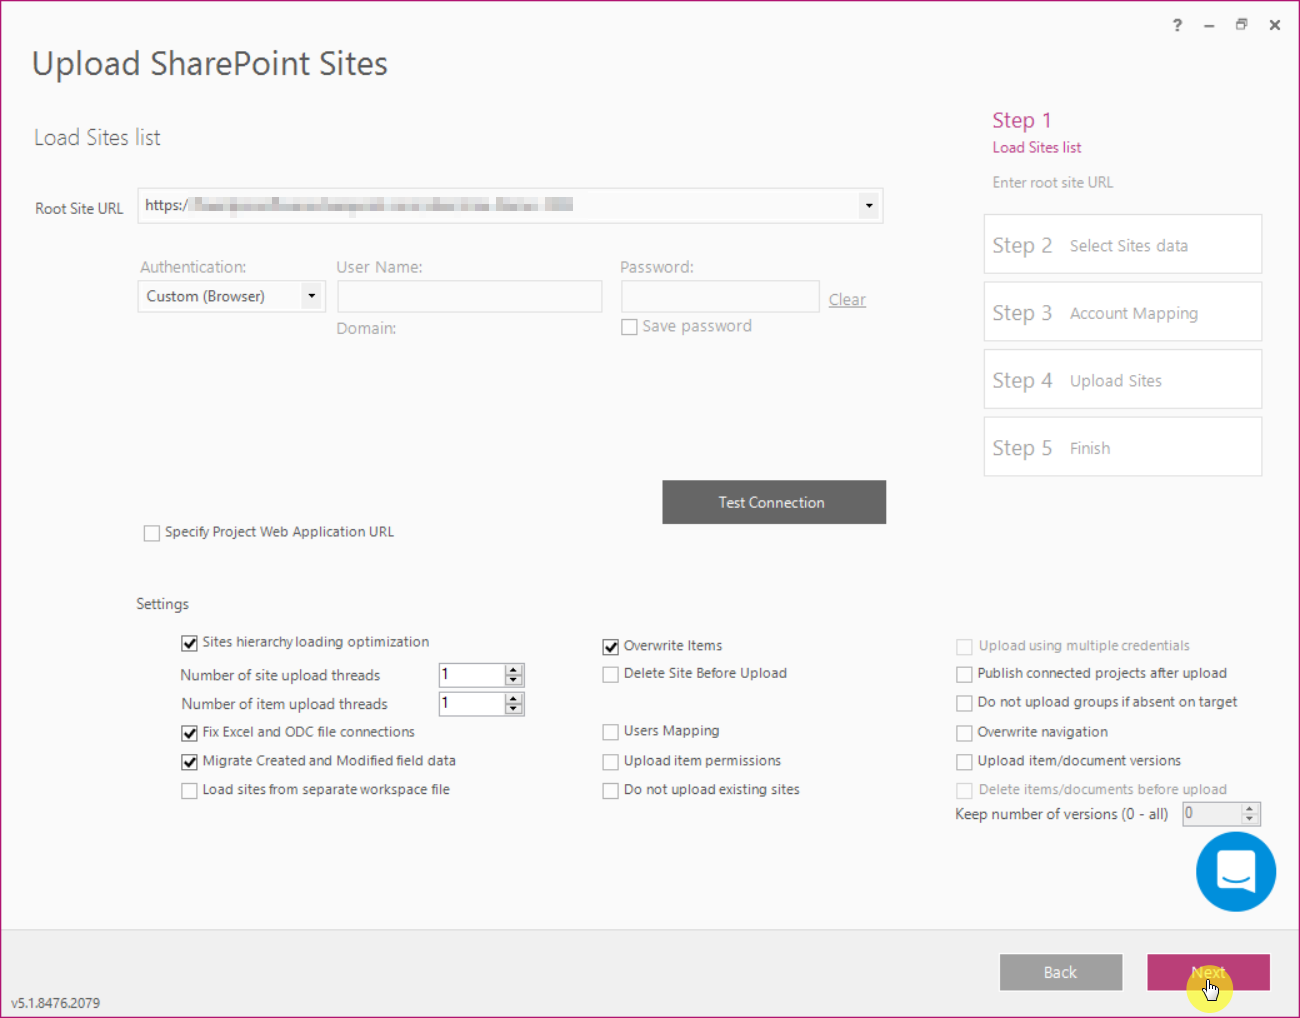
1. Select the ‘Upload(Export) SharePoint Sites’ option from the Export menu to start the upload process.
2. Specify the target PWA URL, login credentials. Click Next to go to the next step.
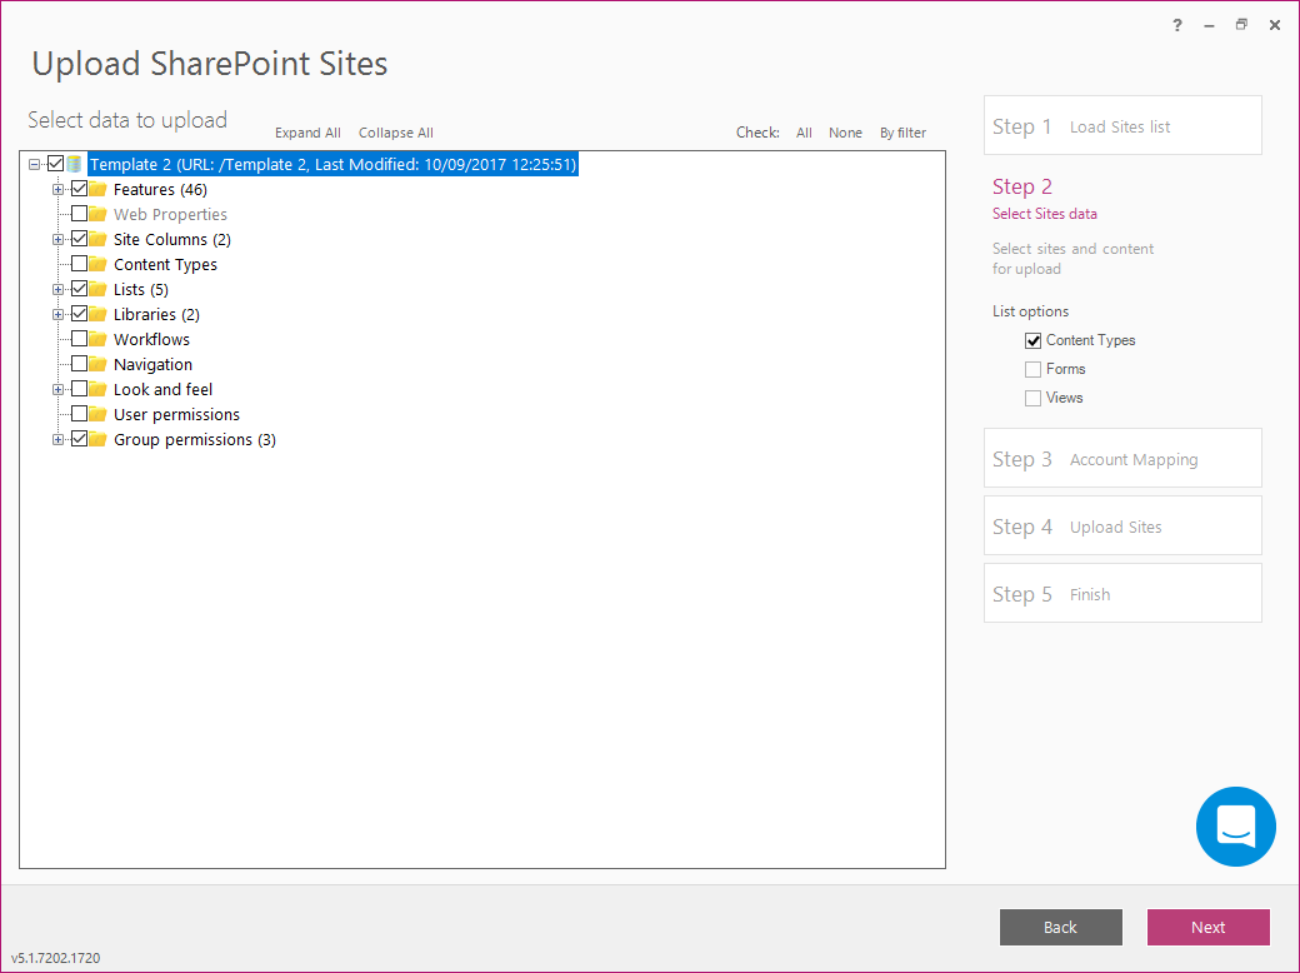
Select the SharePoint Sites data to be exported to the target PWA by checking the check-boxes next to the elements. Click Next after all necessary data is selected.
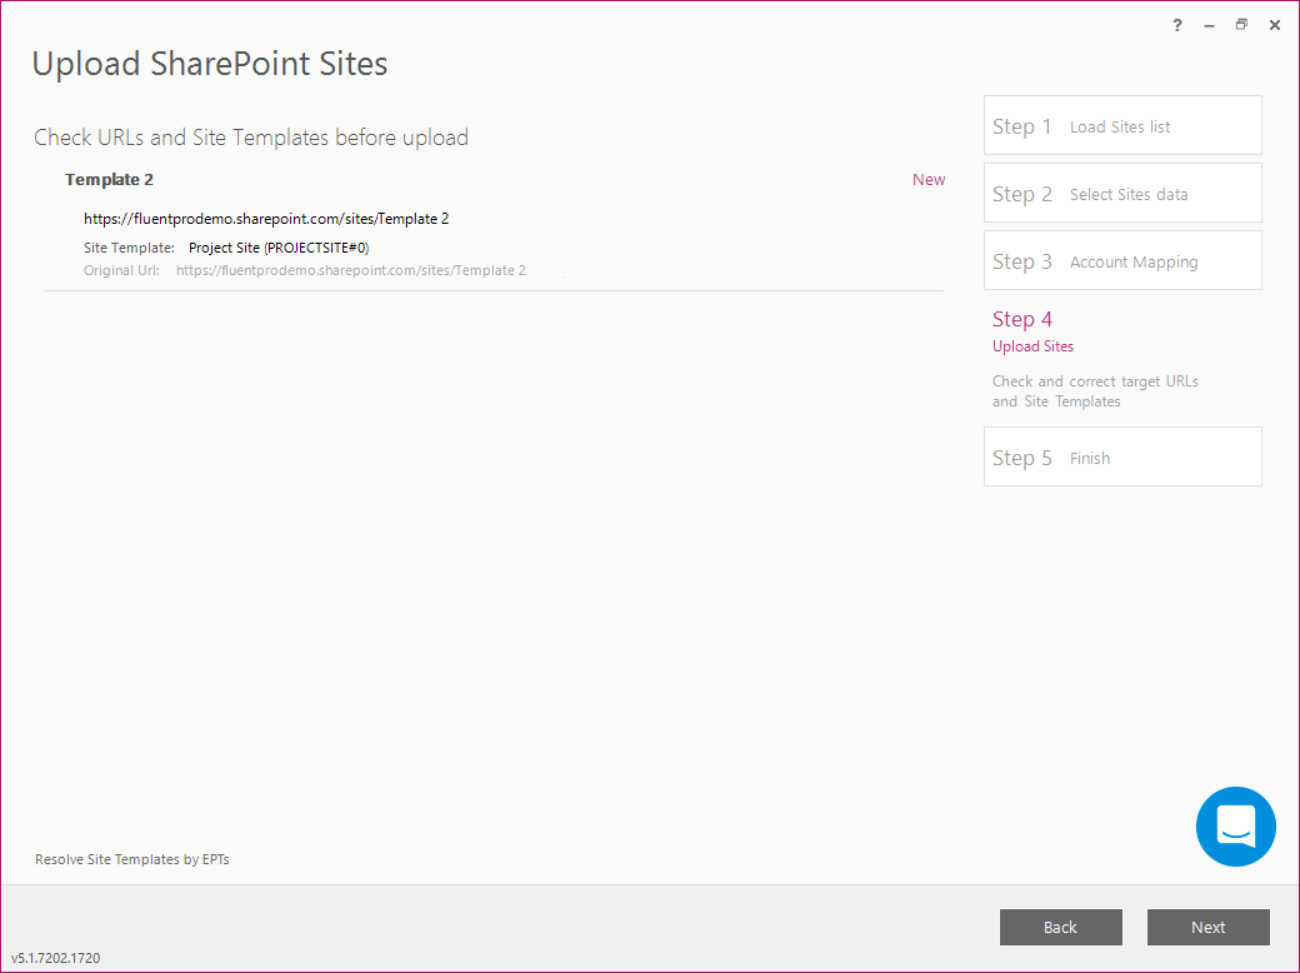
3. Check that the correct URLs and Site Templates are shown. Click Next after all URLs and Site Templates are correct.
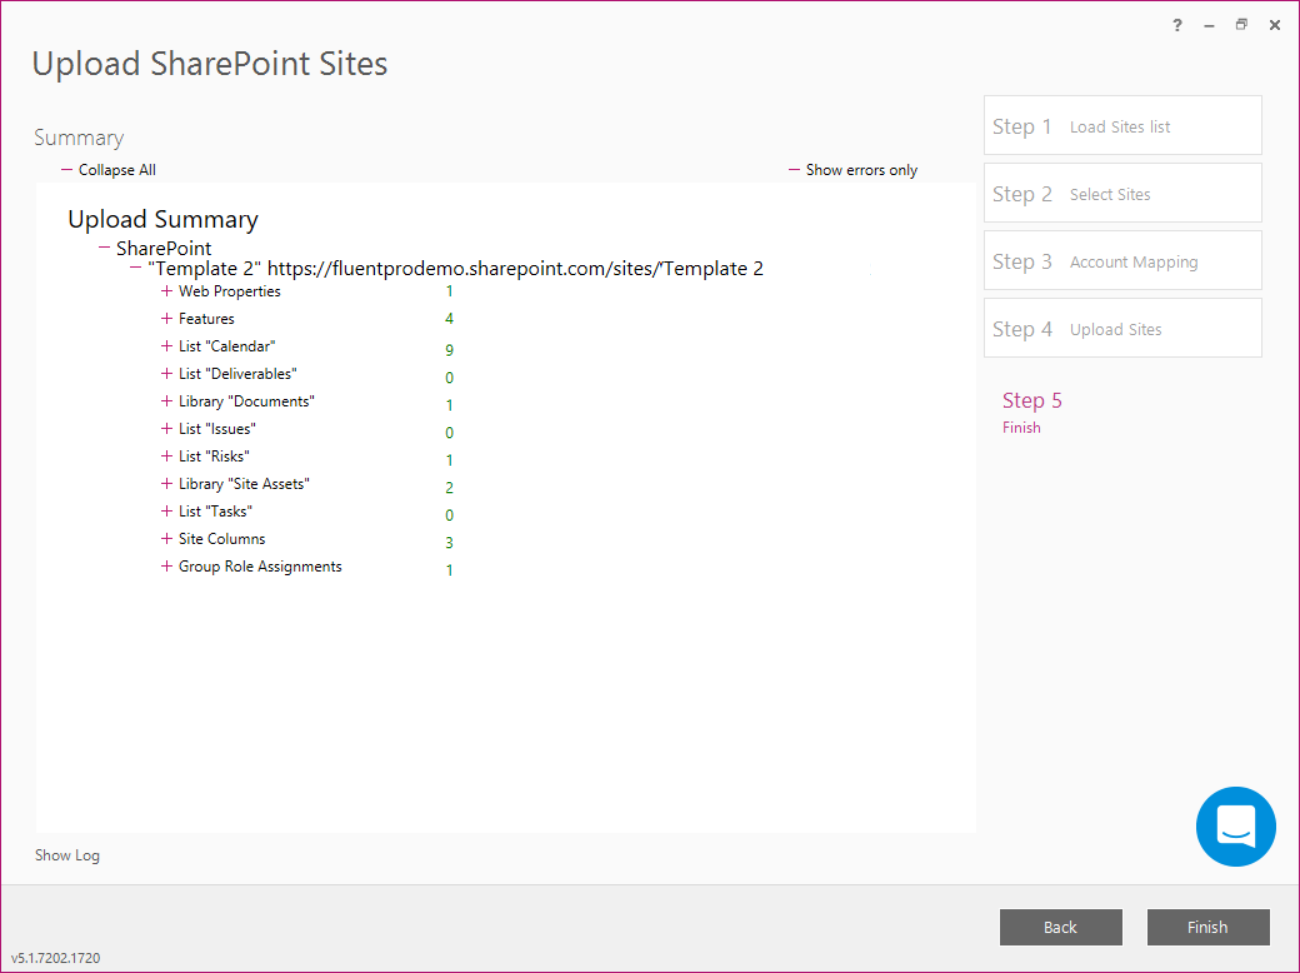
4. Upload Summary displayed after the export process is finished will show the SharePoint Sites that were exported to the target PWA. Click Finish to close the wizard.
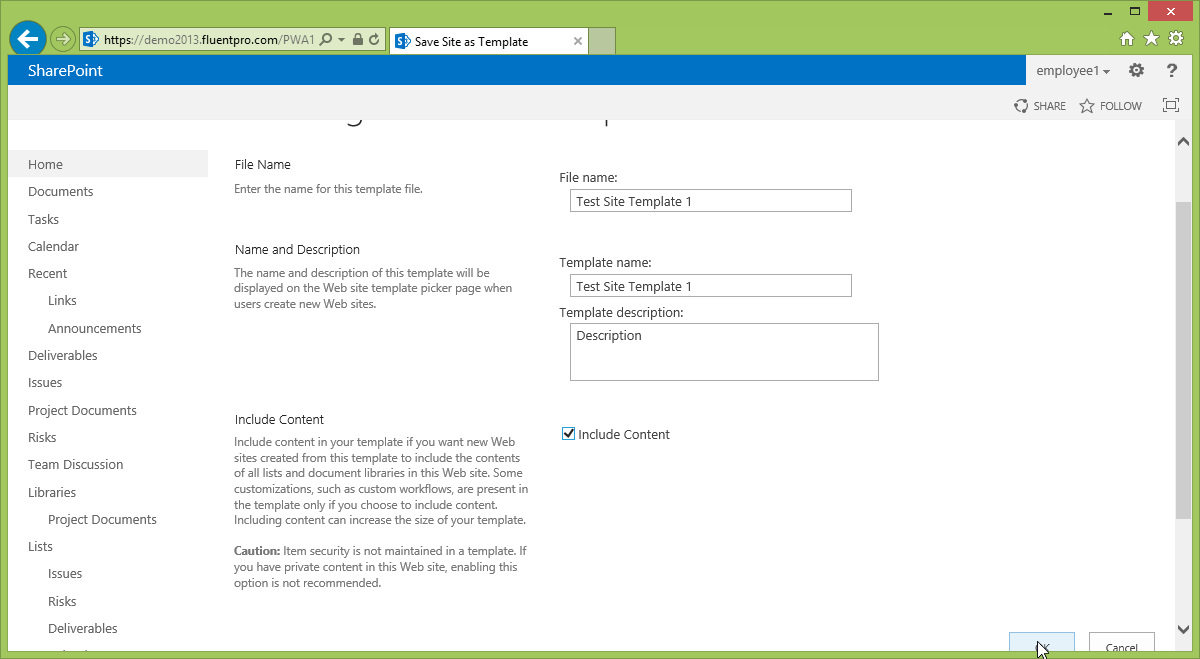
After the migration of the SharePoint Sites has been completed successfully navigate to the target PWA and make sure that the Site migrated from Project Server 2010 is present. You can now create a solution from this Site on your target PWA. To do this go to Site Content and open the Site that was migrated. After that go to Site Settings → Save Site as Template.
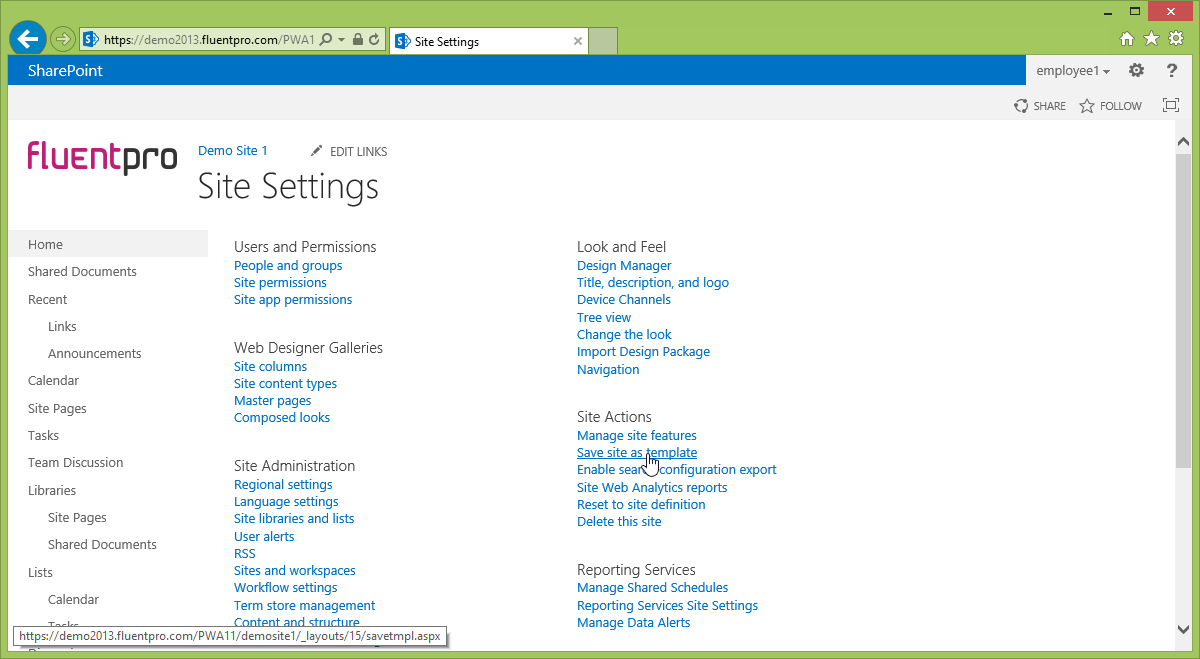
Fill in all the necessary information and press ‘OK’ to create a new Solution on the target PWA.