
Update Security Group Membership wizard was designed to perform the bulk set of Project Security Groups membership for PWA Users. This wizard can be used if you need to set in target PWA the same Project Security Groups membership for users as in source PWA.
Preconditions:
1. Security Groups are present in the target PWA.
2. Resources, for which group membership needs to be set, are present in FluentBooks workspace.
3. The User Accounts should be active in target PWA.
Step 1 - Download Resources into FluentBooks Workspace
1. Run FluentBooks >> Import >> Download PWA Configuration
1.1 Provide source PWA URL and credentials in Step 1 of the wizard.
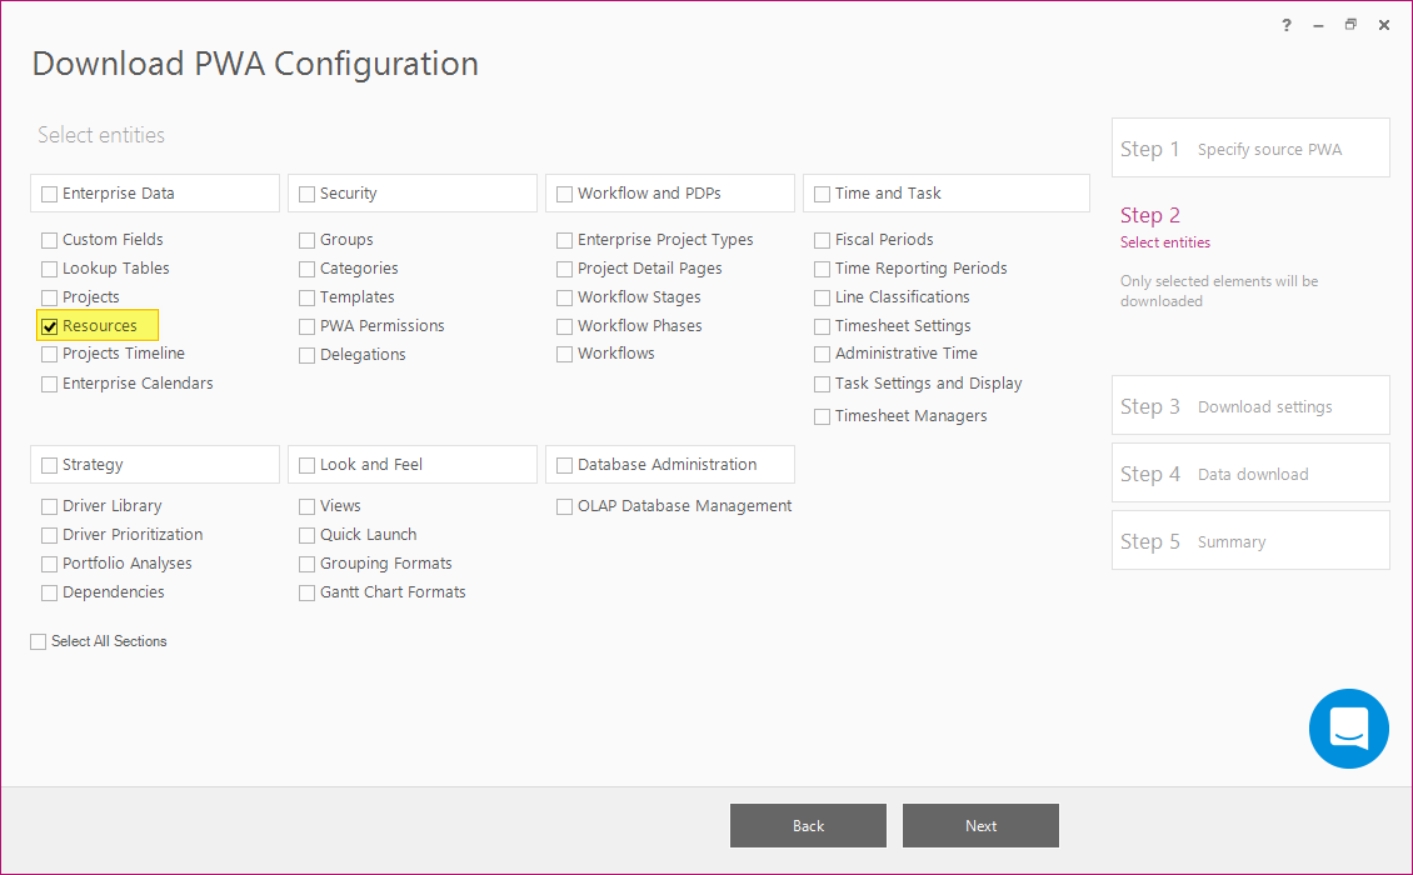
1.2 In Step 2 of the wizard select Resources to download them from the source PWA.
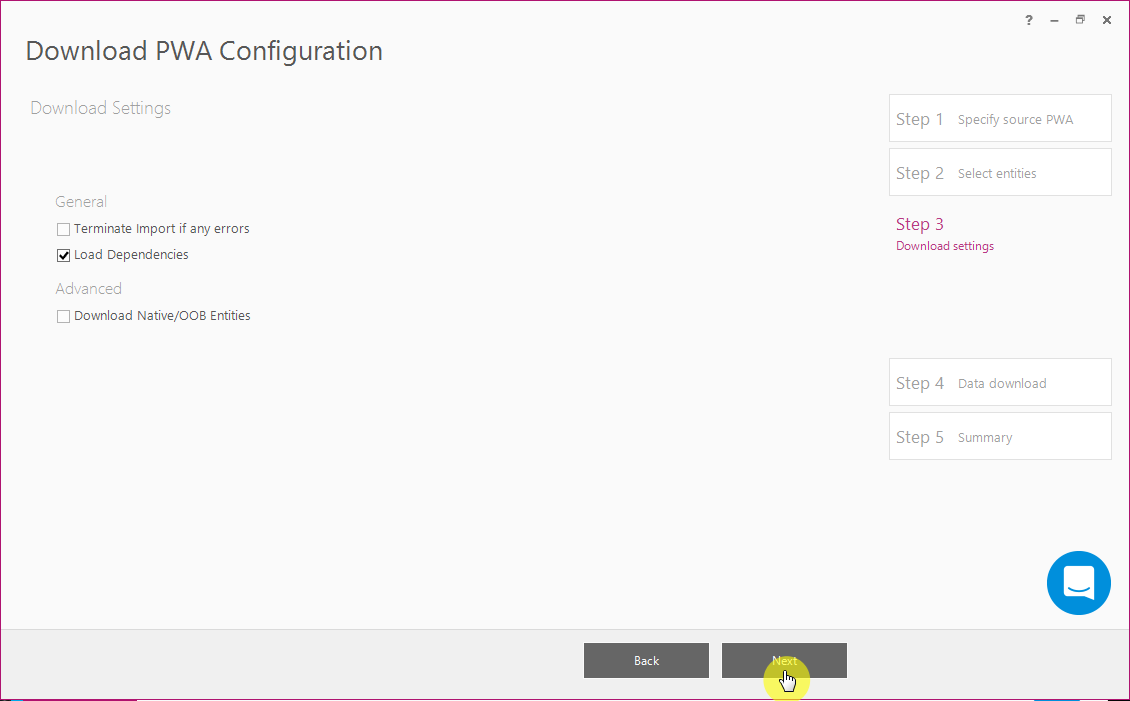
2. Proceed through Step 3 of the wizard. Please leave all predefined check-boxes as is.
3. As the download process finishes, exit the Download PWA Configuration wizard by clicking Close and Finish buttons.
Step 2 - Select Resources
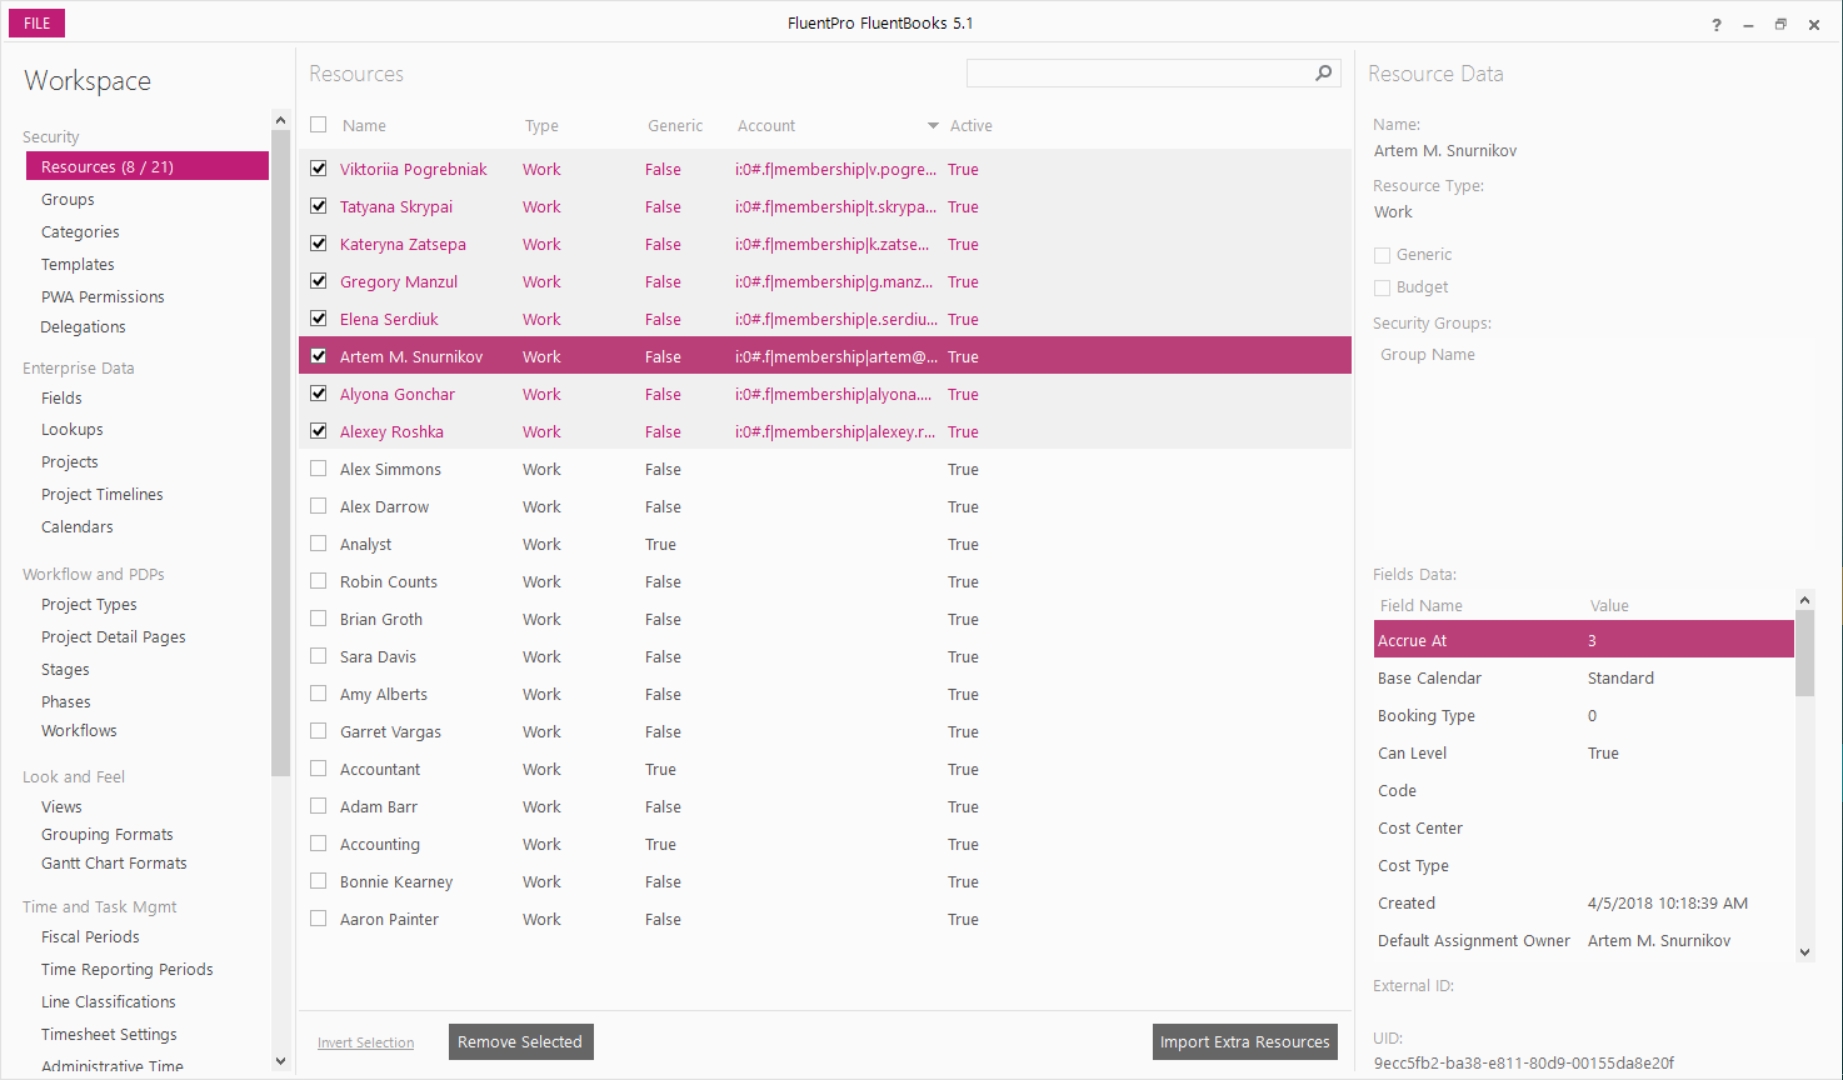
As you finish working with the Download PWA Configuration wizard, the FluentBooks Workspace containing Resources will be opened.
In the FluentBooks Workspace, choose Resources that you would like to be added to Security Groups in the target PWA by checking their checkboxes.
After selecting the Resources, continue with the next step (Step 3 of this article) to start the Update Security Group Membership wizard.
As an option, you can open the previously saved FluentBooks Workspace, which contains the necessary Resources and elements of the Security section, and use this Workspace to select Resources for group membership update.
Step 3 - Update Security Group Membership
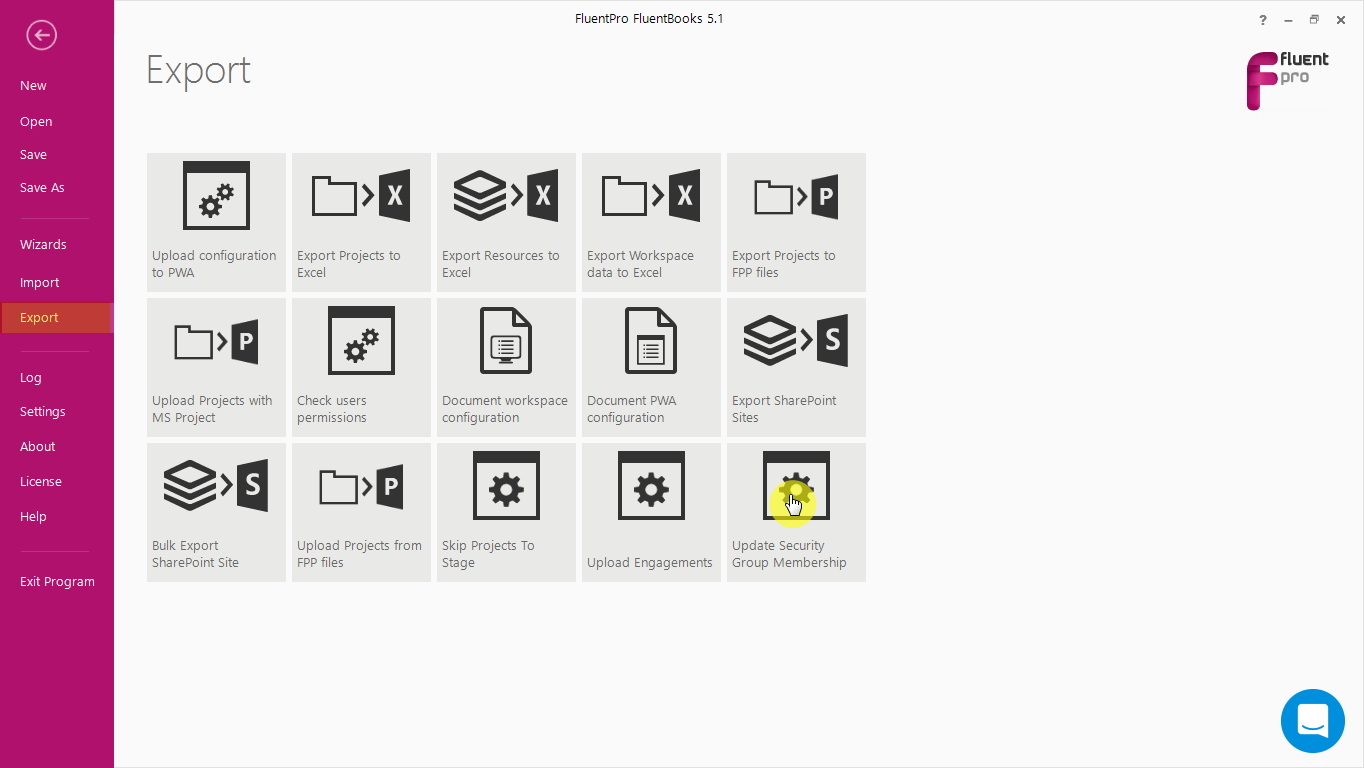
After selecting the required Resources in the Workspace, click on File >> Export >> Update Security Group Membership wizard.
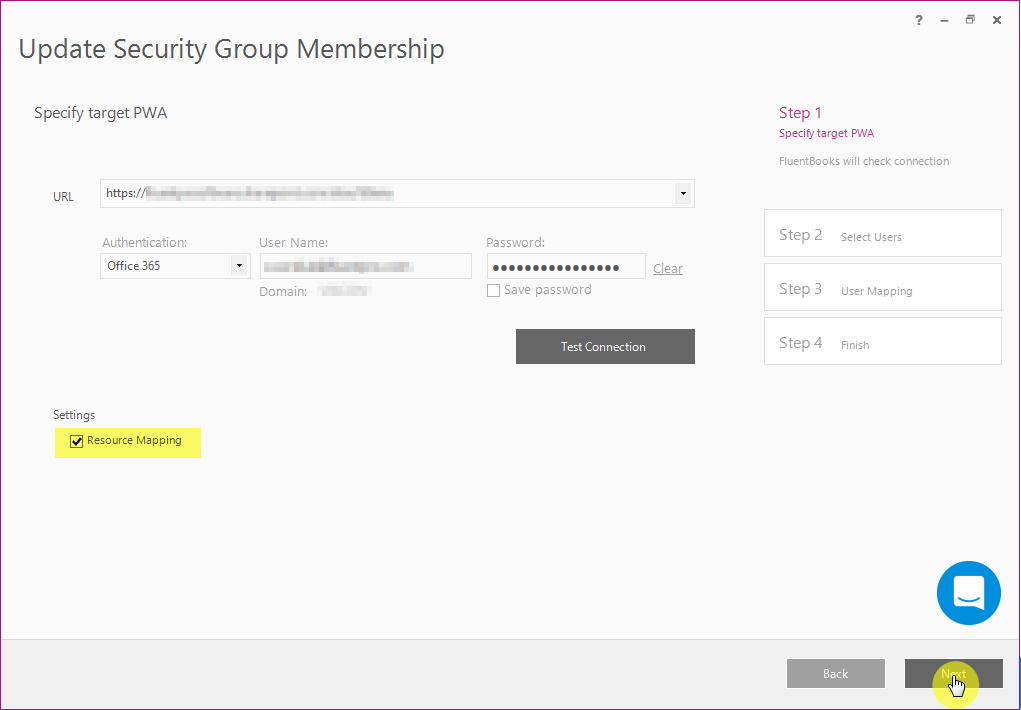
1. In Step 1 of the wizard, provide the Target PWA URL and credentials.
Resource Mapping - select this option if it is needed to perform source-to-target User Accounts mapping.
Click Next to proceed.
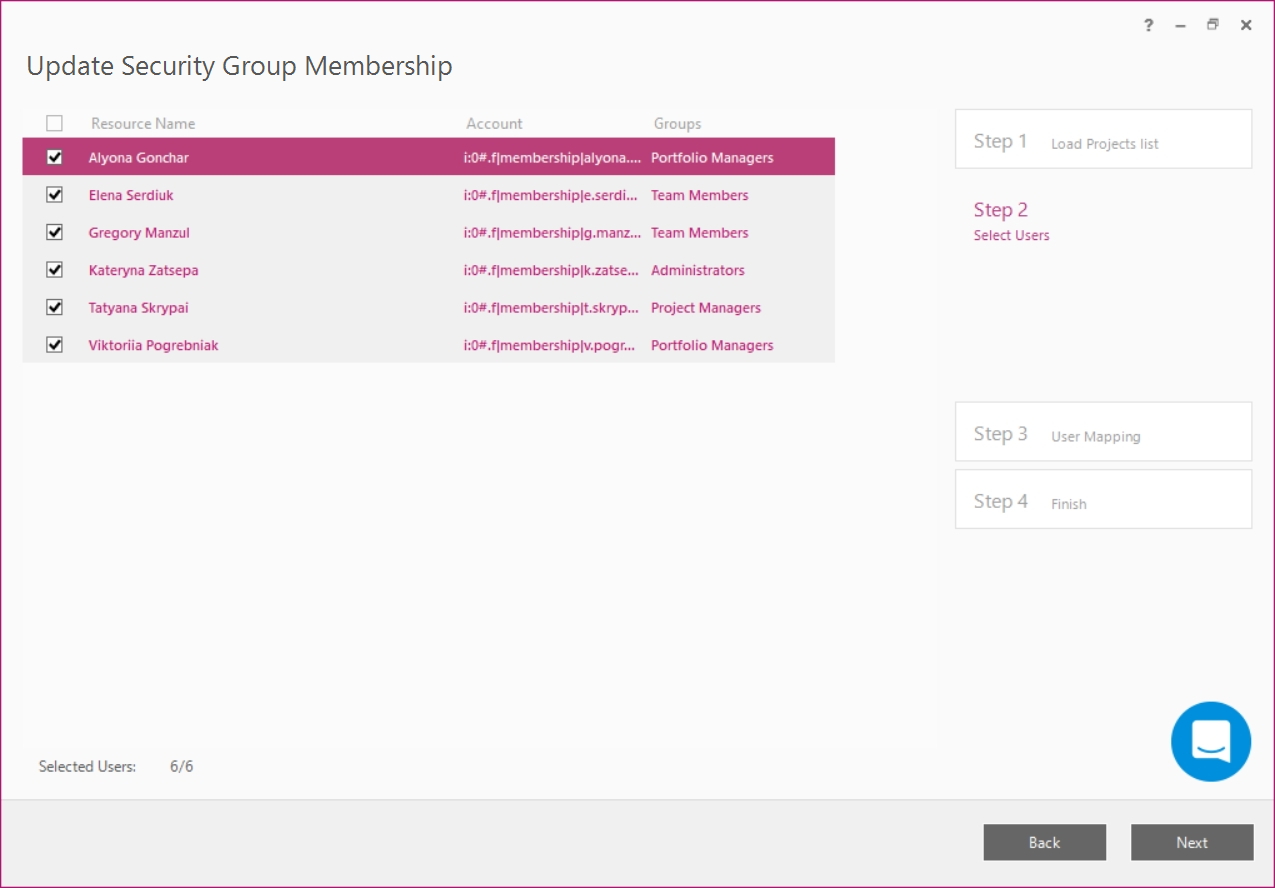
2. In Step 2 of the wizard, FluentBooks will display the list of User Accounts. Here, check the checkboxes of those Users who need to be added to Security Groups.
Click Next to proceed.
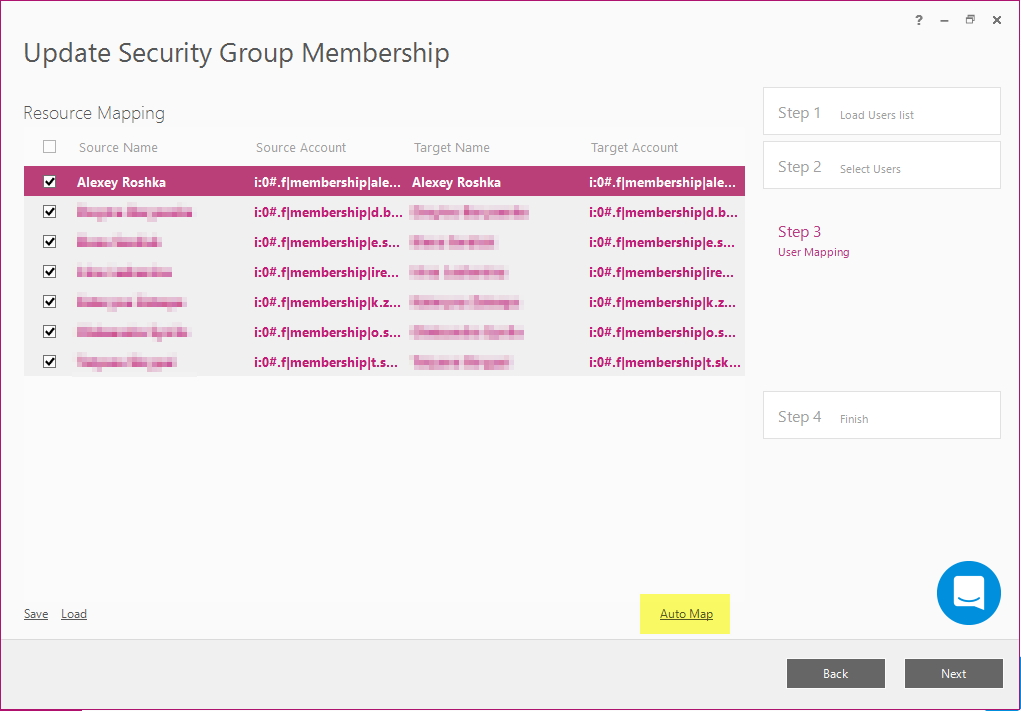
If Resource Mapping option was enabled in Step 1 of the wizard:
FluentBooks will load the User Accounts from the target PWA and the Resource Mapping screen will be displayed.
Update Security Group Membership wizard provides three ways to specify target accounts:
1. Map accounts manually
Target accounts can be edited manually, to do this double-click the target account name and it will become editable, click the Enter key to confirm the changes.
Add target resource name and target account.

2. Auto Mapping
When using the Auto Mapping option, FluentBooks will perform the "best-match" by searching matching User Names and User Accounts.
Make sure to verify the results of Auto Mapping thoroughly, since they may not be 100 % accurate.
- If FluentBooks finds a fully corresponding account, it will be marked white.
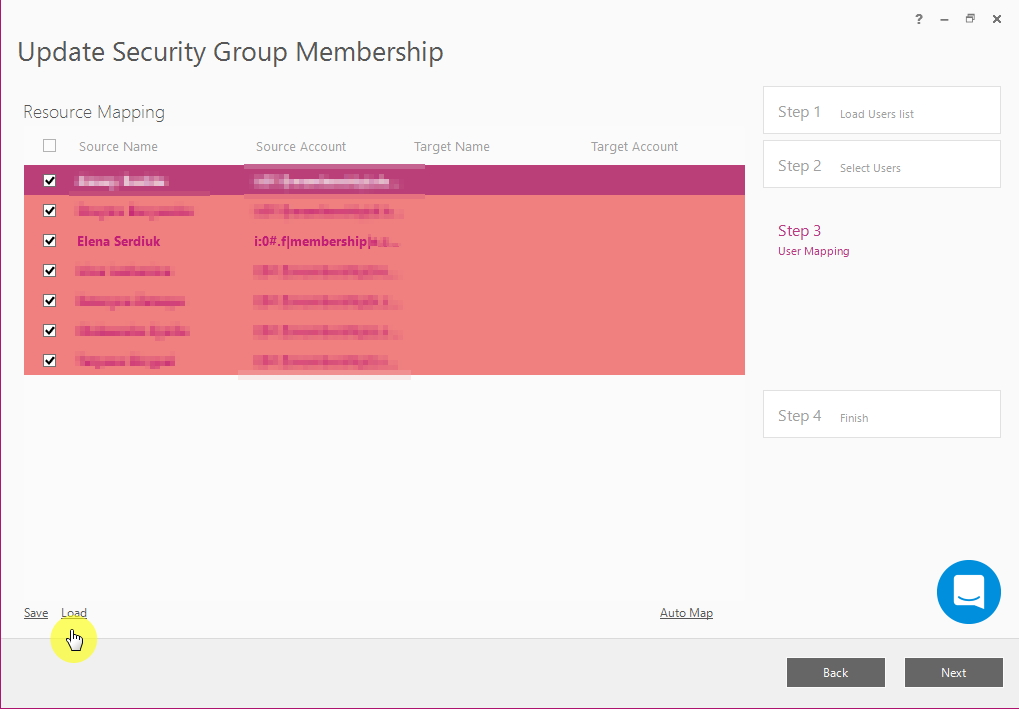
- If there is no corresponding account found in the target environment, it will be highlighted in red.
- If the target account does not fully correspond, it will be marked yellow.
Target accounts can be edited manually, to do this double-click the target account name and it will become editable, click the Enter key to confirm the changes.
3. Mapping using Excel file
Save - this option allows exporting the list of User Accounts from FluentBooks into an Excel File.
You can then use the generated Excel file to provide the target User Names and User Accounts.
Load - after mapping is done in the Excel file, use the Load button to load the results into FluentBooks.

Edit the Excel File. Add names and user accounts to the Target Name and Target Account columns. Save and close the Excel File.

Click on Load in FluentBooks to proceed and open the previously saved Excel File.
Click Next to proceed.
If Resource Mapping option was disabled in Step 1 of the wizard:
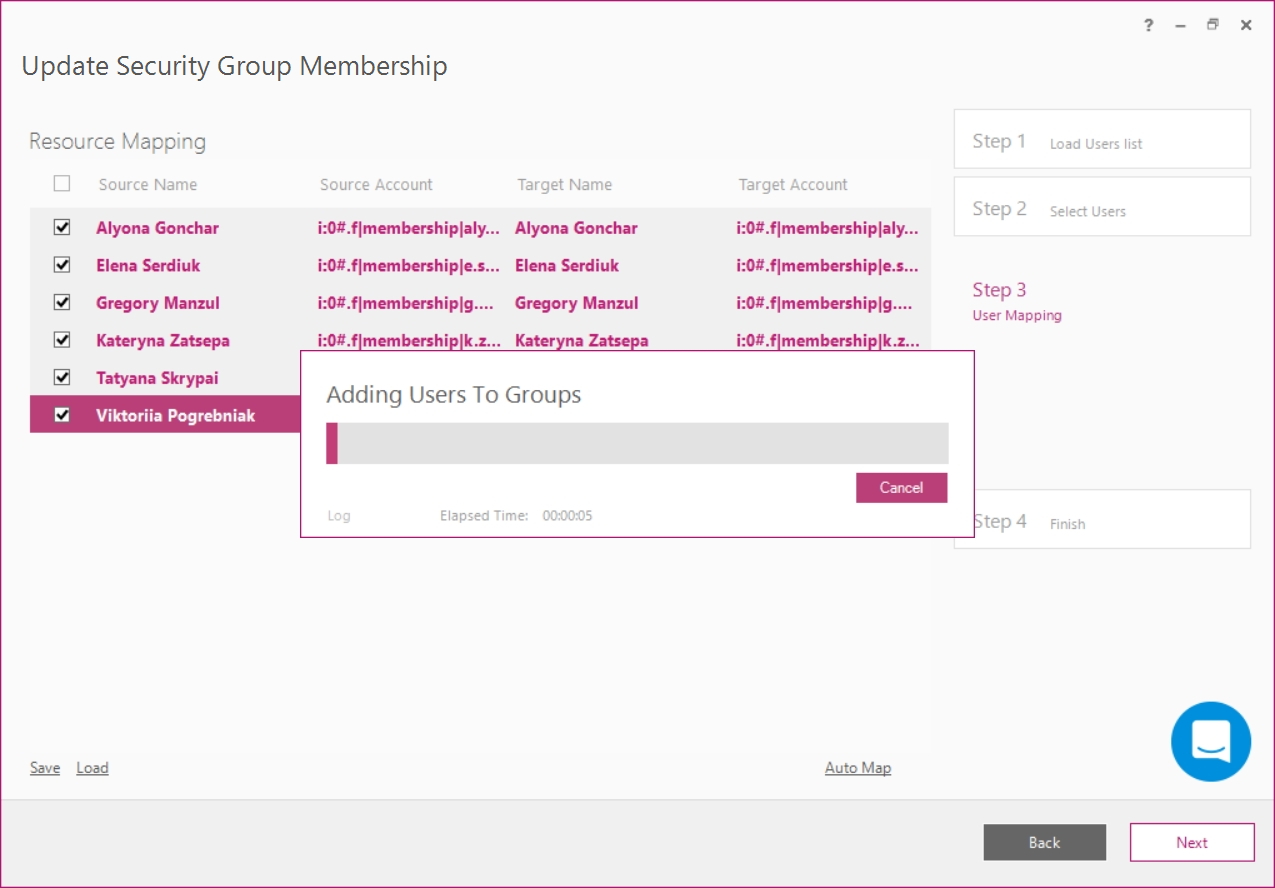
3. FluentBooks will start adding Users into Groups.
Please allow the program some time to finish the process.
A progress bar will display the current status of the operation.
4. As the process finishes, the Summary screen will be displayed
Click Finish to exit the wizard
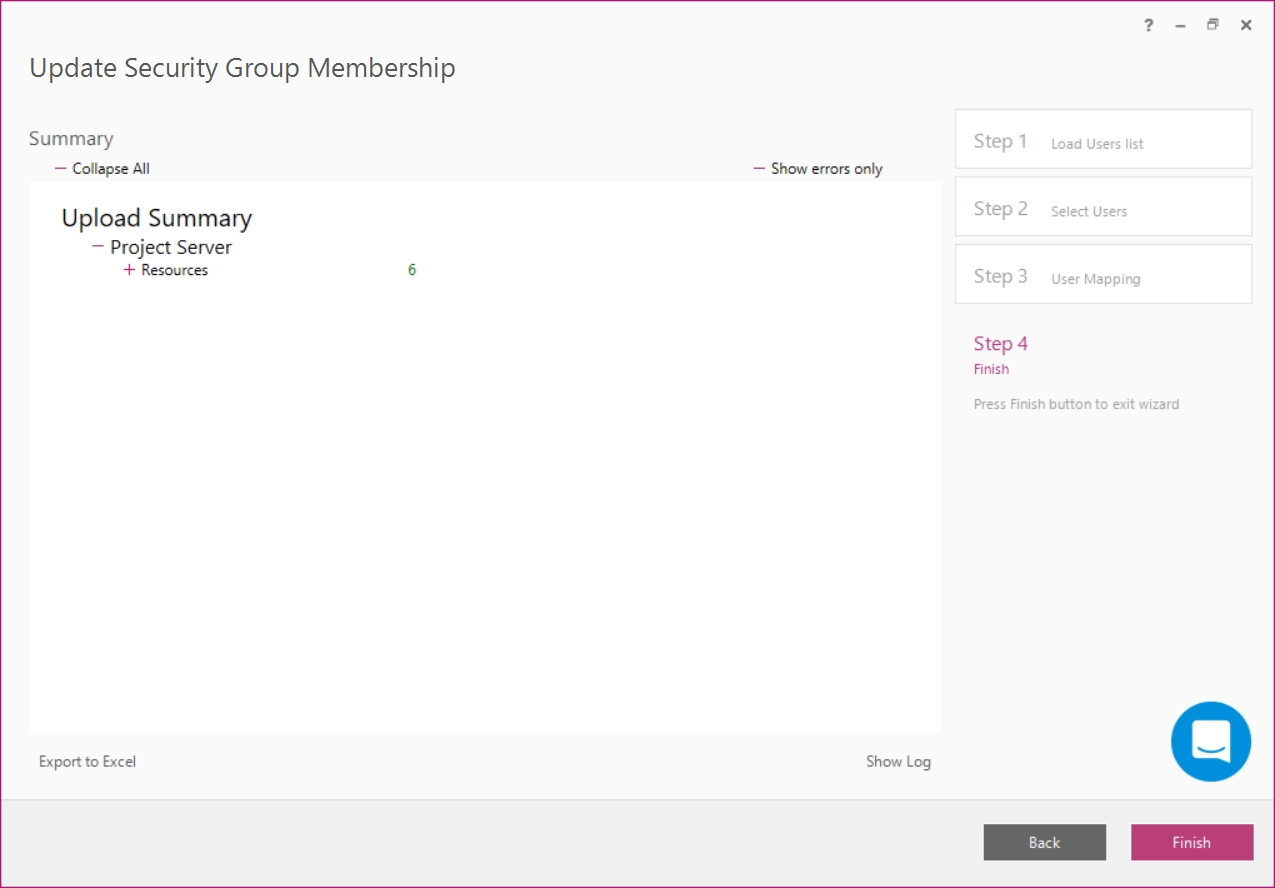
As a result, users will be added to Project Security Groups.