
This article describes the procedure of Planner app registration, which is required for EPM Pulse connection to Planner.
1. Go to the website:
https://portal.azure.com/#blade/Microsoft_AAD_RegisteredApps/ApplicationsListBlade
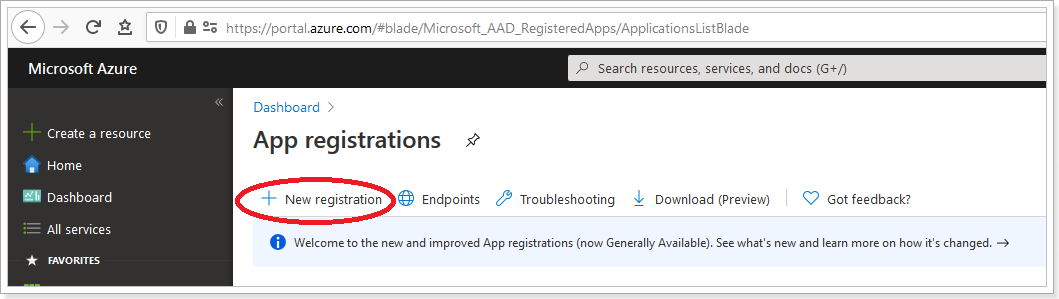
2. Click the 'New Registration' button.
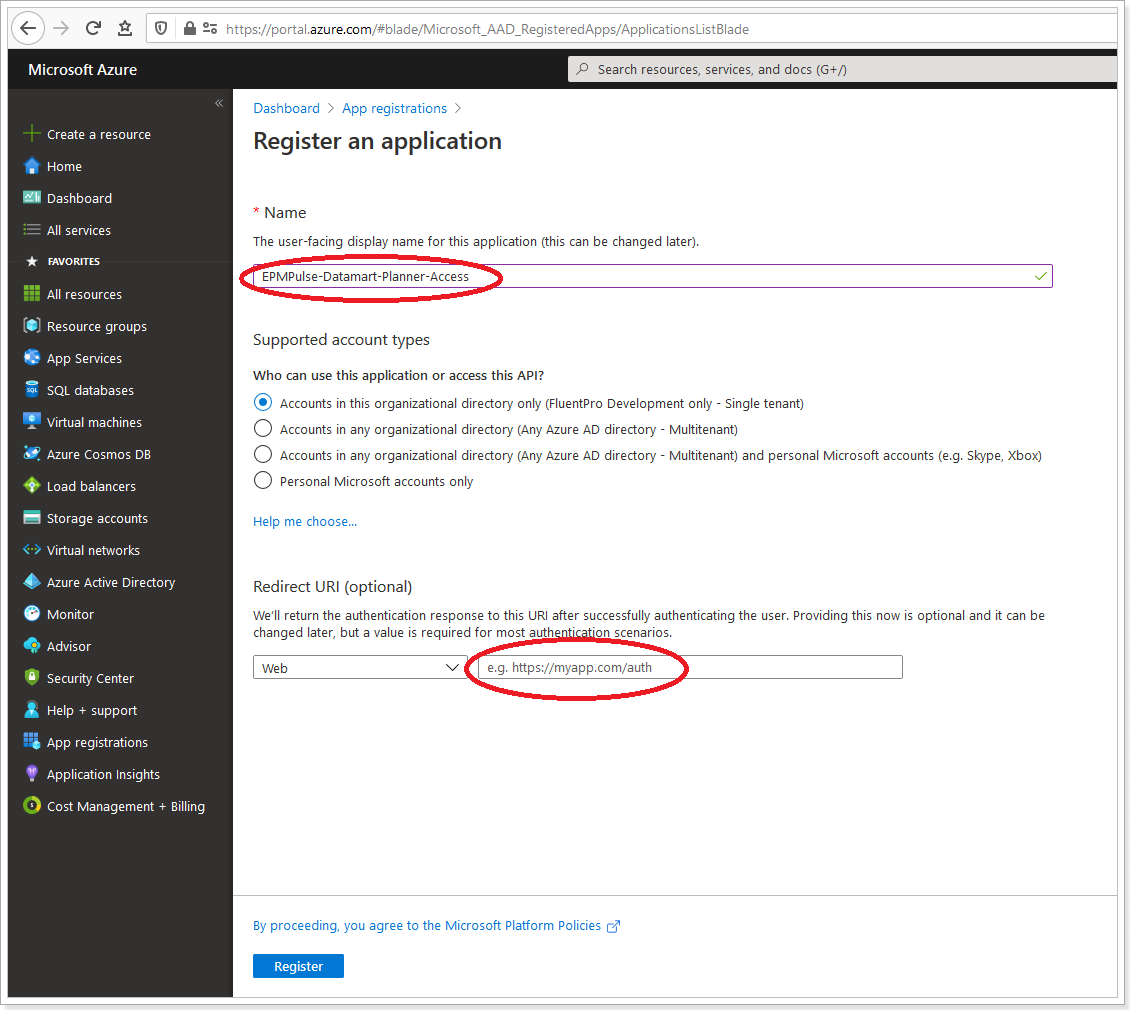
3. Type in any name for your new app (e.i. 'EPM Pulse-DataMart-Planner-Access') and copy-and-paste the Redirect URL from the EPM Pulse DataMart Configuration wizard. Then click 'Create'.
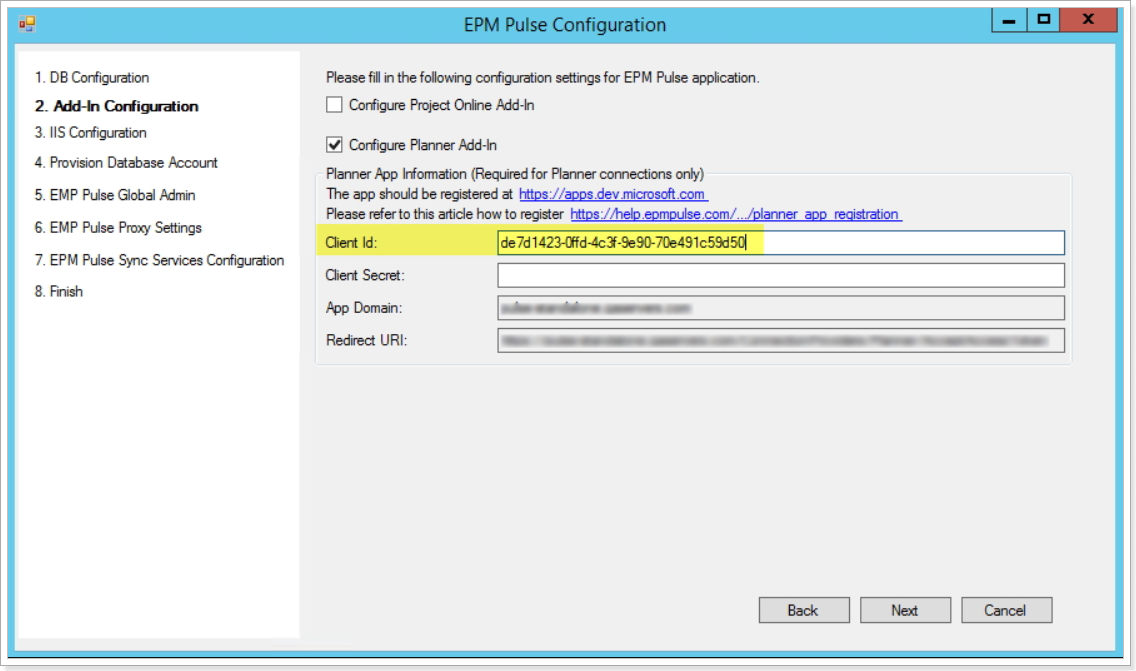
4. Copy the Application ID.
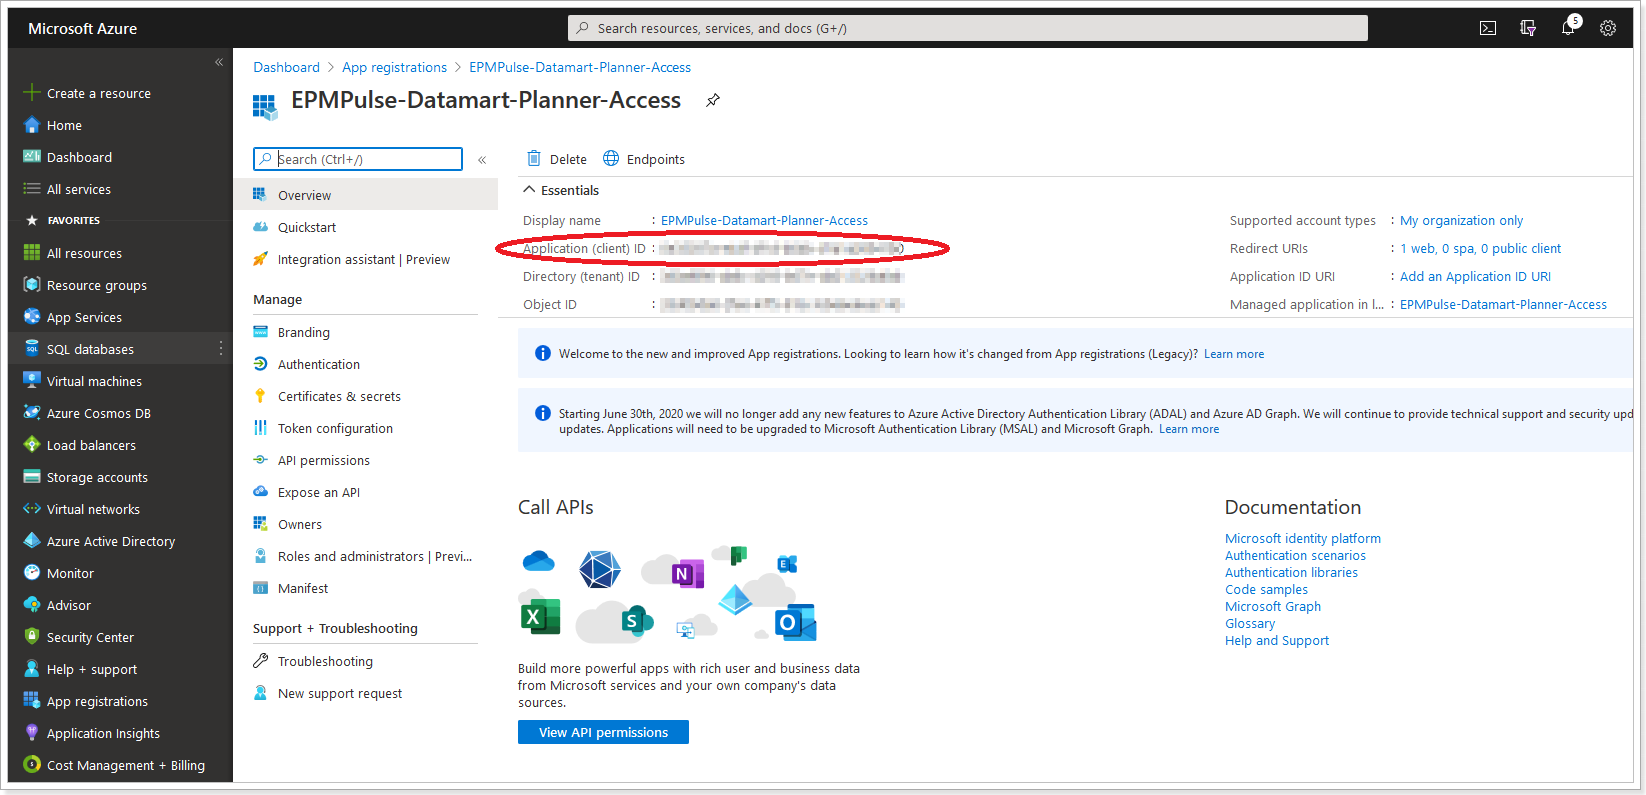
Paste it to the EPM Pulse Configuration Wizard:
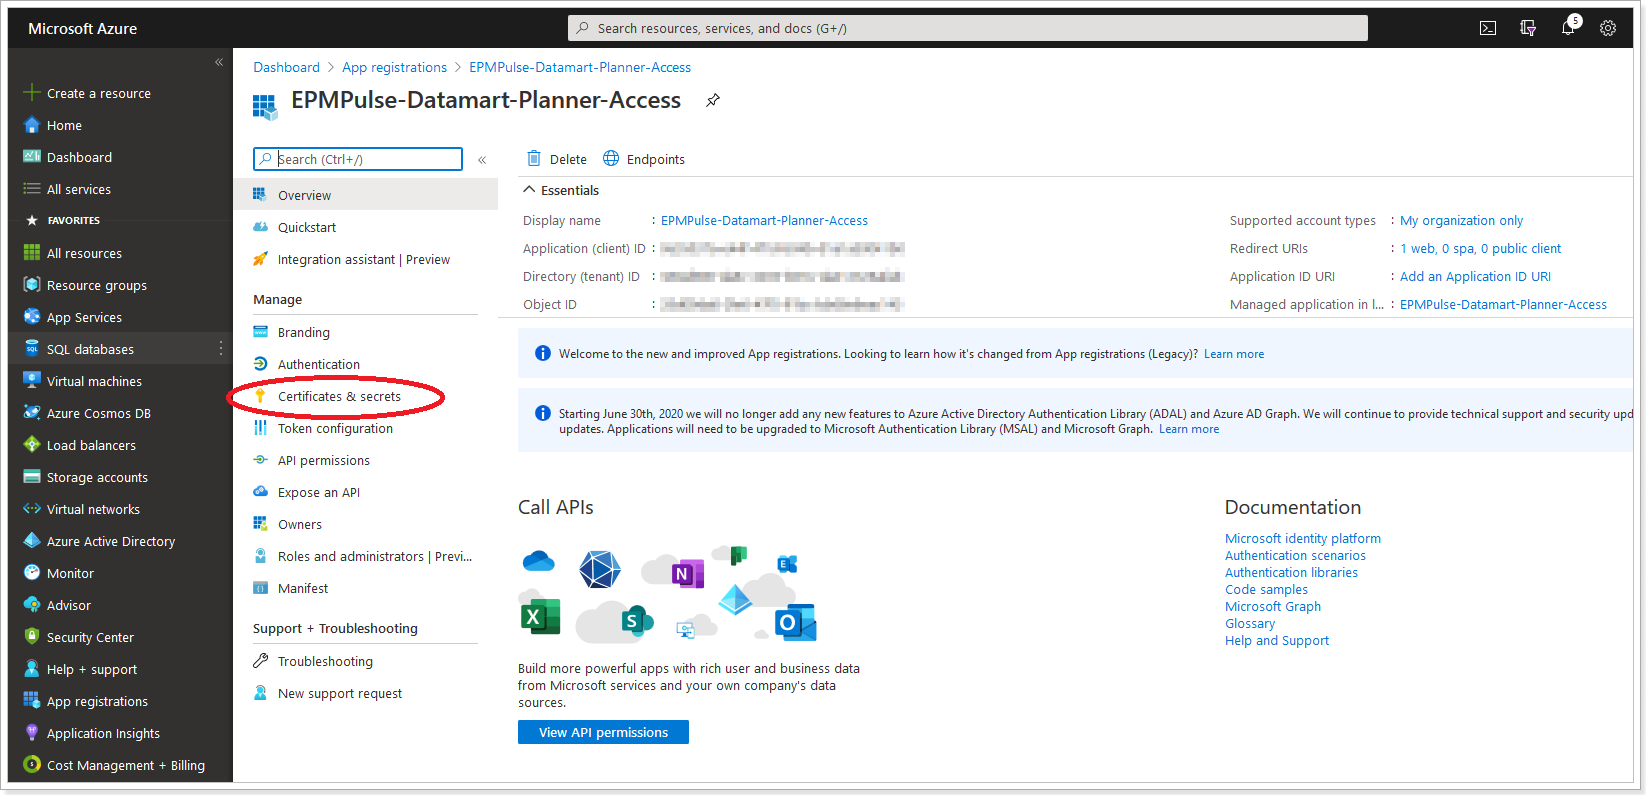
5. Next, click on the 'Certificates and Secrets' option on the left.
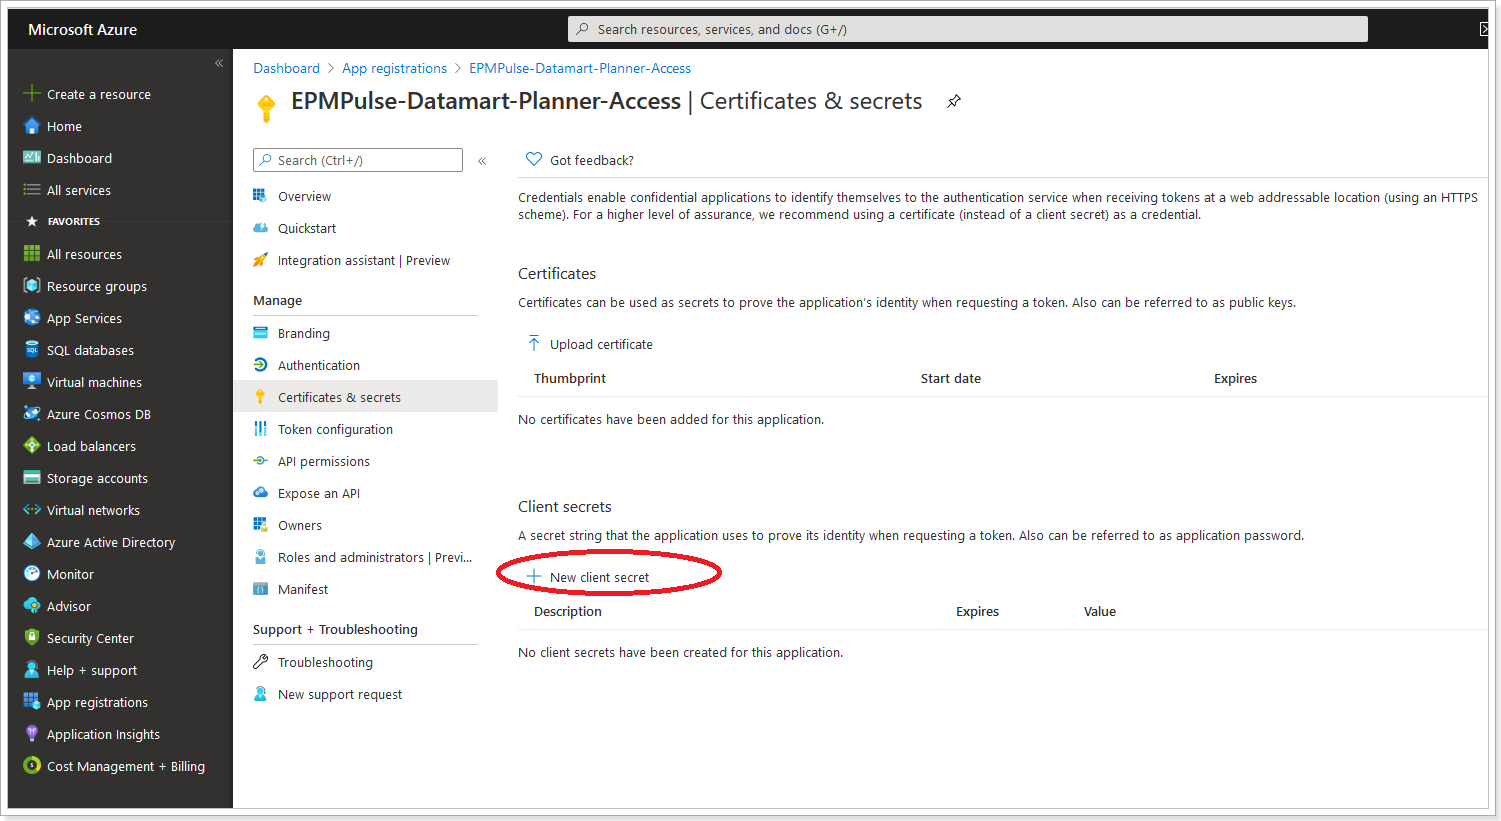
6. Click the 'New Client Secret' button.
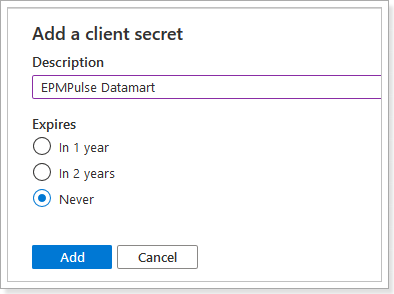
7. Choose any name (e.i. 'EPM Pulse') and the expiration date for your secret.
Please note: If you choose any option other then 'Never', you will need to repeat these steps once the secret expires.
8. Copy the Value of your new secret.
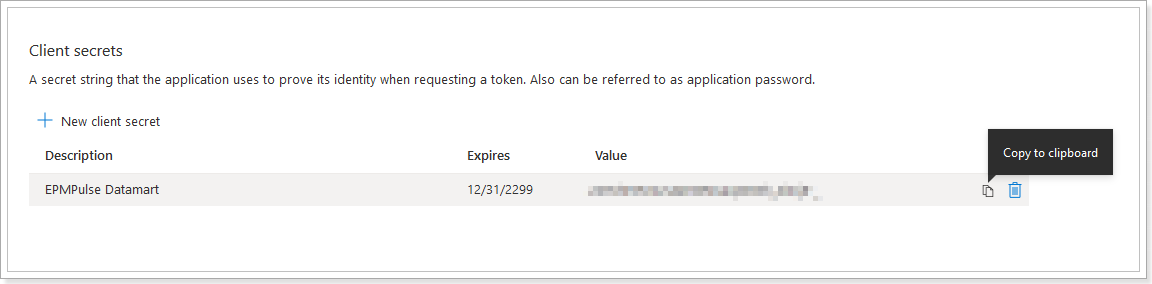
Paste it into the EPM Pulse Configuration Wizard.
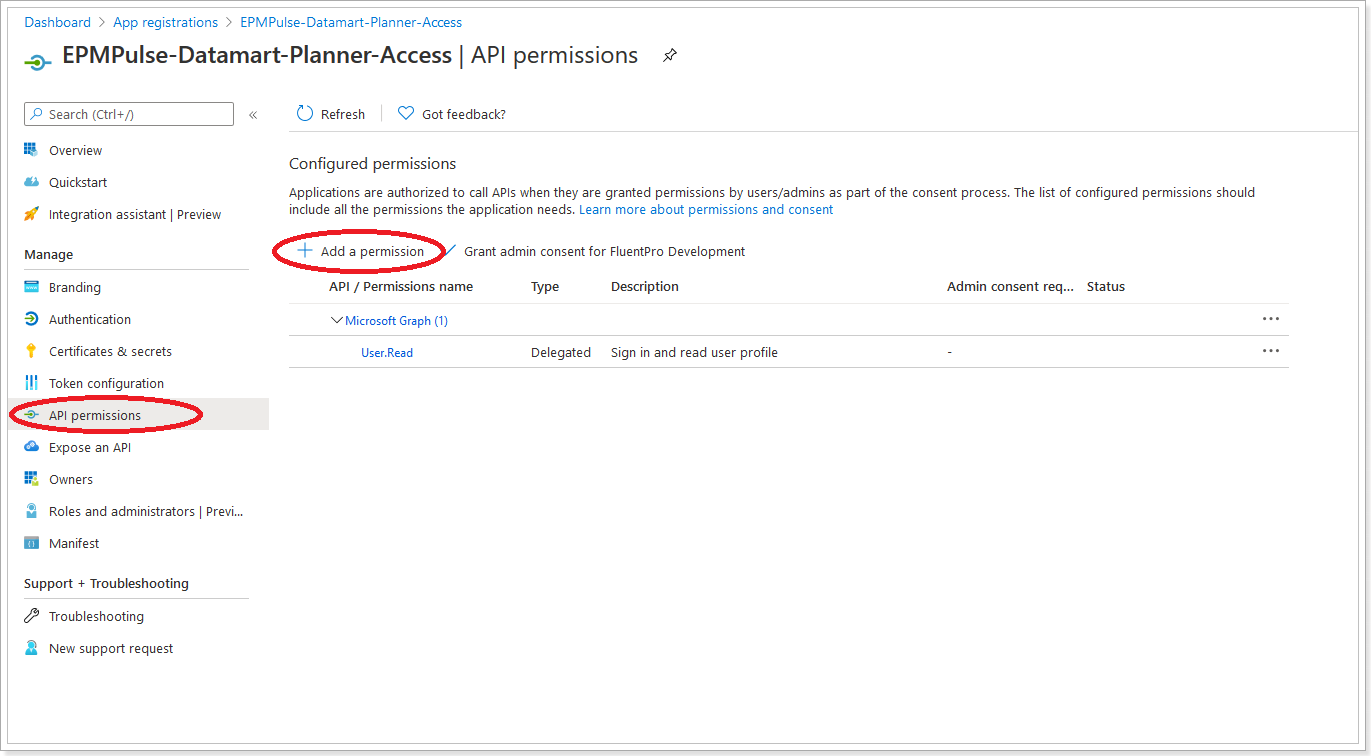
9. Click the 'API Permissions' button and add the following permissions:
- Group.ReadWrite.All
- User.Read
- User.Read.All
- Group.Read.All
10. Save all changes. Open the EPM Pulse DataMart Configuration Wizard and click 'Next'.